
Plans
How to create, configure, update, duplicate, and delete subscription plans in Recurly — including billing cycles, pricing models, price segments, and add-ons.
Plans are the blueprint for your subscription business — they define what your customers subscribe to, how often they're billed, and how much they pay. Whether your model includes free trials, setup fees, ramp pricing, or price segments, Recurly's plans are built to match your business exactly. There's no limit to the number of plans you can create.
Plans dashboard
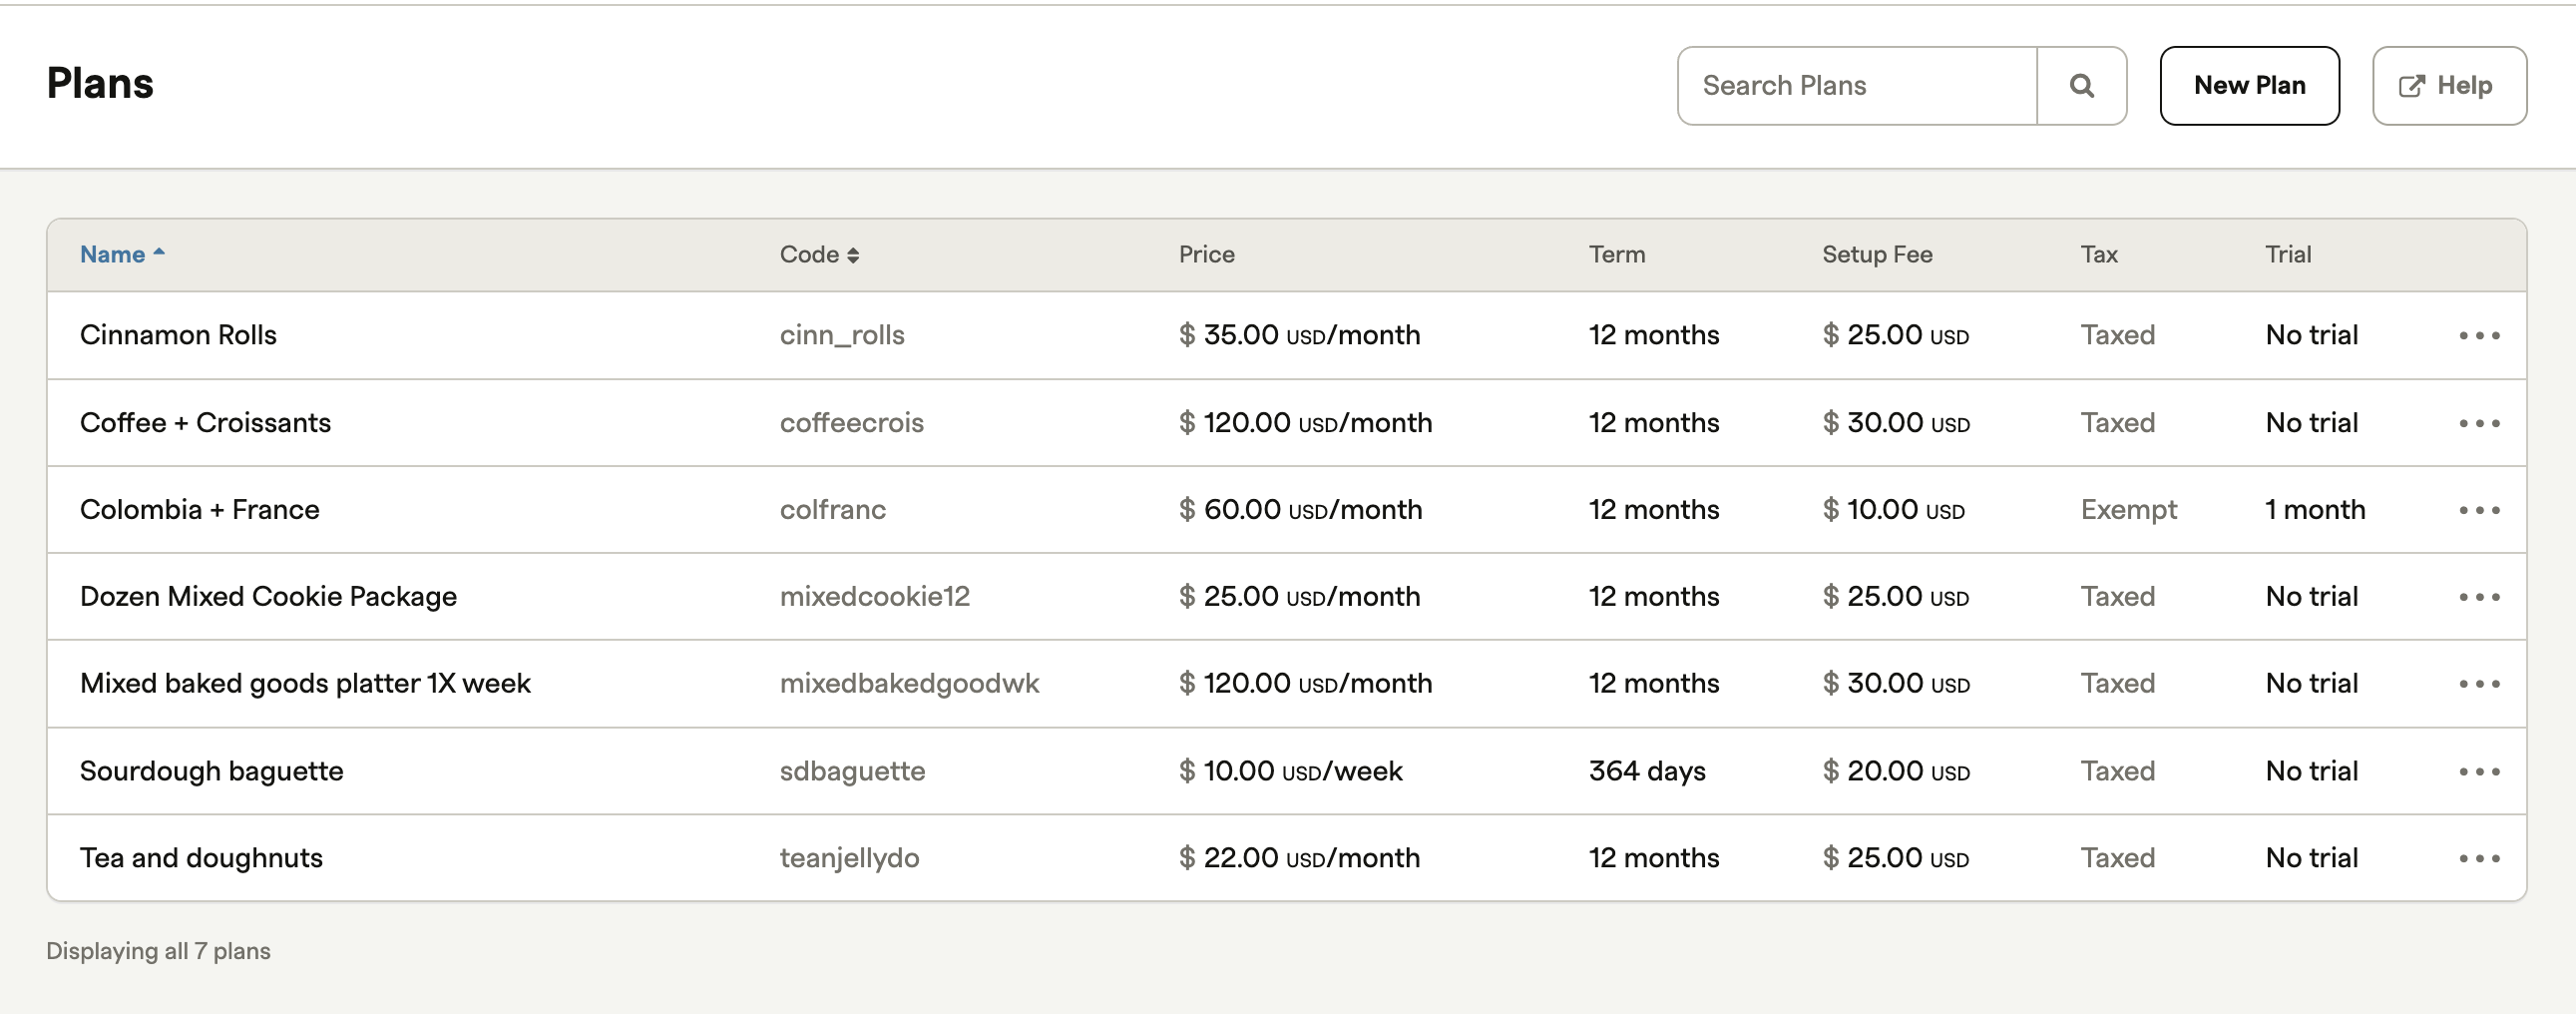
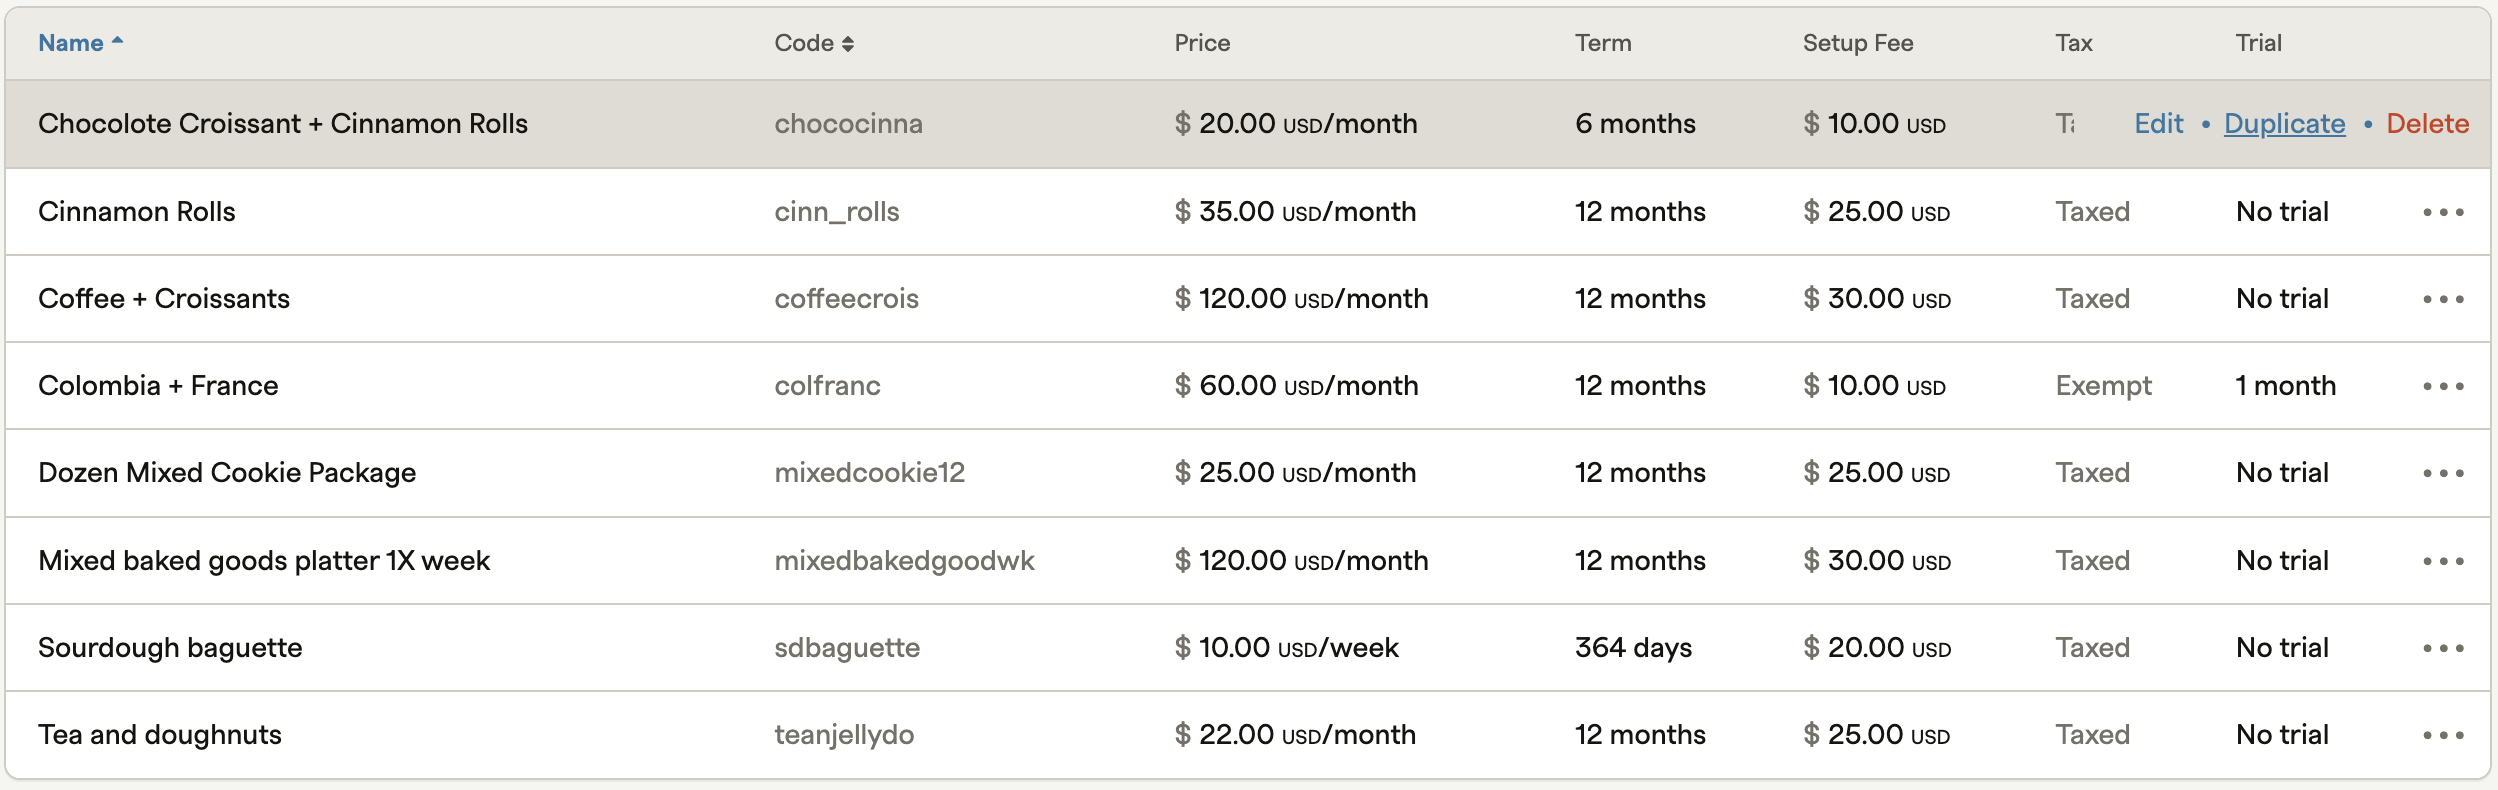
Your plans dashboard lists all plans defined in your Recurly account. Select any plan name to view its details, edit it, or link to its Checkout configuration or Hosted Payment Page.
Definition
A Recurly plan defines the billing frequency and base price for a subscription product. Plans support free trials, setup fees, multiple pricing models, and add-ons — giving you the flexibility to model any subscription business without limits on how many plans you create.
Key benefits
Create a plan
Plan details
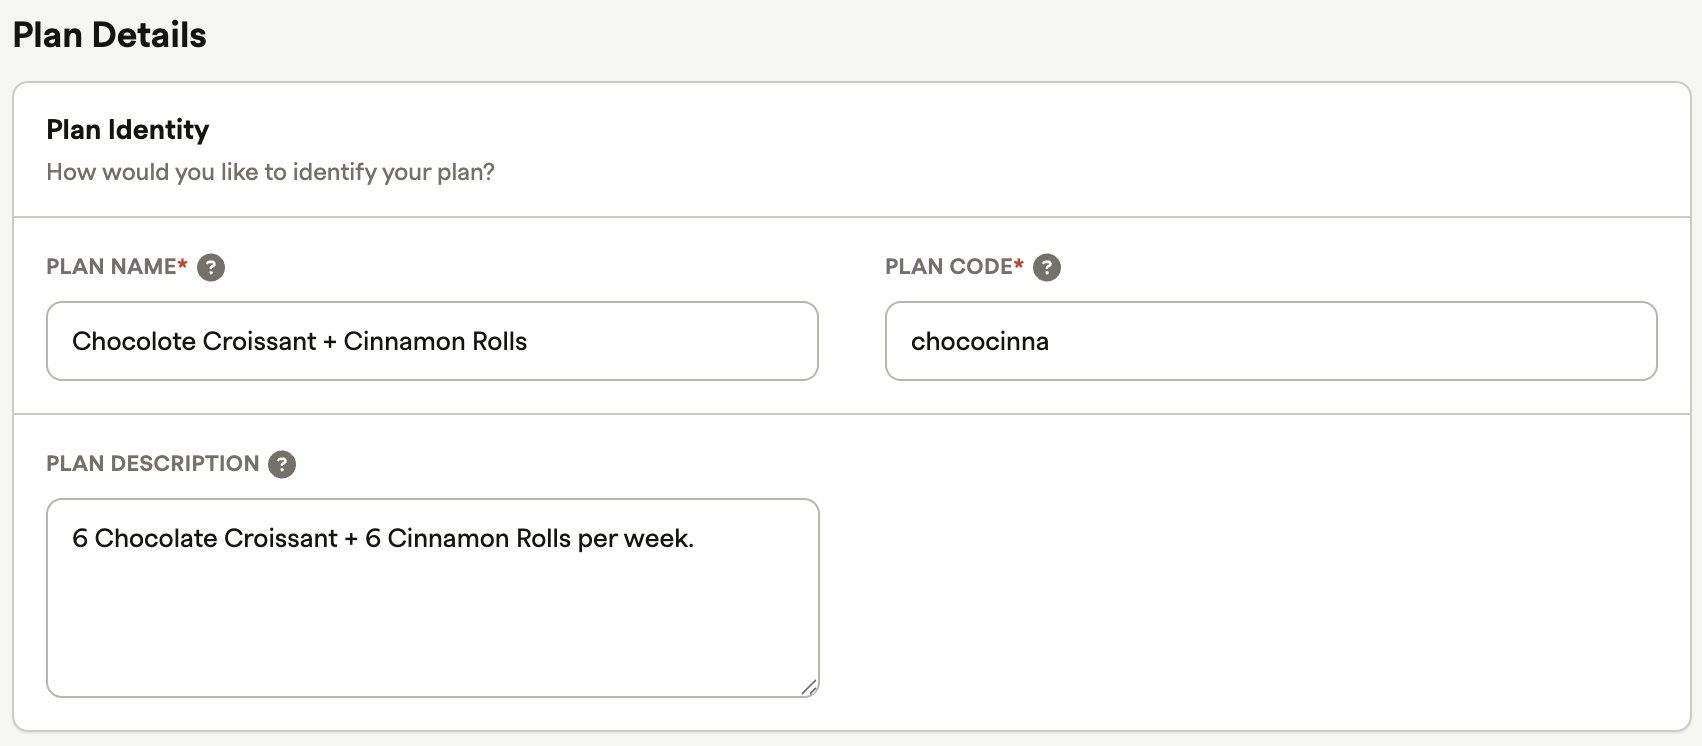
| Field | Description |
| Plan name | Describes your plan. Appears on the Hosted Payment Page and the subscriber's invoice. Limit: 255 characters. Check with your payment gateway before using special characters. |
| Plan code | Your plan's unique identifier in Recurly. Used in Hosted Payment Page URLs and API requests. Limit: 50 alphanumeric characters. |
| Plan description | Describes what the plan includes. Appears on the subscriber's email invoice if configured in your email templates. |
Plan configuration
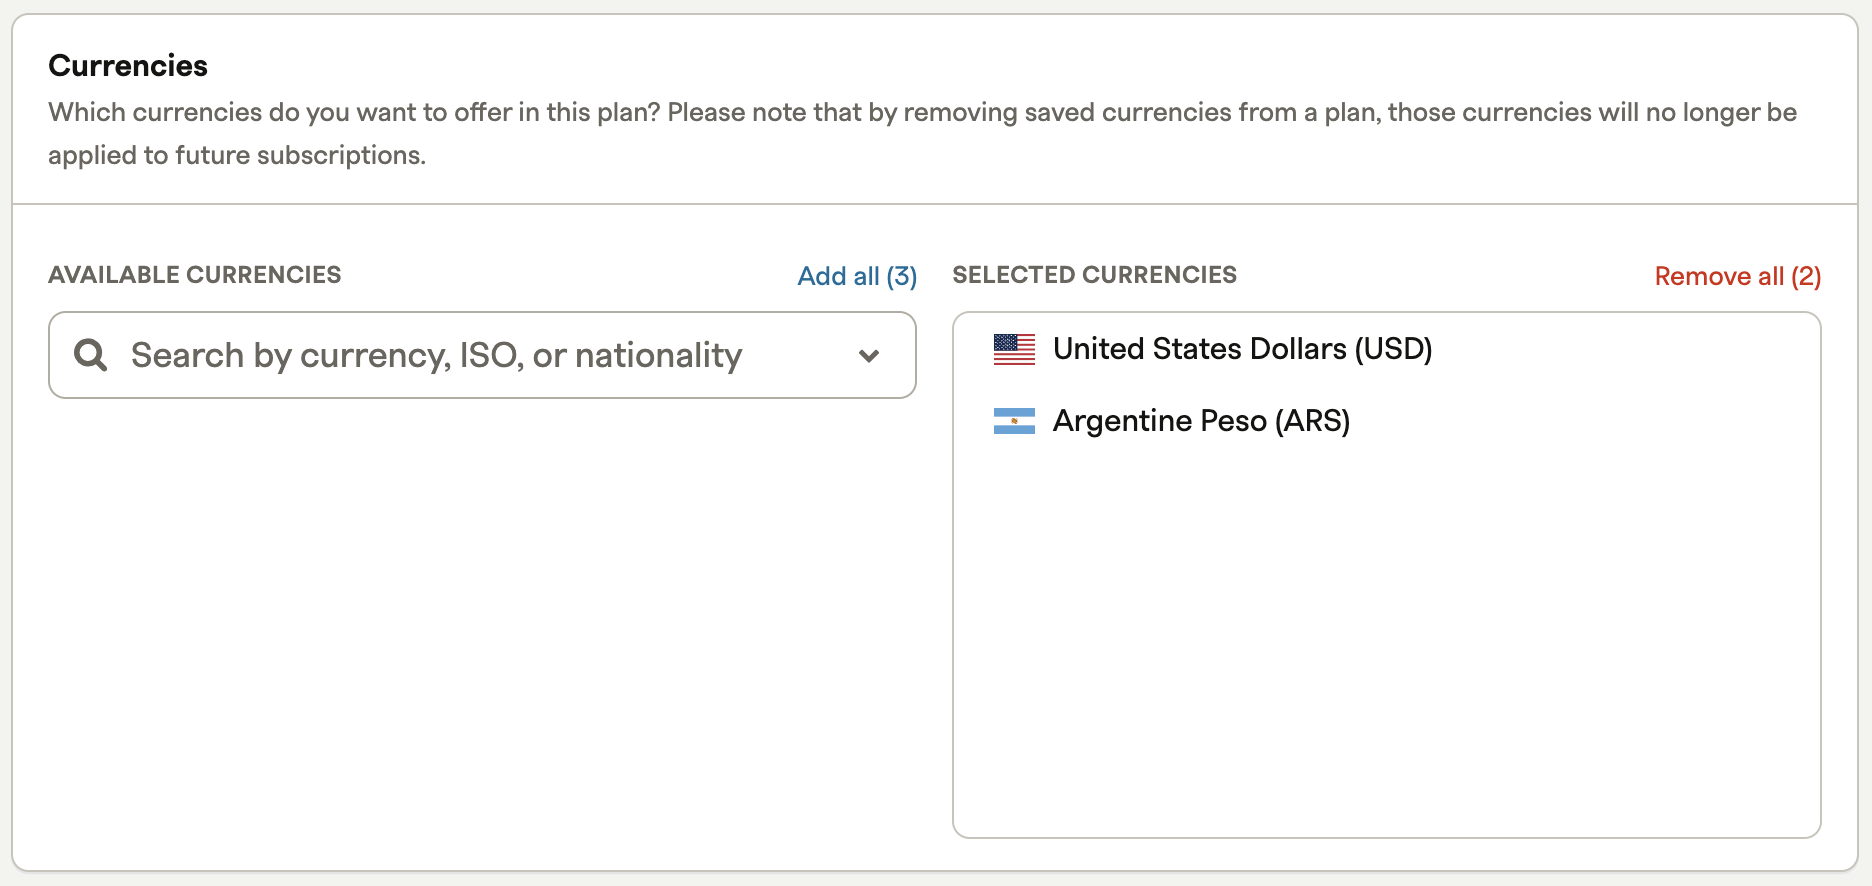
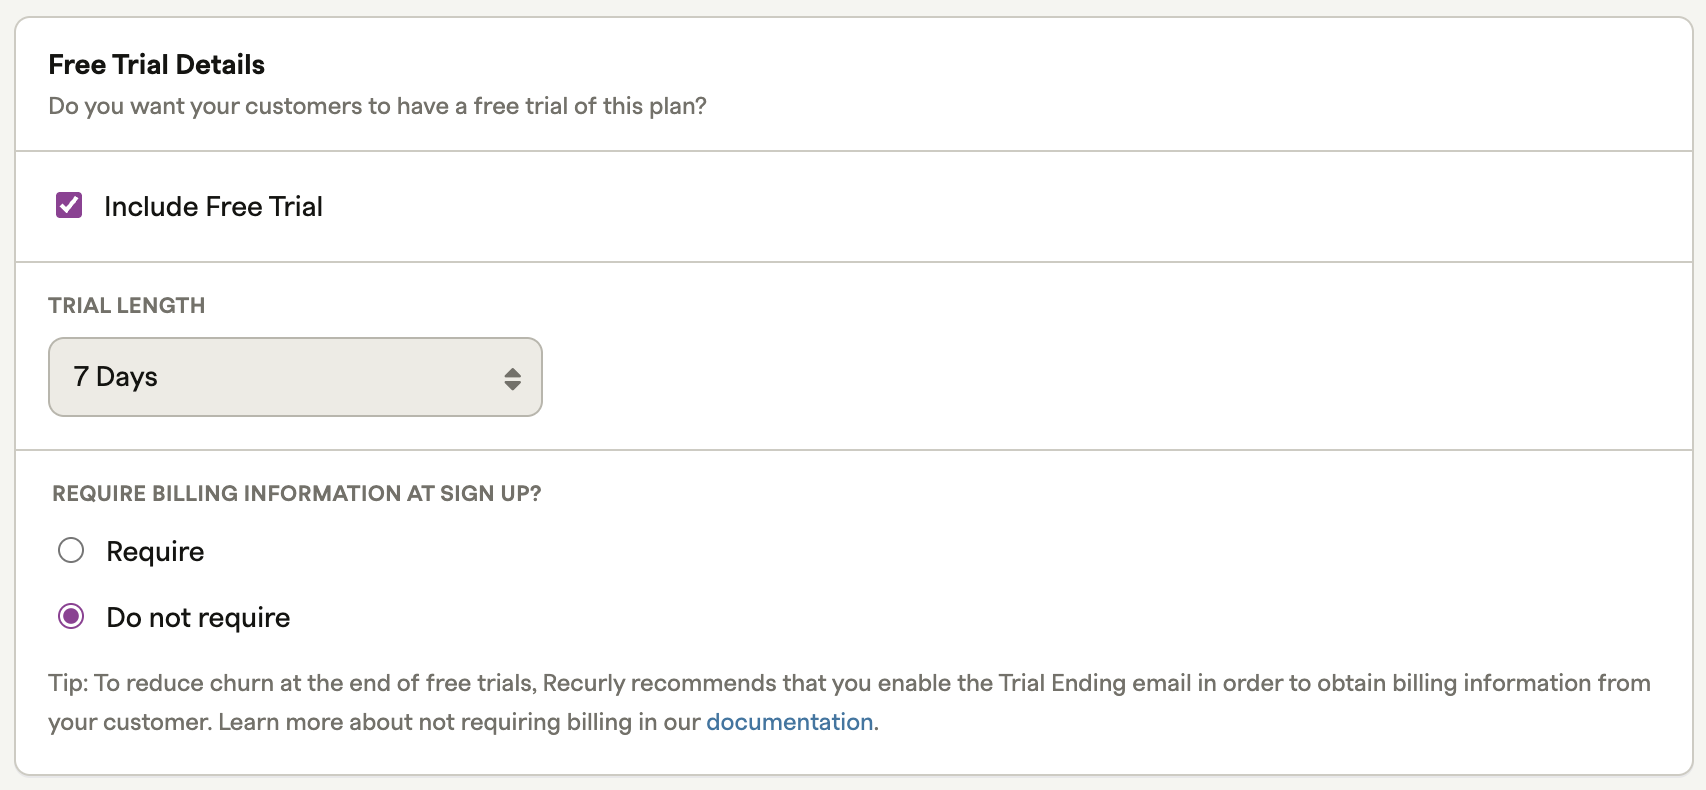
| Field | Description |
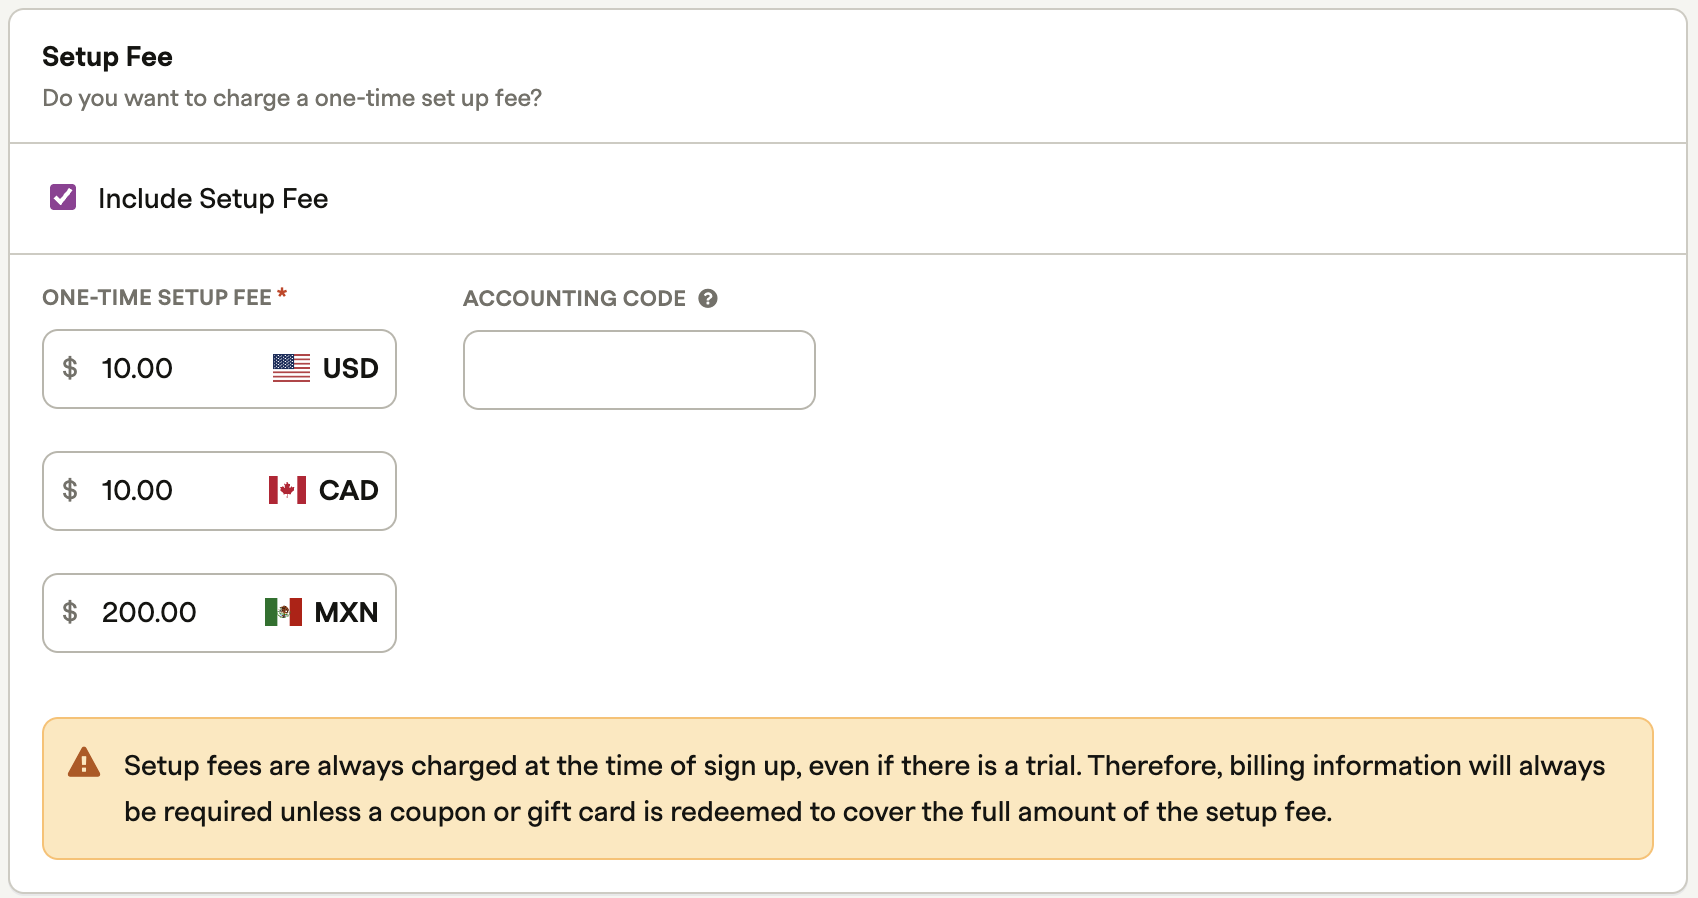
| Currencies | Choose which of your enabled currencies to include in this plan. |
| Free trial | Define a free period in days or months. The paid subscription starts after the trial ends. Choose whether to require billing information at sign-up. |
| Setup fee | A one-time charge processed at sign-up. |
Billing configuration
| Field | Description |
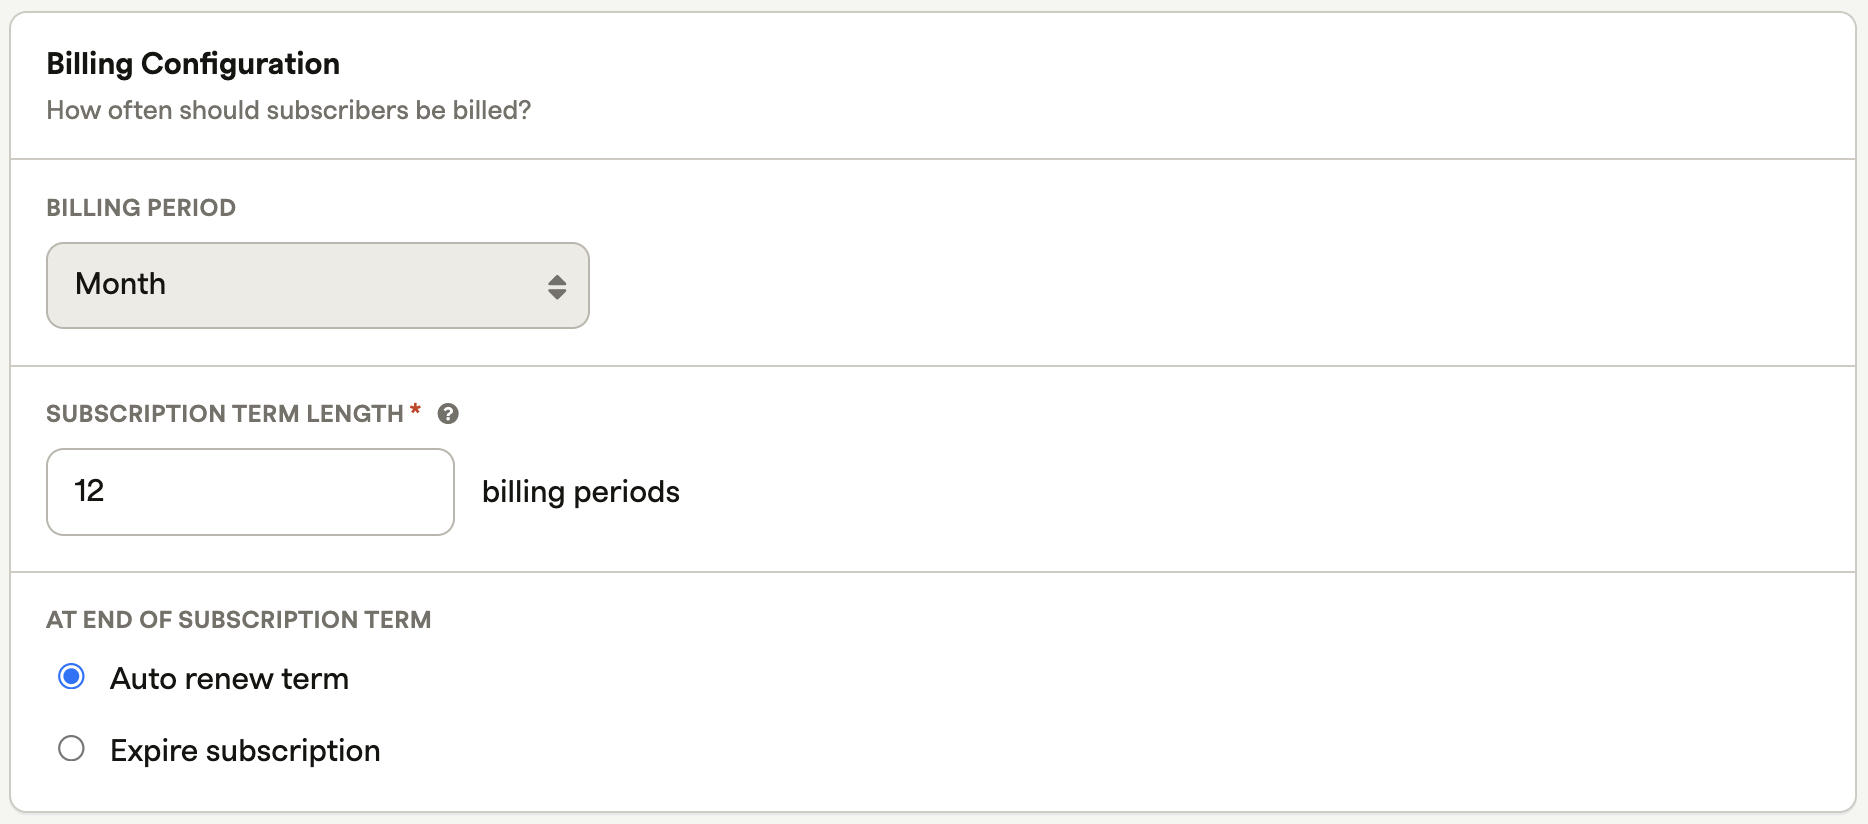
| Billing period | How often a subscriber is billed. |
| Subscription term length | The default length of time customers are committed to the subscription. Subscriptions always renew with this term unless modified at the individual account level. |
| Billing cycles | Choose to automatically renew or expire the subscription after a set number of billing periods, configured in the "At end of subscription term" section. |
Pricing model
| Field | Description |
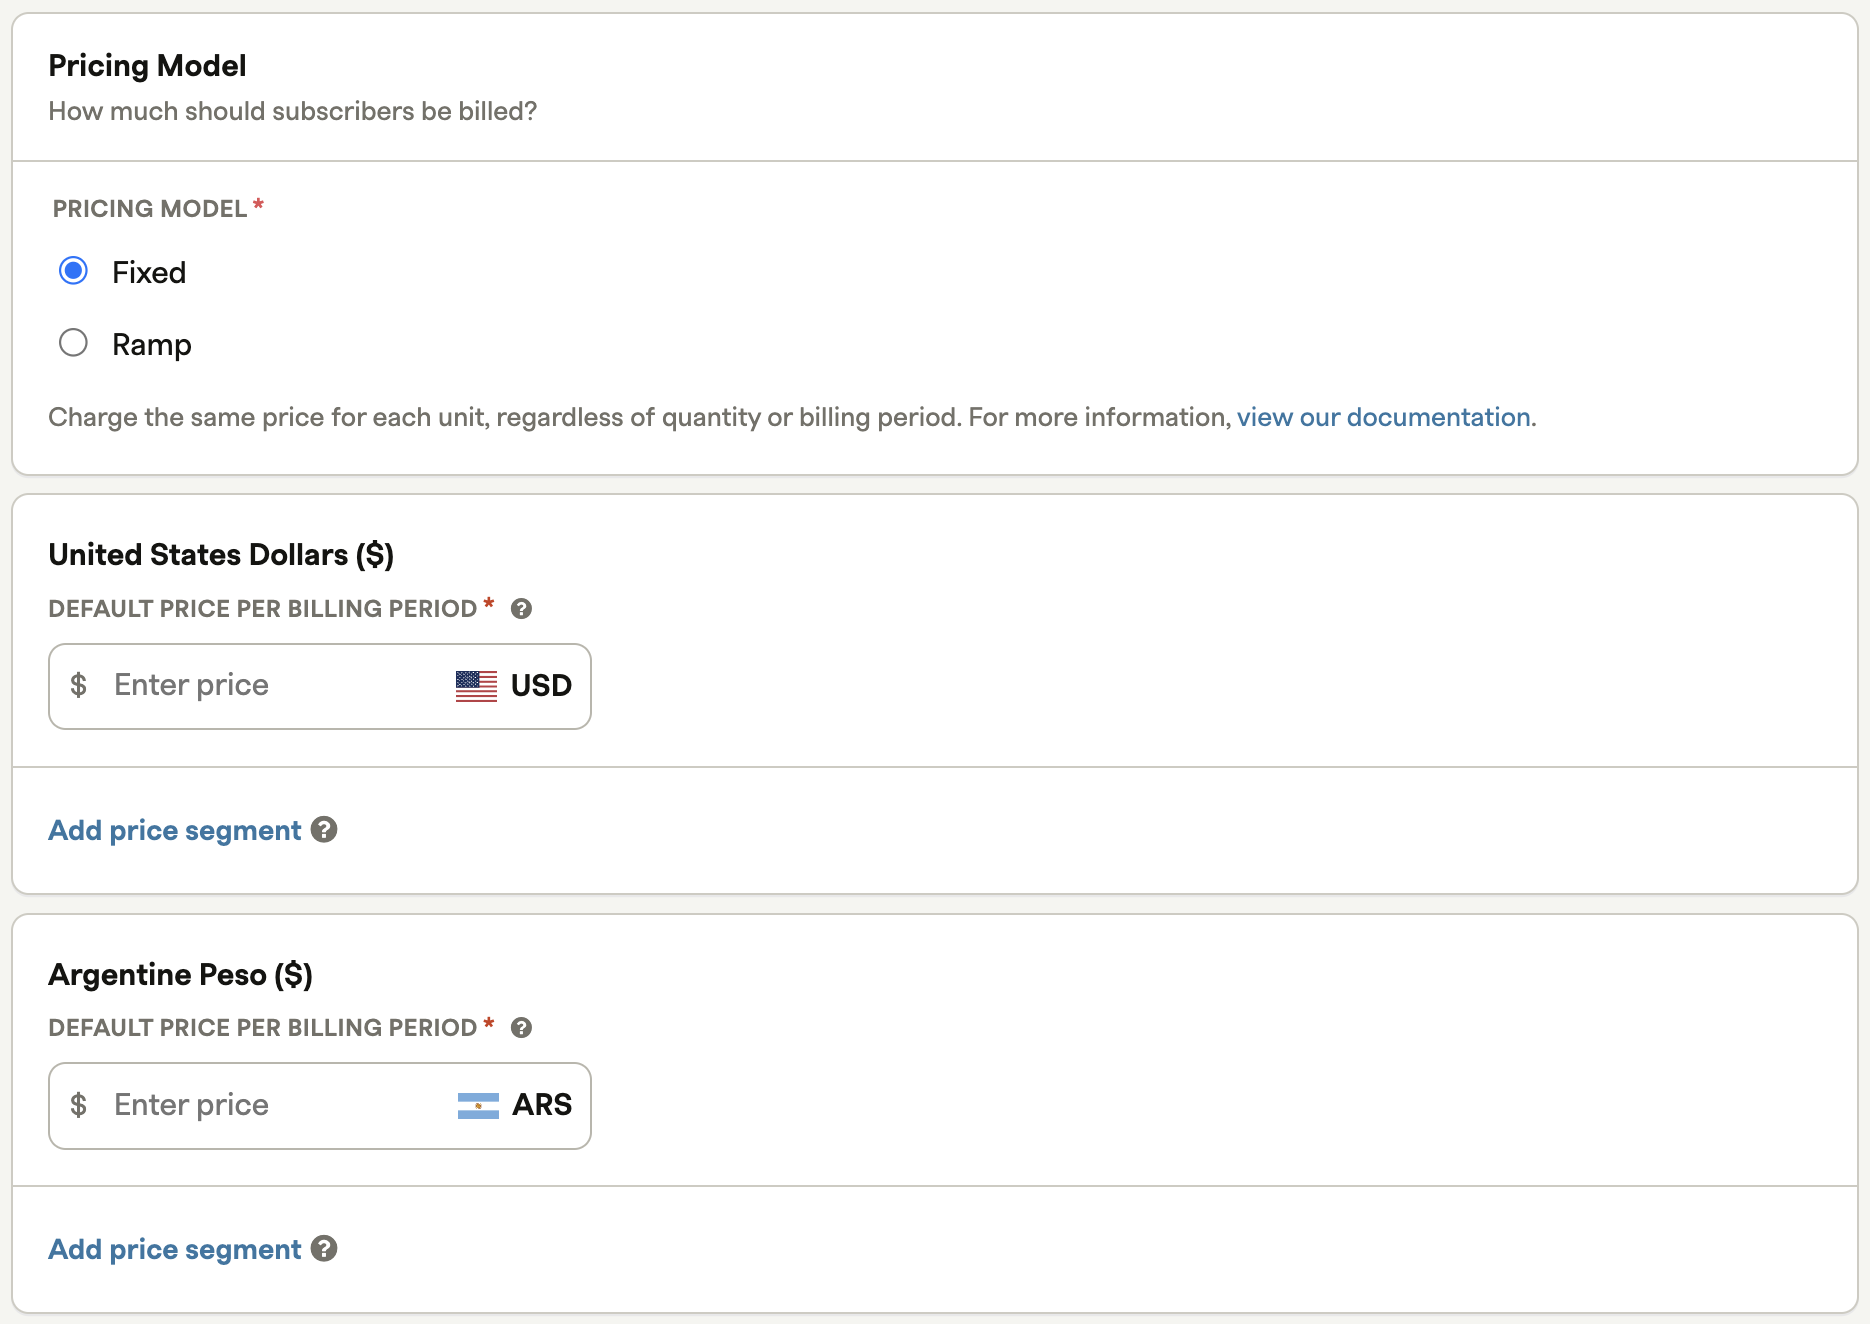
| Pricing model | Choose fixed or ramp pricing to match your subscription model. |
| Price | Set the fixed price charged to plan subscribers. For quantity-based pricing, use add-ons. |
Price segmentation
Price segments let you define multiple price points for a single plan within the same currency — useful for A/B testing or market-specific pricing without creating duplicate plans. A default price is always required and applies whenever no segment code is provided.
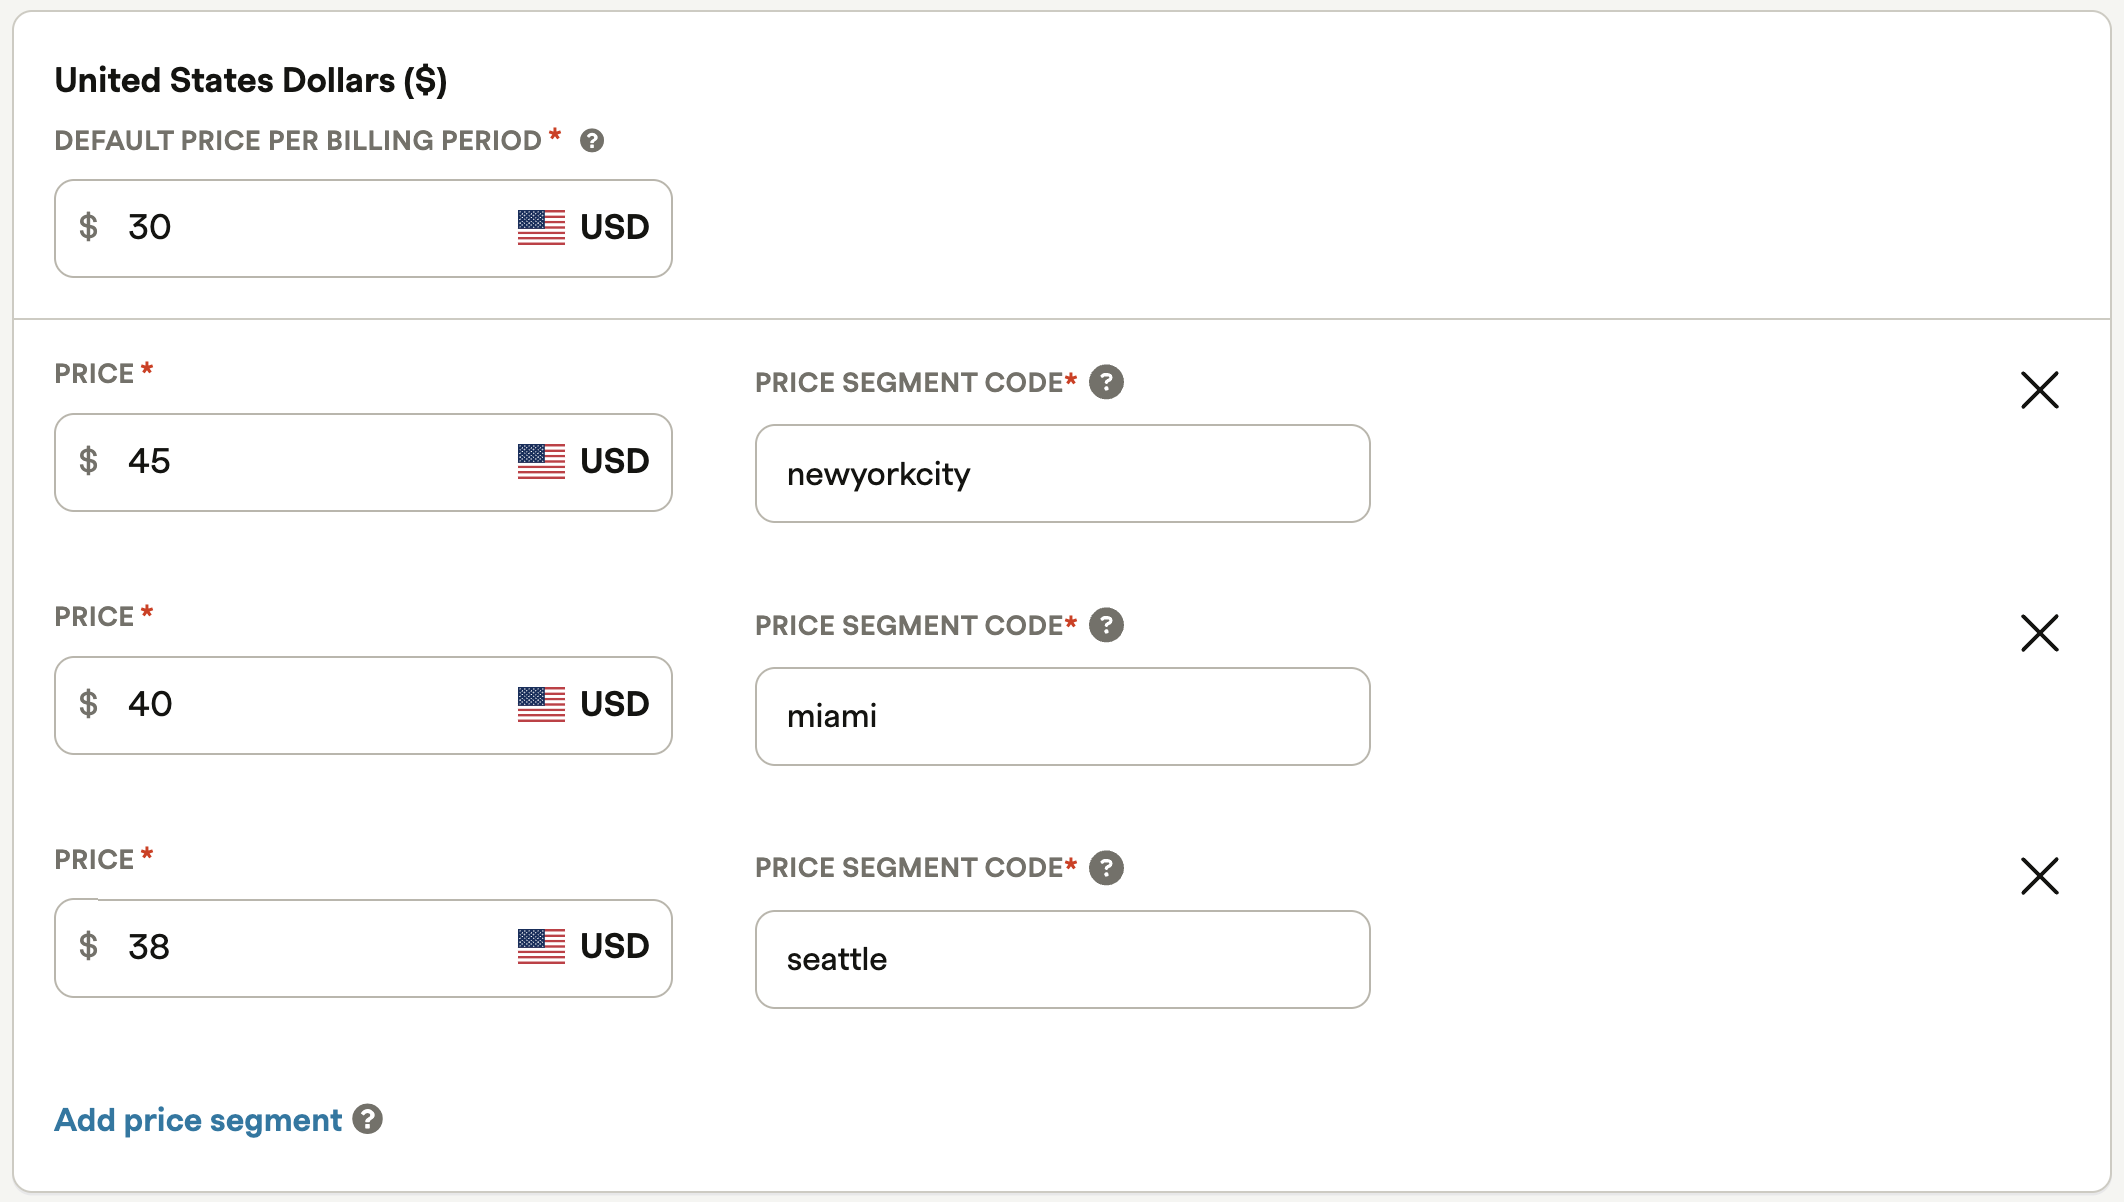
Example: You run a gym where operating costs vary by city. Rather than cloning identical plans, create one plan with segments — default, nyc, la — and apply the right price at checkout based on the customer's location.
How price segments work
- Recurly stores all segment prices and the default price on the plan.
- You decide which price to apply (by geography, campaign, experiment bucket, etc.) — Recurly doesn't choose the segment for you.
- Segment data (code and price) is returned via the v3 API and Recurly.js so your checkout can display the intended price.
Implement price segments
Surface the right price in your UI
Fetch the plan's price segments via the API or Recurly.js and render the price that matches your rule.
exp-a and exp-b — and log the chosen segment code with your analytics events.Notes and limits
| Detail | Value |
| Number of segments | No limit per currency |
| Availability | Plans only (fixed and ramp pricing). Not available on setup fees, add-ons, items, or Recurly Checkout. |
| Adding segments | You can add segments to existing plans at any time. |
| Editing segments | After creation, only the price within a segment can be edited — the segment code is fixed. |
| Invoice visibility | Segment codes don't appear on invoices or in email templates — they're for your internal selection logic only. |
Developer references
- /price_segment
- /plans
- /subscriptions
- /create_subscription_change
- Recurly.js — surface price segments in your front end
Billing details
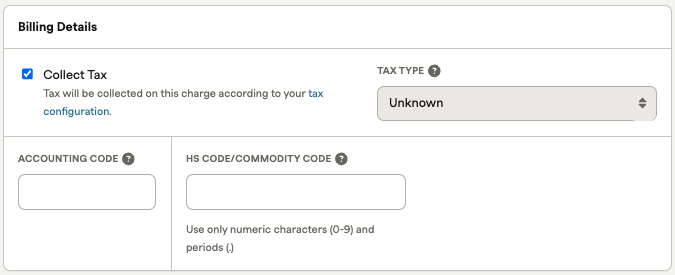
| Field | Description |
| Accounting code | A unique code to identify this plan in your internal invoice exports. Configure based on your tax settings and compliance requirements. Limit: 25 lowercase alphanumeric characters. |
| HS code / Commodity code | An HS or Commodity code for invoice compliance on traded products. HS codes are at least six digits, with countries adding digits for regional classification. Limit: 25 lowercase alphanumeric characters. |
Plan add-ons
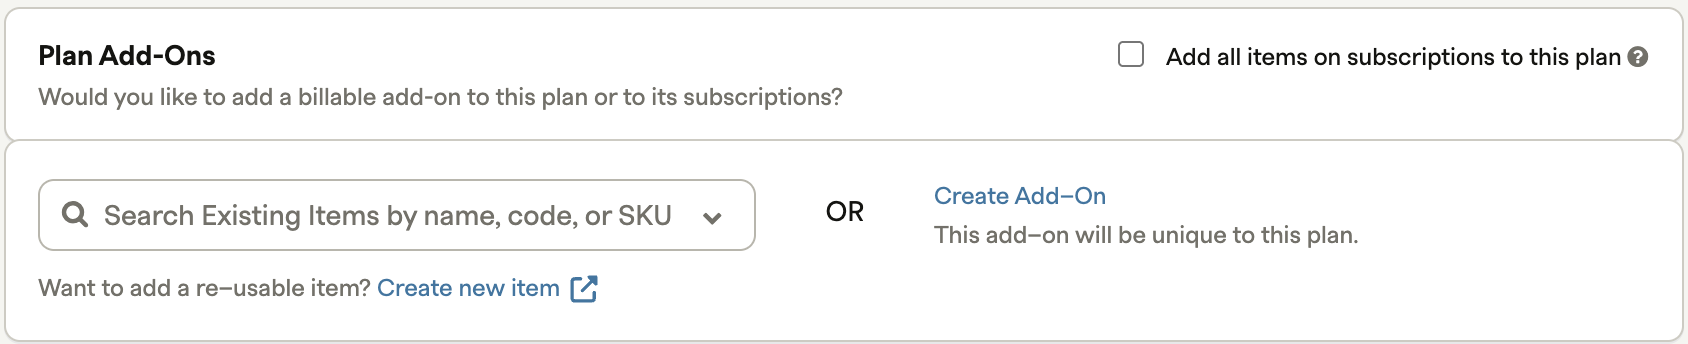
Optional products that can be included in a recurring subscription's invoices. Add-ons also support quantity-based pricing models. You can add items directly from your item catalog to a plan.
Dunning campaign
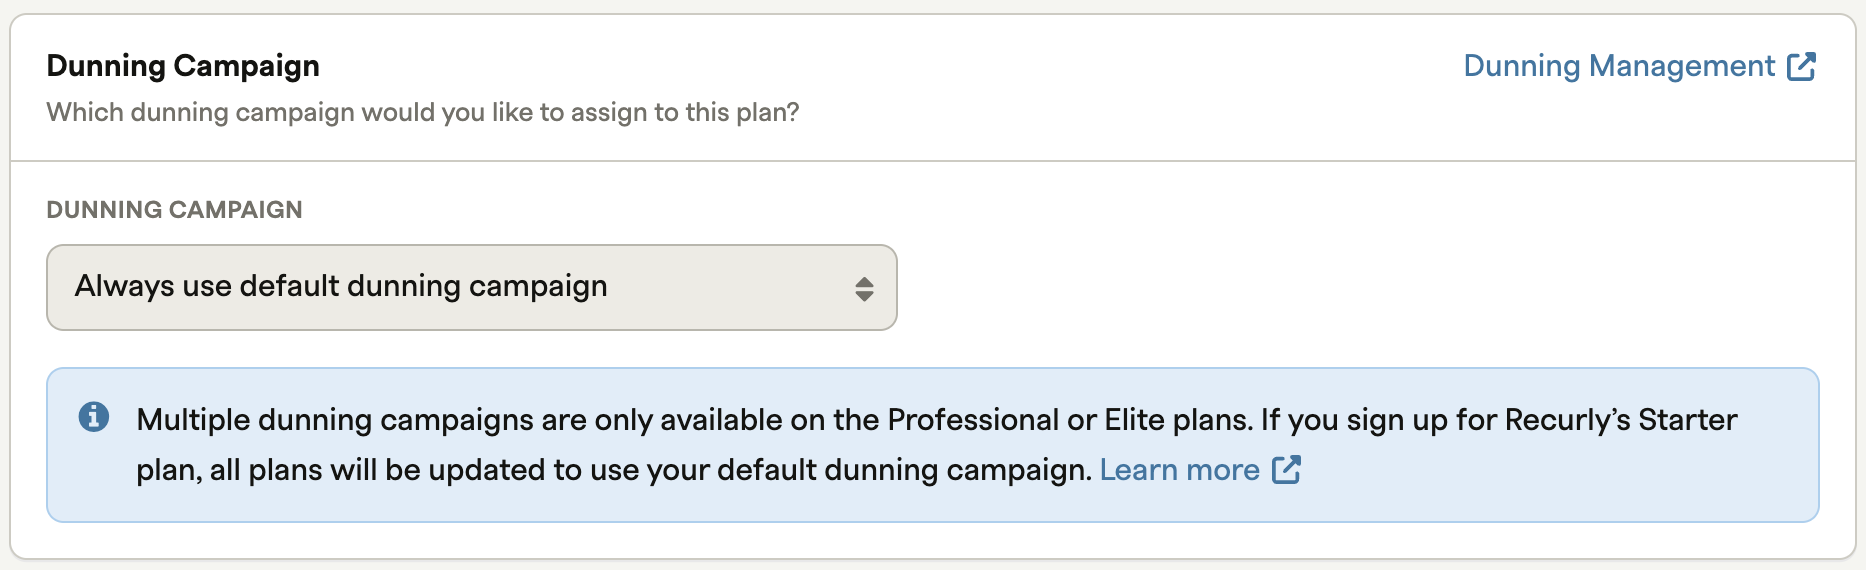
Select the dunning campaign to apply to this plan.
Customer emails
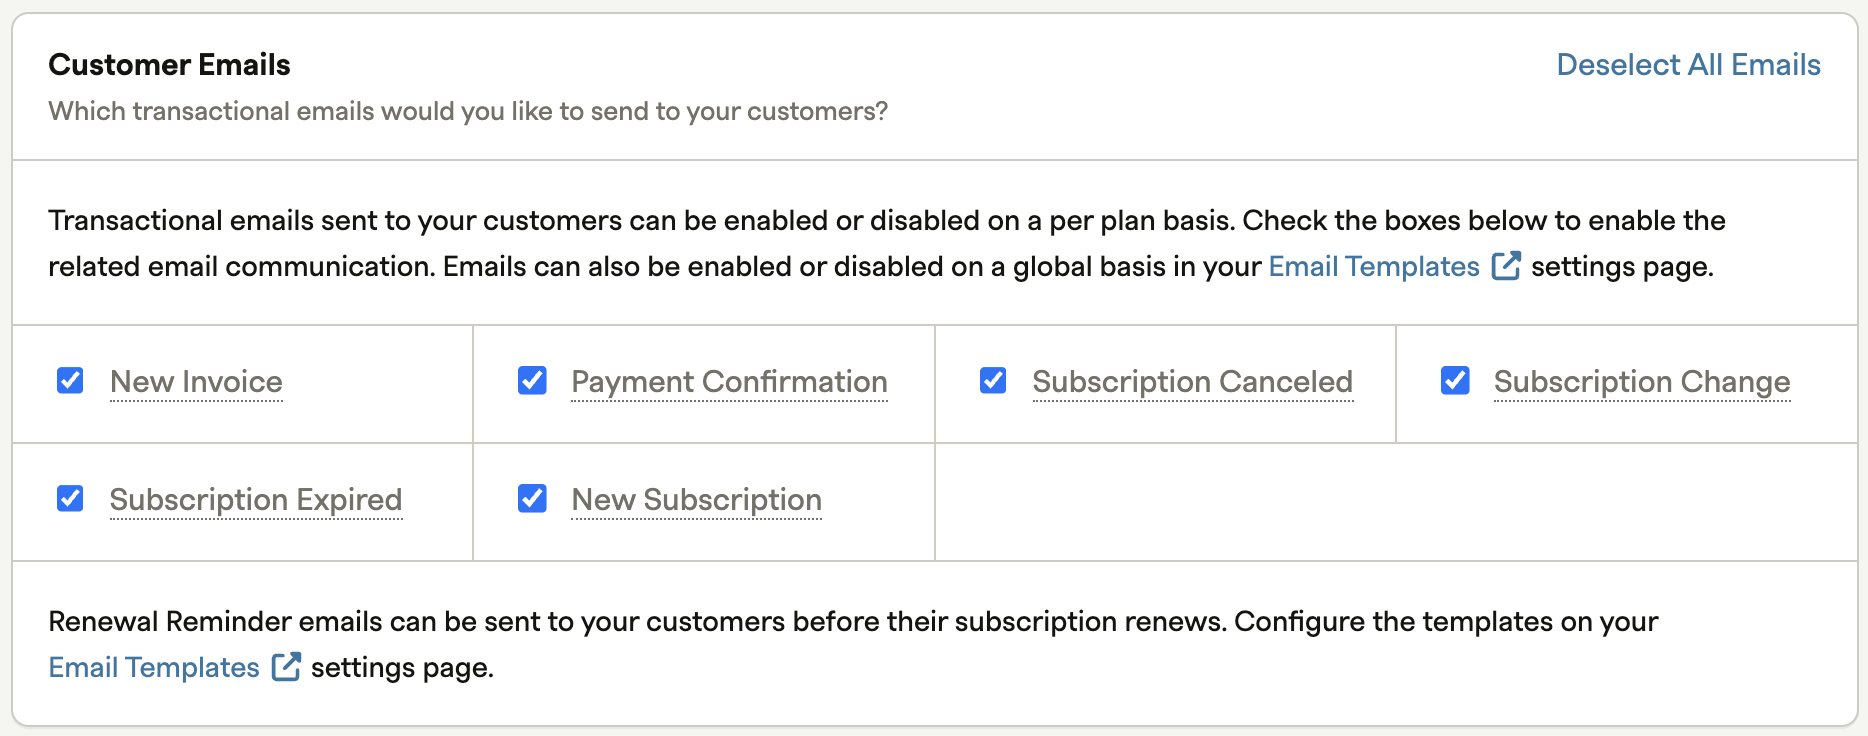
Check the boxes to enable email communication for specific billing events. You can modify and manage your templates on the Email Templates settings page.
Hosted Payment Pages
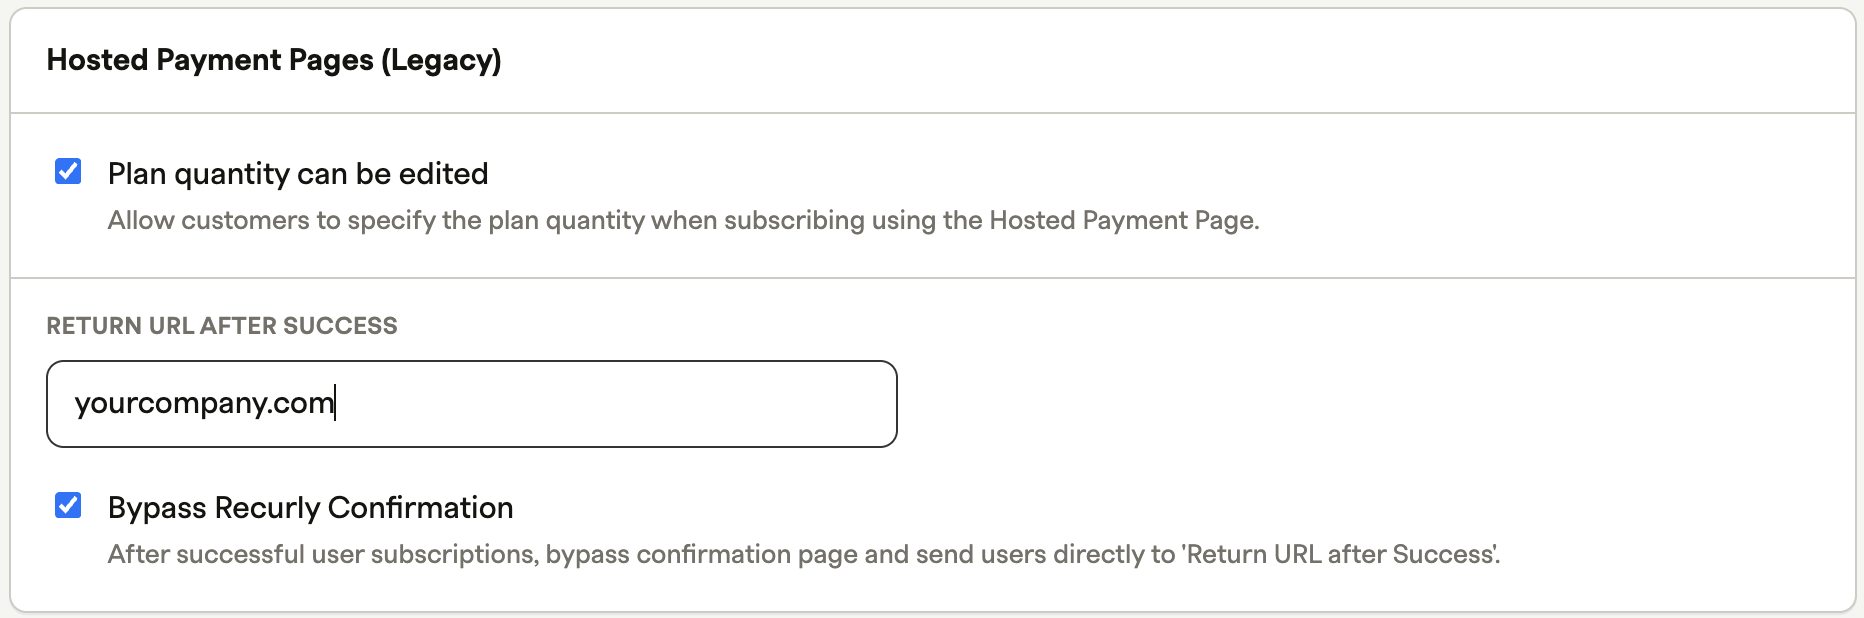
| Field | Description |
| Plan quantity can be edited | Determines whether subscribers can choose their own quantity on the Hosted Payment Page. |
| Return URL after success | Redirects the customer to a specific URL after a successful transaction via the Hosted Page. |
| Bypass Recurly confirmation | Skip Recurly's confirmation page and send the customer directly to your custom return URL. |
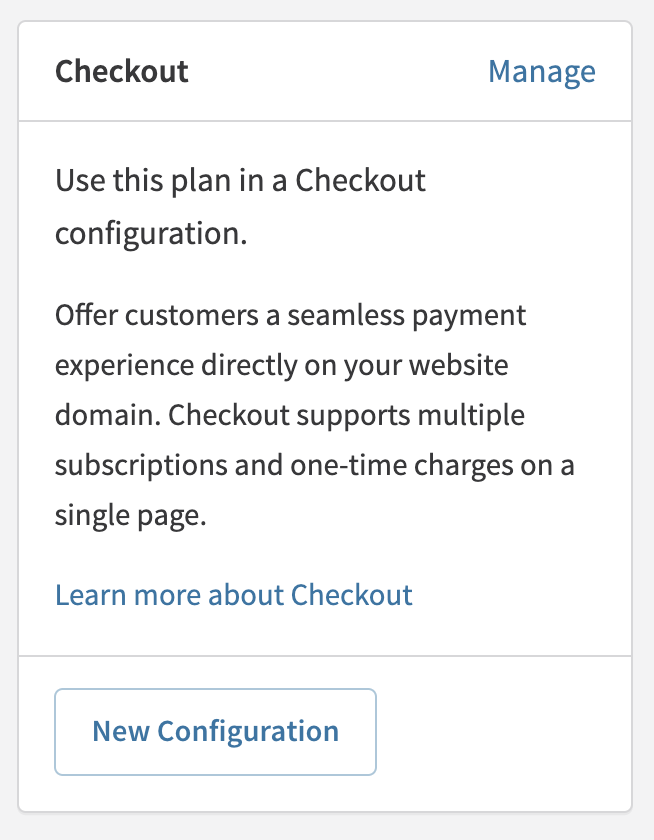
Checkout configuration
After creating a plan, you can set up a Checkout configuration to direct customers to purchase it.
Edit a plan
Plan price changes
Editing a plan's price never changes the price of subscriptions that already exist — it only sets the price for subscriptions created afterward. This holds true even after an existing subscription renews: Recurly renews each subscription at the price it was created with, so a renewal never pulls in the plan's current price.
Example: You raise your Standard plan from $10 to $12. Every subscriber who signed up at $10 keeps paying $10 — on their next renewal and every renewal after that. Only subscribers who sign up after the change pay $12.
| Subscription | Price applied |
| New subscriptions | The updated plan price, for anyone who subscribes after you save the change. |
| Existing subscriptions | Their original price — unchanged by the edit. |
| Existing subscriptions after renewal | Still their original price. Renewal does not apply the new plan price. |
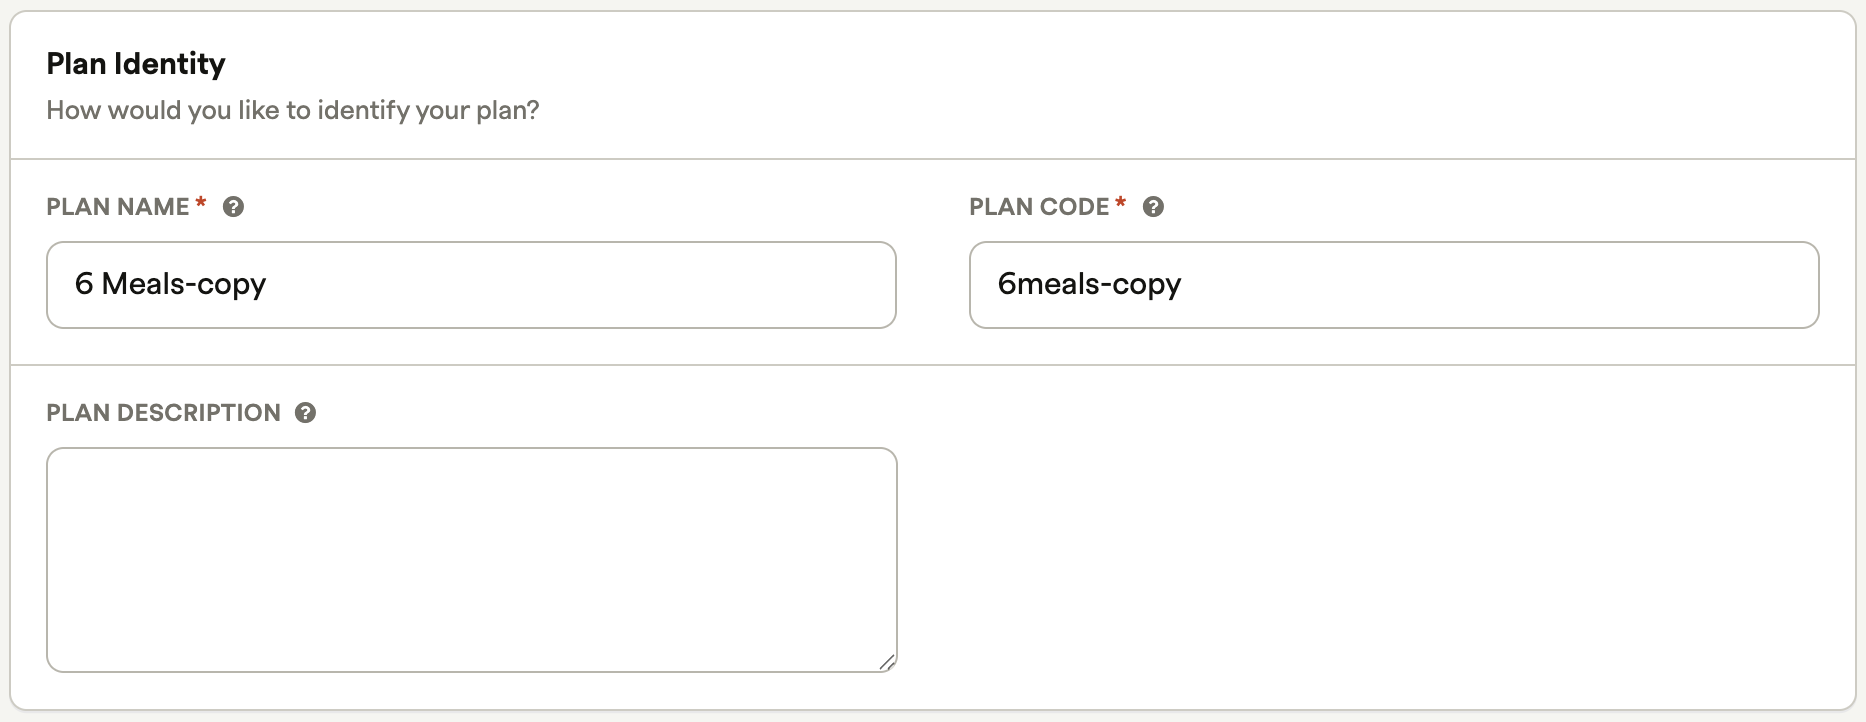
Duplicate a plan
Delete a plan
Updated 24 days ago