
GoCardless
Connect GoCardless to Recurly to process direct debit payments via SEPA, ACH, BACS, and BECS — covering OAuth setup, currency configuration, webhooks, and refund handling.
Limitations
- Transaction limits — GoCardless imposes minimum and maximum transaction thresholds that vary by payment method. Review the transaction limits FAQ to confirm alignment with your business requirements. Minimum ACH transaction value is $2.
- Address requirements — Some payment methods require minimum address details. Collect these during checkout (ACH requires a full address and name).
- Hosted Gift Card pages not supported — GoCardless cannot be used with Recurly's Hosted Gift Card pages.
- Status transitions — Direct debit transactions can move from
past_duetoprocessingstatus under certain conditions. - Restricted activities — See GoCardless's restrictions page for their list of restricted activities and business models.
- No API import of existing direct debit billing info — Importing existing direct debit billing info via the API is not supported. This is possible through a professional services engagement — contact Recurly Sales for details.
Definition
Key details
| Feature | Details |
| Services that work with Recurly | GoCardless |
| Supported operations | Charge, recurring billing, refund |
| Supported payment types | SEPA, ACH, BACS, BECS |
| Supported card brands | N/A |
| Gateway-specific 3DS2 supported | N/A |
| Card on file supported | N/A |
| Regions | Europe, United Kingdom, Australia, United States |
| Currencies | EUR (SEPA), USD (ACH), GBP (BACS), AUD (BECS) |
API integration details
GoCardless supports local bank detail submission across API V3, API V2, and Recurly.js. All versions support the same bank detail types:
- IBAN (SEPA)
- Account number and routing number (ACH)
- Account code, sort code, and type (BACS)
- Account code and BSB code (BECS)
Bank details are passed within the billing_info parameter in all versions.
- API V3 billing info documentation
- API V2 billing info documentation
- Recurly.js documentation — use version 4 or later for bank account fields
Required fields for GoCardless transactions
- Both the first and last name of the account holder are required.
- The consumer IP address must be included in your payload — mandate creation will fail without it.
- Company sent at the Account Level if you are capturing B2B Payments and need to specify a business bank account. Setting the 'Company' value of the business you are accepting payments from will properly classify the payment at GoCardless.
Automated retries
Recurly supports automated retries for SEPA payments on GoCardless. See the SEPA Retries documentation for details.
Handling refunds with GoCardless
Safer Refund Period
GoCardless offers an optional Safer Refund Period that prevents refunds from being initiated within 7 days of the original payment request. This feature is off by default. To enable it, contact your GoCardless account manager or support team.
If the Safer Refund Period is enabled, adjust your billing flows to account for the delay when issuing refunds.
If a refund is accepted by Recurly but ultimately fails due to the Safer Refund Period:
- With credit invoices — The failure is treated as a gateway failure and a credit memo is generated on the account. This credit memo can be refunded externally if the intent is to return money to the customer.
- Without credit invoices — The account receives credits that can be consumed or refunded externally.
Refund limitations
- A single GoCardless invoice can be refunded a maximum of five times via partial refund amounts. Attempting a sixth refund returns an error from both GoCardless and Recurly.
- Individual line items on an invoice can be refunded, subject to the five-refund limit per invoice.
GoCardless integration with Recurly
Step 1: Enable GoCardless in Recurly
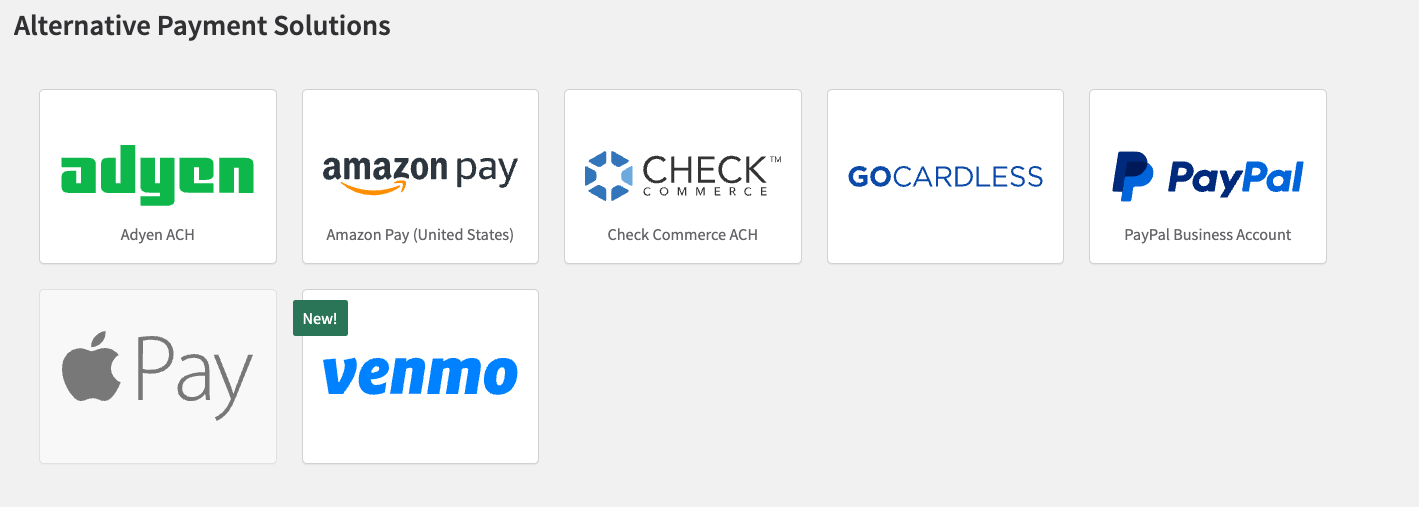
Step 2: Connect with GoCardless
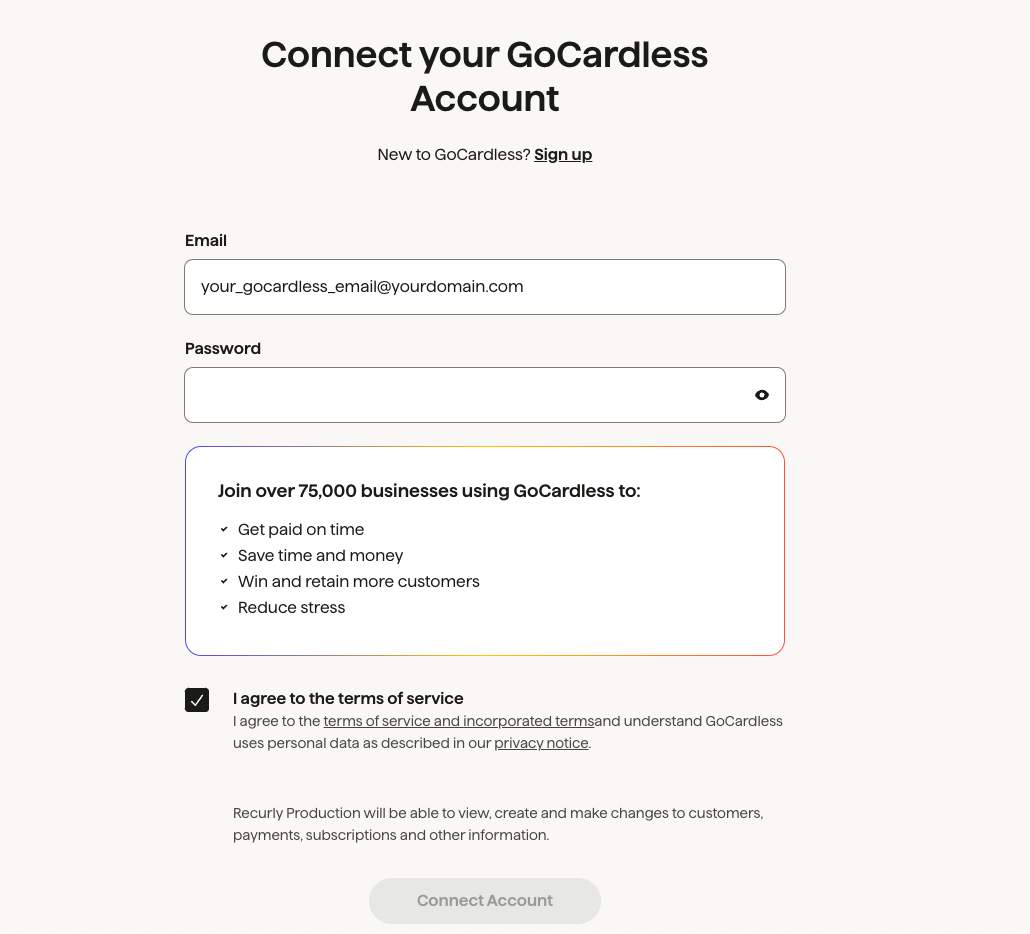
Step 3: Configure currencies and payment methods
Enable currencies
In Recurly, go to Configuration → Currency and enable the currencies for your payment schemes: EUR (SEPA), USD (ACH), GBP (BACS), AUD (BECS). Contact [email protected] if your desired currency or payment method isn't visible.
Enable late failure and chargeback webhooks
Enable GoCardless Late Failure and Chargeback notification webhooks in Recurly. Recurly automates late failure handling for SEPA and ACH to keep your Recurly and GoCardless accounts in sync — without these webhooks, transaction failures won't be reflected in your Recurly reporting.
Step 4: Set up Recurly plans
Confirm the relevant currencies are enabled on your Recurly plans under Configuration → Currencies.
Step 5: Configure address requirements
Based on the payment methods you're using, ensure you're collecting the required address fields at checkout. ACH requires a full address and name.
Step 6: Configure Checkout and Hosted Pages (optional)
Step 7: Set up email notifications
Configure and verify email notifications for New Subscription, Subscription Change, and Payment Notification. See GoCardless scheme documentation for exact timing of communications per payment method.
Step 8: Configure webhooks
Set up Recurly webhooks to stay updated on transaction status. See the Recurly webhooks documentation for setup instructions.
Step 9: Configure chargeback and late failure handling
When SEPA payments fail after merchant funding — typically when a customer disputes a charge — Recurly can automate the chargeback process and create a Refund Invoice marked as a chargeback.
Choose your chargeback handling mode
Select Create a refund transaction when a chargeback is received (default) to automate the process — you can also choose to automatically expire subscriptions on chargeback. Or select Manually process chargebacks if you prefer to create chargeback invoices yourself. Note: manual processing will cause your Recurly reporting to appear out of sync with GoCardless.
Step 10: Test the integration
Contact [email protected] to put your site in development mode, then connect your Recurly sandbox to the GoCardless sandbox and test your transaction flows end to end.
Step 11: Go live
Once testing is complete, switch your Recurly site from development mode to live mode and begin processing real transactions through GoCardless.
Processing a refund
Step 1: Review refund policies
Familiarize yourself with the GoCardless Safer Refund Period feature and decide whether you want it enabled before initiating any refunds.
Step 2: Locate the invoice and initiate the refund
In your Recurly dashboard, find the invoice for the transaction you want to refund and click the Refund button.
Step 3: Specify refund details
Choose a full or partial refund. For partial refunds, specify the amount or line items to refund.
Step 4: Process the refund
Review the details and click Process Refund. Wait for confirmation from GoCardless. Note that the Safer Refund Period may delay processing if enabled.
Step 5: Handle refund failures
If a refund fails due to the Safer Refund Period, a credit memo will be generated on the account in Recurly. This credit memo can be refunded externally if you need to return funds to the customer.
Updated 3 months ago