Nuvei
Connect Nuvei to Recurly to process card, Apple Pay, and Google Pay transactions globally — with 3DS2 support, dynamic descriptors, and AVS/CVV verification.
Limitations
- No raw card details or billing info IDs via API — Sending raw card data or billing info IDs without Recurly.js is not supported due to Nuvei's strict browser information requirement.
- Site mode switching not supported — Switching between production and development modes on a single site is not supported. Maintain separate Recurly sites for production and development testing.
- CVV required for all CIT card payments — This includes MOTO. Collect the CVV for all return customer transactions, signups, and one-time transactions. Recurly does not store CVV codes.
- Gateway tokens and chargeback notifications not supported — These features are not available for Nuvei at this time.
- Admin UI processing may not be supported — Nuvei's CVV and Customer IP requirements can prevent transaction processing via the Recurly Admin UI. For MOTO transactions, integrate via the API and collect the CVV from your customer directly.
Definition
Key details
| Feature | Details |
| Services that work with Recurly | Recurring subscriptions, payments (eCommerce and MOTO), 3D Secure |
| Supported operations | Authorize and Capture, Purchase, Refund, Verify, Void, Recurring, Unscheduled MIT |
| Supported payment types | Credit card, Apple Pay, Google Pay |
| Supported card brands | Visa, Mastercard, Amex, Discover, JCB, Diners Club, Union Pay |
| Unified 3DS2 supported | Yes |
| Card on file supported | Yes |
| Regions | Worldwide |
| Currencies | See all available |
| Additional feature support | Billing and shipping information, Level 2 data, dynamic descriptors, AVS / CVV checks, line item passthrough |
Set up Nuvei with Recurly
Step 1: Obtain your Nuvei credentials
In your Nuvei account, go to the REST API Configuration tab and click Generate New API Key. You'll also need the following credentials — see Nuvei's API credentials guide for details:
- Site ID
- Merchant ID
- Secret
- Source Verification Key
If you intend to use 3DS, also gather:
- Acquirer BIN (6 digits)
- Acquirer Merchant ID
- Acquirer Country
Step 2: Set up Nuvei webhooks
https://callbacks.recurly.com/nuvei/YOUR_SUBDOMAIN
Step 3: Enter credentials in Recurly
Step 4: Enable 3D Secure (optional)
Check Enable 3D Secure and enter your Acquirer BIN, Acquirer Merchant ID (CAID), and Acquirer Country. Contact Nuvei directly to obtain these values.
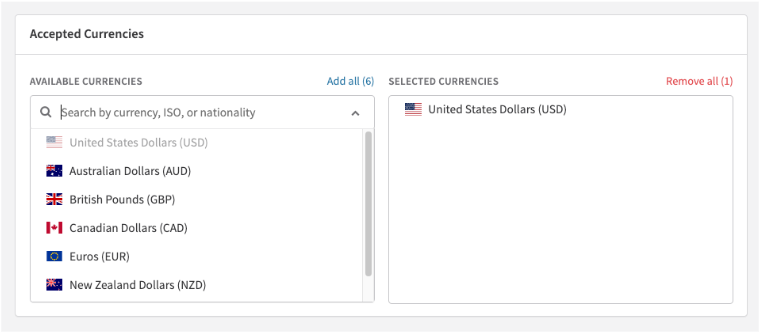
Step 5: Enable currencies
Select the currencies your Nuvei gateway is approved to accept.
Step 6: Save the gateway
Click Add Payment Gateway. If you're editing an existing configuration, this button reads Update Payment Gateway.
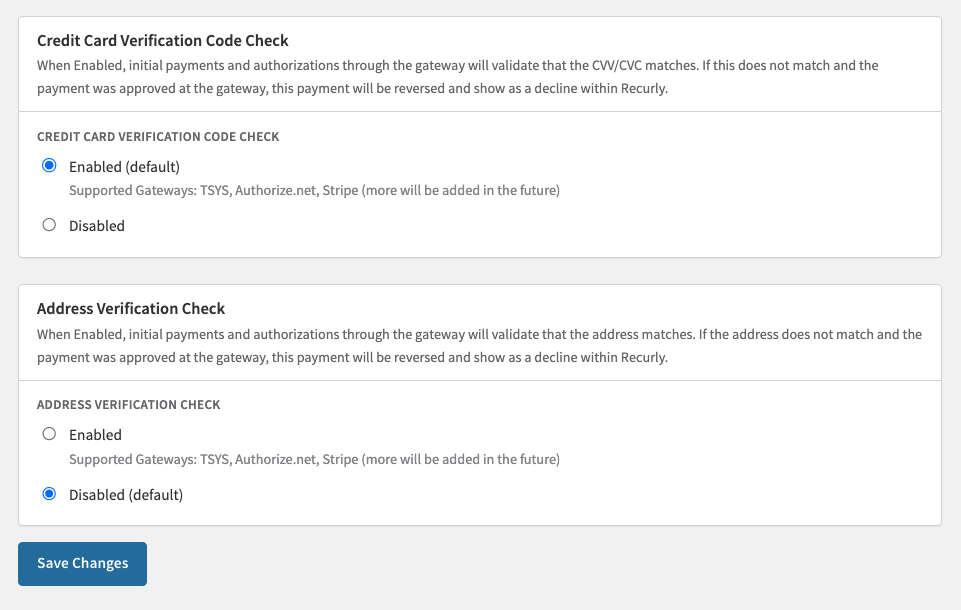
Step 7: Configure AVS and CVV checks (optional)
AVS and CVV settings apply to all supported gateways, not just Nuvei. Configure these in Configuration → Payment Settings.
Enable Address Verification (AVS)
Enable Card Code Verification (CVV)
Step 8: Test your integration
In Recurly, go to Configuration → Payment Gateways, select your Nuvei gateway, and click Options → Test Configuration. A confirmation message confirms Recurly can communicate with Nuvei successfully.
Step 9: Go live
Once testing passes, you're ready to accept live transactions. Monitor your transactions in both Recurly and Nuvei to confirm everything is running as expected.
Production and sandbox behavior
Nuvei's production and sandbox environments are entirely separate endpoints. If you create a Nuvei gateway instance while your Recurly site is in Production or Sandbox mode, transactions route to the corresponding Nuvei environment automatically.
If your site mode changes — for example, being moved to Development mode by Support — existing gateway instances will stop functioning. You'll need to create new gateway tiles and disable the old ones.
Updated 16 days ago