
User roles and permissions
Create and assign roles in Recurly to control what each team member can access and do — from read-only customer views to full site admin privileges.
Definition
Key benefits
Key details
Permission areas
Customers
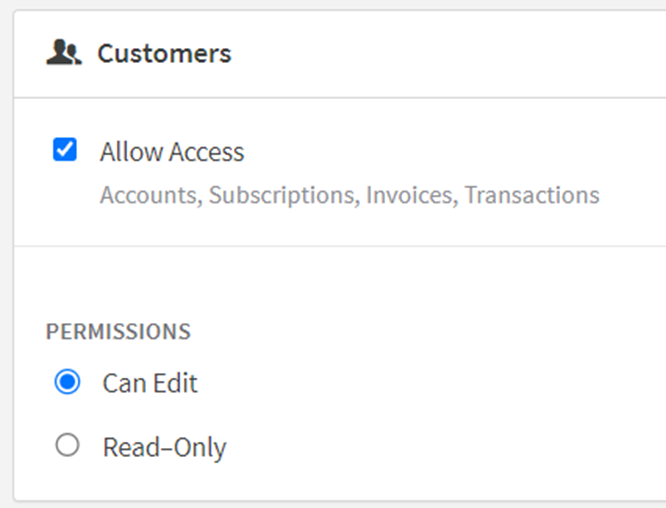
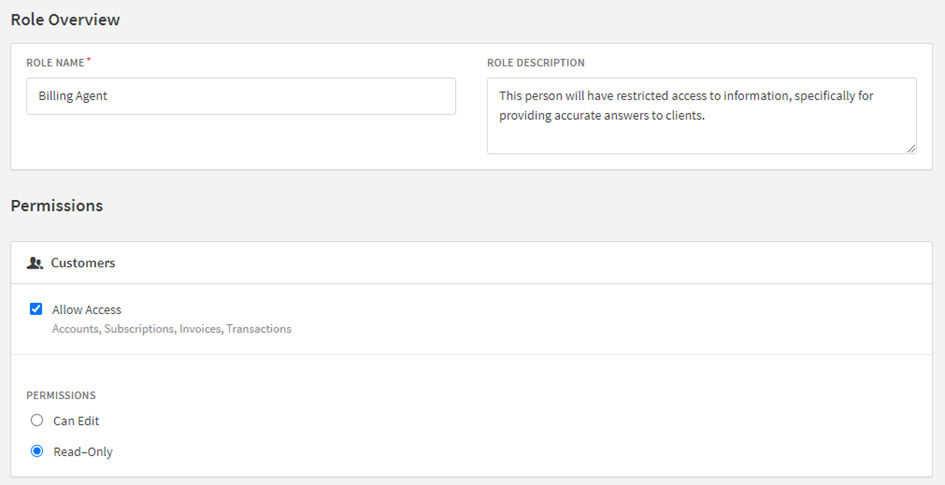
Two access levels are available for the Customers section.
Read Only — View accounts, invoices, transactions, and subscriptions; add account notes; and view customer information. Users at this level can't access Hosted Account Management links or update billing information.
Can Edit — All Read Only capabilities, plus the ability to edit accounts, subscriptions, invoices, and transactions. Note that editing, deleting, or adding plans, transactions, coupons, items, or gift card redemptions from the Customers section also requires edit access to the Configuration section.
Analytics
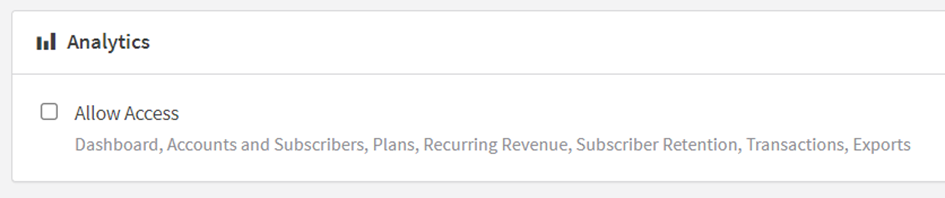
Users with Analytics access can view and export all data in the Analytics section, with full visibility into analytics reporting.
Revenue Recognition
Users can be assigned Read-Only or Admin access to Recurly's Revenue Recognition platform. The Allow Access checkbox enables or disables general access to Revenue Recognition for the role.
Configuration
Users with Configuration access can view and edit: Site Settings, Business Entities, Email Templates, Payment Gateways, Custom Fields, Hosted Payment Pages, Dunning Management, Measured Units, Tax Settings, Currencies, Fraud Management, Shipping Information, Network Tokens, Apple Pay, Entitlements, Payment Settings, Gift Card Settings, and Analytics Settings. They can also create, edit, and view Plans, Items, and Coupons.

Integrations
Users with Integrations access can view and edit Webhooks, API keys, and Recurly integrations with QuickBooks Online, Xero, Mailchimp, Salesforce, and Zendesk.
Admin
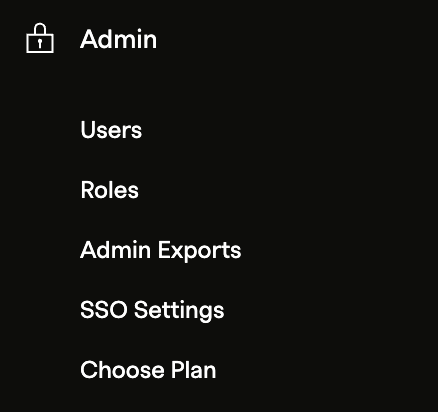
Users with Admin access have full control over company billing information, account settings, Users, Roles, Admin Exports, and SSO Settings — the highest level of access in Recurly.
Site Admin role
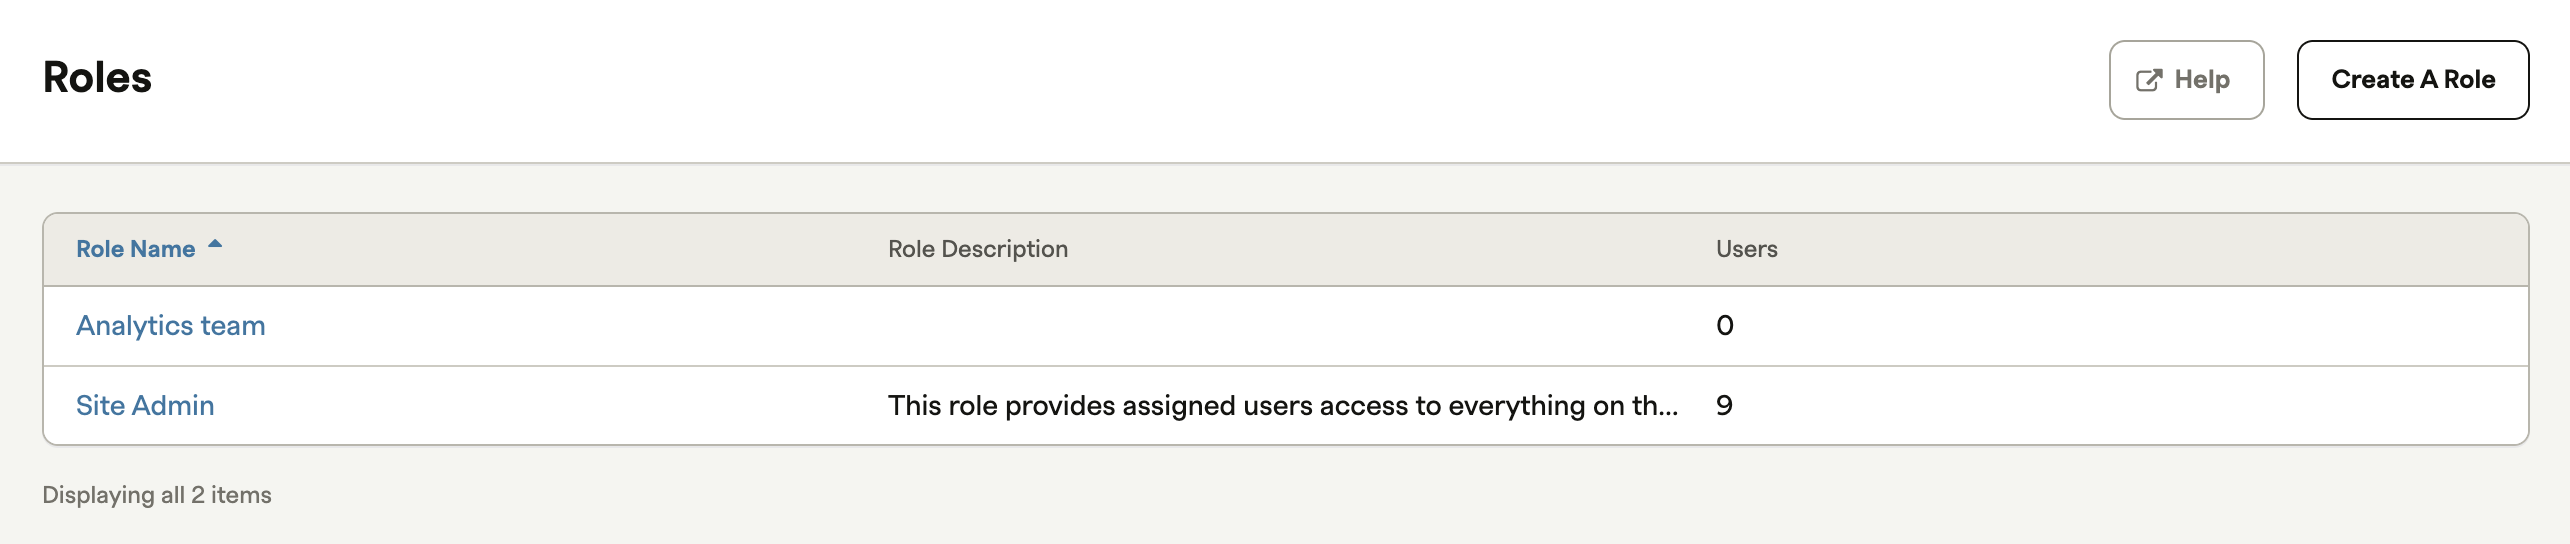
The Site Admin role provides unrestricted access to all features and settings in Recurly. It's automatically assigned to the first user added to a site, and at least one user must hold this role on every production site at all times.
Key things to know:
- Unrestricted access — Full access to all permissions, including billing information, account settings, and user management
- Mandatory presence — At least one site user must be assigned the Site Admin role at all times
- Can't be deleted or fully edited — The role itself can't be deleted or edited, except for its description. This prevents a situation where no one can manage the site
- Assign thoughtfully — Given the extent of its permissions, Site Admin should only be assigned to trusted individuals such as business owners or top-level managers
Out-of-the-box roles for pre-existing merchants
If your site was live in production before migrating to the roles-based user management system, Recurly provides a set of out-of-the-box roles to ensure a smooth transition:
- Out-of-the-box roles match the permission sets assigned to individual site users before migration
- They reflect the unique permission combinations that existed on your site
- You can create custom roles and rename or delete these roles as needed — except for the Site Admin role
- The Site Admin role is always created for every site and must have at least one user assigned at all times
Create a role
Delete a role
Reassigning and removing a Site Admin
To change or remove a user's Site Admin role, open the user's profile and select a different role from the User Role field.
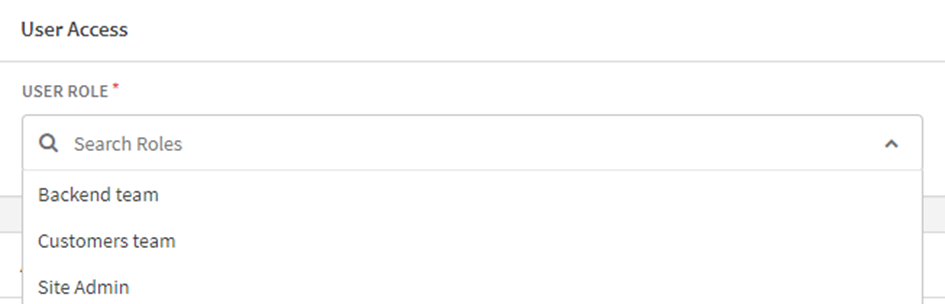
If the user is the only active Site Admin on the site, assign another user to the Site Admin role first. At least one user must hold the Site Admin role at all times.
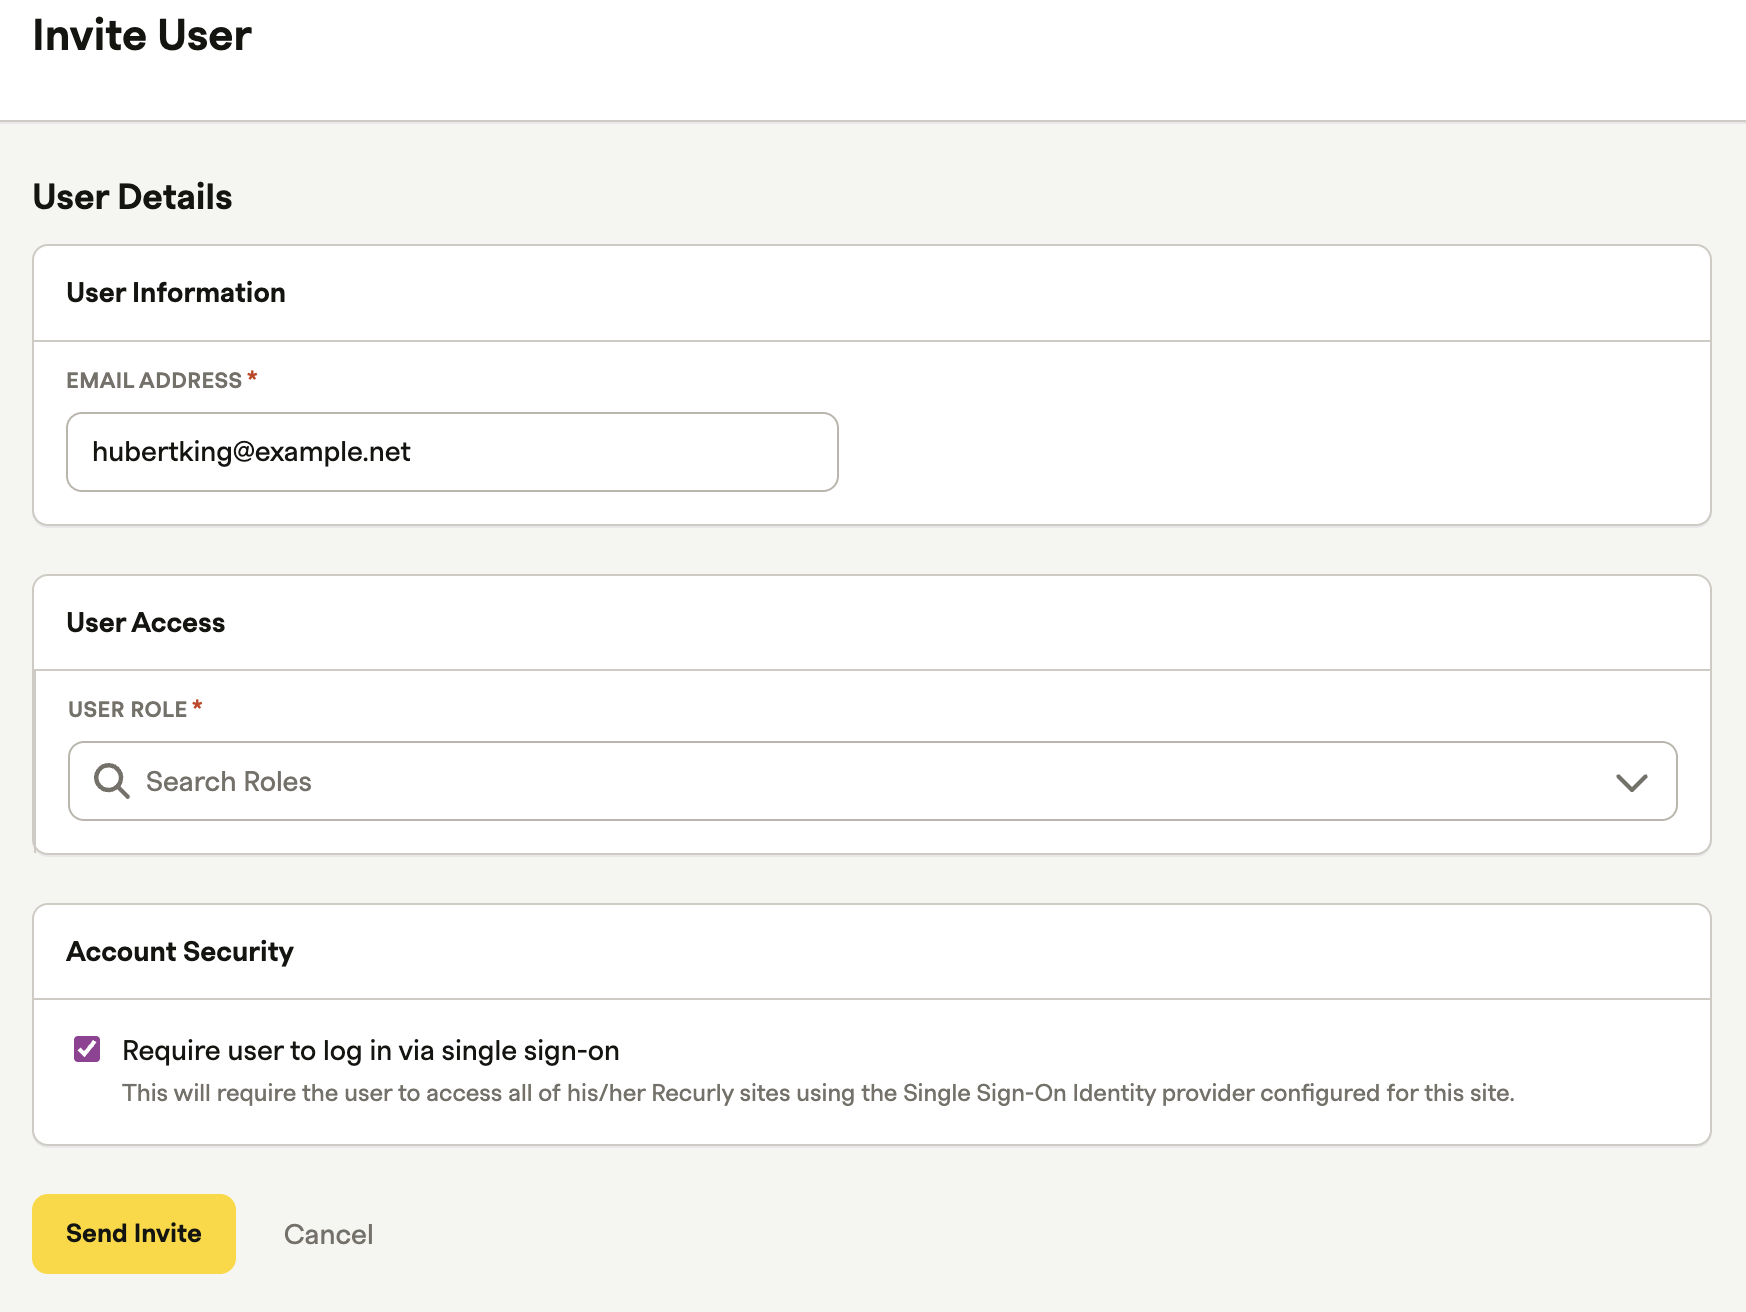
Invite a user
Updated 3 months ago