Vertex tax integration
Unlock global tax calculation on your Recurly invoices with Vertex O Series or Vertex Cloud integration. Seamlessly calculate and apply accurate taxes to enhance compliance and efficiency.
Overview
Required plan
This feature may not be included in the Starter or Pro plans. If you are interested, please contact Recurly Sales to discuss upgrade options.
Prerequisites
- Vertex account (Vertex O Series or Vertex Cloud)
- Credit Invoices feature enabled
Limitations
While Recurly extends support for a comprehensive set of Vertex tax parameters tailored to meet most common taxation scenarios, it is vital to understand that these parameters might not suffice for every unique taxation need. Given this, it is highly recommended that all merchants validate their specific taxation scenarios through a sandbox integration before implementing the Vertex integration in their live environment. This step ensures that the chosen Vertex configuration aligns perfectly with your distinct tax requirements, thereby promoting effective and compliant taxation practices in your business operations.
Definition
Recurly's Elite plan offers merchants the ability to perform global tax calculations on their invoices through integration with Vertex O Series or Vertex Cloud. Regardless of whether you prefer on-premise or on-demand solutions, Recurly supports both deployment modes for Vertex O Series and Vertex Cloud, including versions 7.0, 8.0, and 9.0.
Go live with Vertex checklist
To successfully integrate Vertex into your Recurly setup, follow this comprehensive checklist:
- Confirm your Business Entity company address(es) is(are) accurate.
- Determine which customer address (billing, account, or shipping) you wish to tax.
- Ensure your purchase form requires at least the minimum address fields needed for your tax regions.
- Confirm the current customer addresses you will tax are accurate and include a country.
- Configure your plans and charges with the correct taxability and tax codes.
- Enter your Vertex credentials on your production site before enabling the tax jurisdictions in Vertex.
- If your site has Multiple Business Entities configured, ensure that entities are mapped to your Vertex Company and (if necessary) Division(s) appropriately for accurate invoice data mapping and entity-specific tax filing.
- Update any purchase or subscription change previews to use Recurly's APIs for the tax preview portion, not Recurly.js.
- Mark any current customers as tax-exempt in their Account Info, if applicable.
- Test your integration on a sandbox site.
- Go live by activating your tax jurisdictions in Vertex.
Connect your Vertex account
To use the Vertex integration, please meet the following prerequisites:
- You must be on the Elite Recurly plan.
- The Credit Invoices feature should be enabled on your site (Configuration → Invoice Settings in the Recurly Admin Console).
Note: Review the feature details before enabling Credit Invoices to fully understand this change.
We recommend connecting your Vertex account to Recurly before you enable your tax jurisdictions in Vertex. This will allow time to configure your Recurly account for taxes before you begin collecting taxes in those jurisdictions.
If you meet the prerequisites and have a Vertex O Series, 9 Series, or Vertex Cloud account, follow these steps to enable Vertex for your Recurly site:
- Contact Recurly Support to request the Vertex option for your site.
- After Recurly Support has enabled Vertex for your site, navigate to the Taxes section in the left-hand panel.
- Click “Connect to Vertex” in the right sidebar.
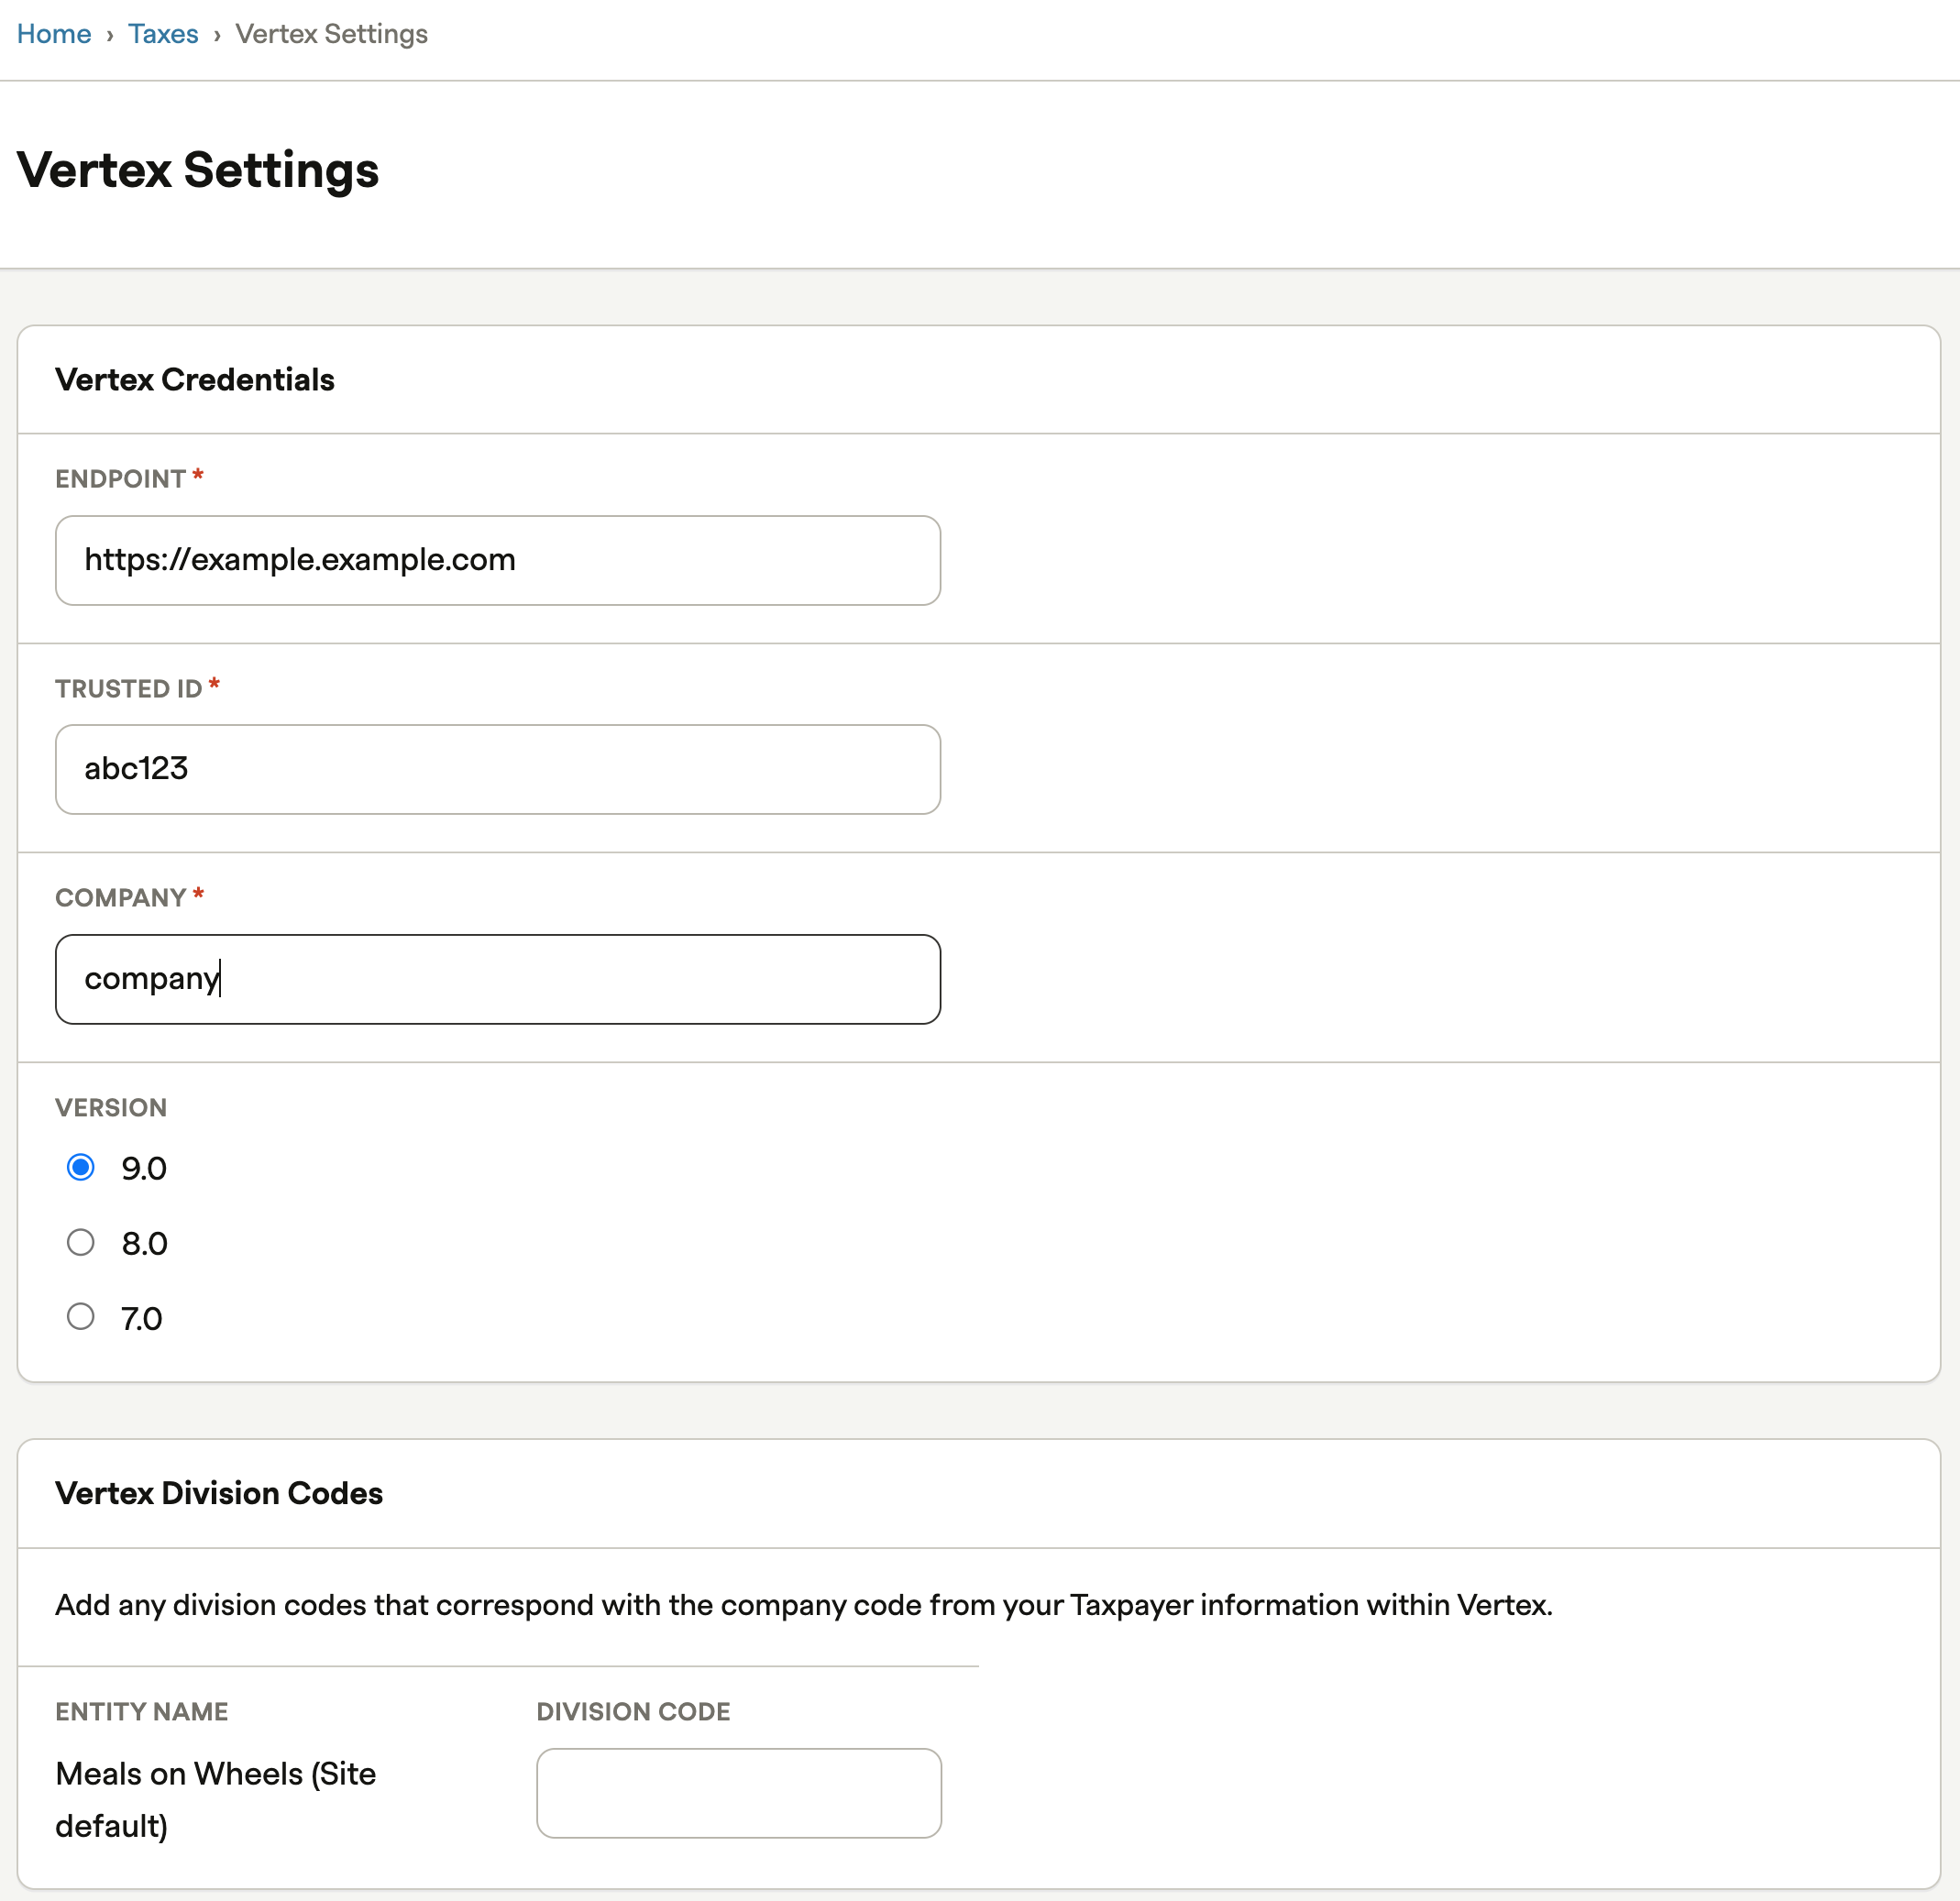
- Have your Vertex Endpoint, Trusted ID, Company, Division(s), and Version ready, and enter these values on the form:
- Endpoint: Enter the URL where your WSDL is hosted, up to the ".com" part. You must provide a secure HTTPS URL. For example, if your URL is https://vertex-prod.yourcompany.com/vertex-ws/services/CalculateTax90?wsdl, then enter https://vertex-prod.yourcompany.com. Recurly will append the /vertex-ws/services/CalculateTax90?wsdl to the end of your URL and replace 9.0 with 8.0 or 7.0 depending on the version you select. Check our IP Allowlist documentation for IP addresses to allow through.
- Trusted Id: Every Vertex instance has a trusted ID, which is your API password. Recurly doesn't use a username and password to ensure your tax collection isn't shut off due to a user lockout or accidental password reset or deletion. If you're unsure about your Trusted Id, contact Vertex.
- Company: This represents the taxpayer in your Vertex instance with jurisdiction rules that apply to your invoices. If you have a division, this is the parent taxpayer.
- Division: This is the child taxpayer in your Vertex instance. If you have a Division(s), it's likely that this taxpayer has jurisdiction rules that apply to your invoices. You can have multiple Divisions configured on your Vertex site that map to Recurly Business Entities, however, the Divisions must roll up to the same singular Company code within Vertex. If you do not add Division codes to Business Entities within your Recurly tax configuration, all invoices assigned to unmapped entities will fall back to and be filed under the main Vertex Company code configured in your tax integration.
- Version: The Recurly Vertex integration currently supports O Series or Cloud 7.0, 8.0, or 9.0. Select your version.
- Click Save Changes.
- Test the connection by clicking the Test Configuration button to ensure successful integration.
Configure Recurly tax settings with Vertex
To ensure accurate tax calculations and compliance, Recurly provides several configuration options for integrating with Vertex. Here's a breakdown of the key features and how they can be used:
Your merchant address and tax registration numbers
In the Recurly Admin Console, under Configuration → Business Entities, you can configure your merchant address, which will be displayed on the invoices. This address is sent to Vertex as the merchant address and must meet certain requirements. You can also add tax registration numbers, such as VAT Number and Registration Number, which will appear on customer invoices under your address.
Business Entity division mapping
In the Recurly Admin Console, configure invoice data mappings between your Recurly Business Entities and your Vertex Company and/or Divisions. All Divisions in Vertex must be configured under the same Company for a successful invoice mapping. This will help ensure that an invoice with a given Business Entity applied will be sent to the correct Vertex Company or Company's Division for tax filing purposes within Vertex.
Recurly only support mappings of Divisions within 1 single Vertex Company. However, you can add as many Divisions within that single Company as you need within Vertex to reflect each unique Business Entity you have configured within Recurly. Always double check that you enter Company and Division codes into Recurly exactly as they present within Vertex, as this field is case-sensitive in Recurly App. If you do not map the Company and Division codes exactly as they are entered into Vertex in the corresponding Company/Division fields in Recurly, the mapping will be unsuccessful.
Customer address collection
When taxes are enabled, Recurly requires you to collect at least the customer's country. If you prefer not to ask customers for their country, you can infer it from other evidence and set it in the request to create the address in Recurly. It's important to collect enough address elements for Vertex to apply taxes correctly.
Configure plans and charges
To map your Recurly products to taxability rules in Vertex, you have two options: using Vertex Product or Vertex Product Class.
Using Vertex product
You can associate each Recurly product code (Plan Code, Add-On Code, Item Code, and adjustment Product Code) with a corresponding product rule in Vertex. This requires configuring each product code to match a specific product rule in Vertex. However, this option may not be ideal for large product catalogs as it requires consistent updates in both Recurly and Vertex.
Using Vertex product class
The recommended configuration is to use Vertex's Product Class. Create a Product Class in Vertex for each unique taxability rule and set that Product Class as the Tax Code for the corresponding products in Recurly. This approach provides more flexibility and requires maintaining up-to-date tax codes in Recurly when product classes are changed in Vertex.
Recurly tax codes
If you are not using Recurly Taxes powered by Avalara and have the Vertex feature on your site, you can set tax codes for plan fees, add-on fees, and one-time charges. The timing of setting tax codes depends on your circumstances:
- No Existing Subscribers: If you're starting with a clean slate, ensure you set tax codes and add your Vertex credentials before processing invoices through Recurly.
- Existing Subscribers, No Taxes Enabled: If you have existing subscribers being invoiced through Recurly without taxes, you can connect your Vertex credentials without enabling tax jurisdictions. When you're ready to start taxing, enable the jurisdictions in Vertex, and invoices will automatically return tax.
- Existing Subscribers, Taxes Enabled: If you're transitioning from Recurly Taxes powered by Avalara to Vertex, Vertex will default to taxing your customers based on the physical tax rate. Enable the jurisdictions in Vertex that match your current tax setup in Recurly and add your Vertex credentials. Invoices will start flowing to your Vertex account immediately. After the transition, you can configure advanced taxability rules and add new jurisdictions using the tax code field.
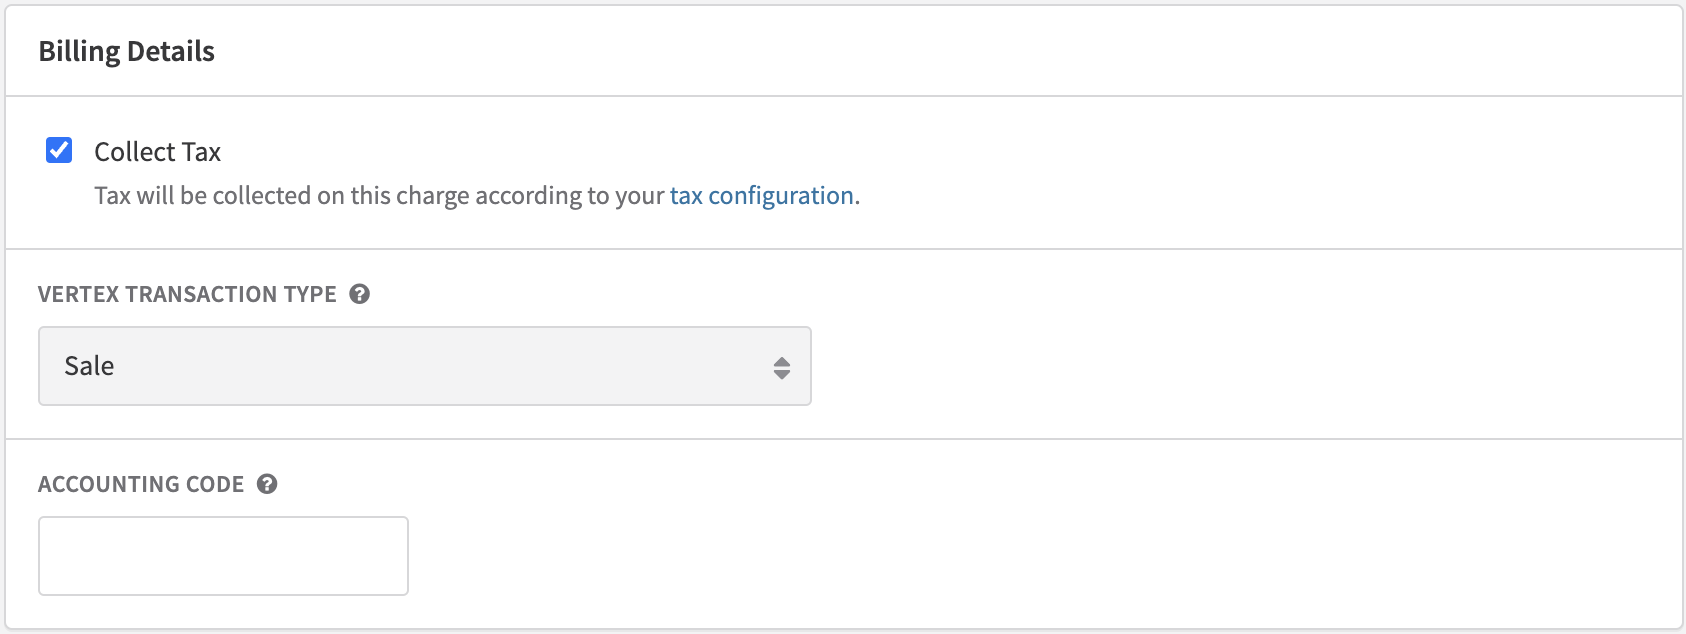
Vertex Transaction Type
The Vertex Transaction Type field is a field only available for merchants with Vertex integrations, and requires a Recurly Support ticket to enable.
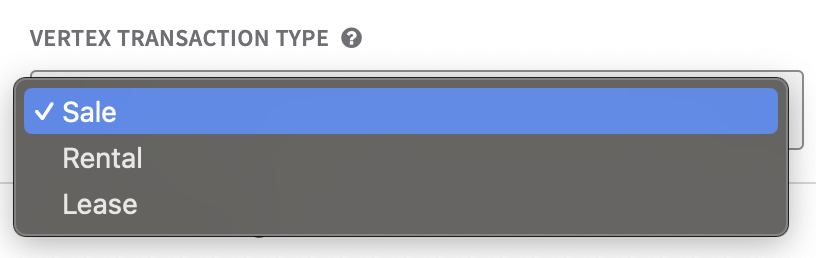
The Vertex Transaction Type field is currently only configurable on the Plan object and on one-time charges, via UI and both API versions. This field is essentially a secondary tax code to help further classify the type of transaction you are taxing via Vertex. Merchants can use this to classify if their products/services should be taxed as a standard sale, or as a rental, or lease. Distinguishing transaction types can lead to transactions in certain subscriber locations being tax-exempt or otherwise, which ensures your subscribers pay the most accurate tax amount on your goods. By default, each plan and one-time charge is assigned the standard "Sale" Vertex Transaction Type.
Within the Plan configuration page, open the dropdown to select the desired transaction type you would like to apply to the given plan. The Vertex-provided options are Sale, Lease, and Rental. Once you select your Vertex Transaction Type of choice, make sure to Save your changes. After saving, all renewals and forward-moving invoices and subscriptions created under that plan will have the corresponding transaction type applied when calculating tax.
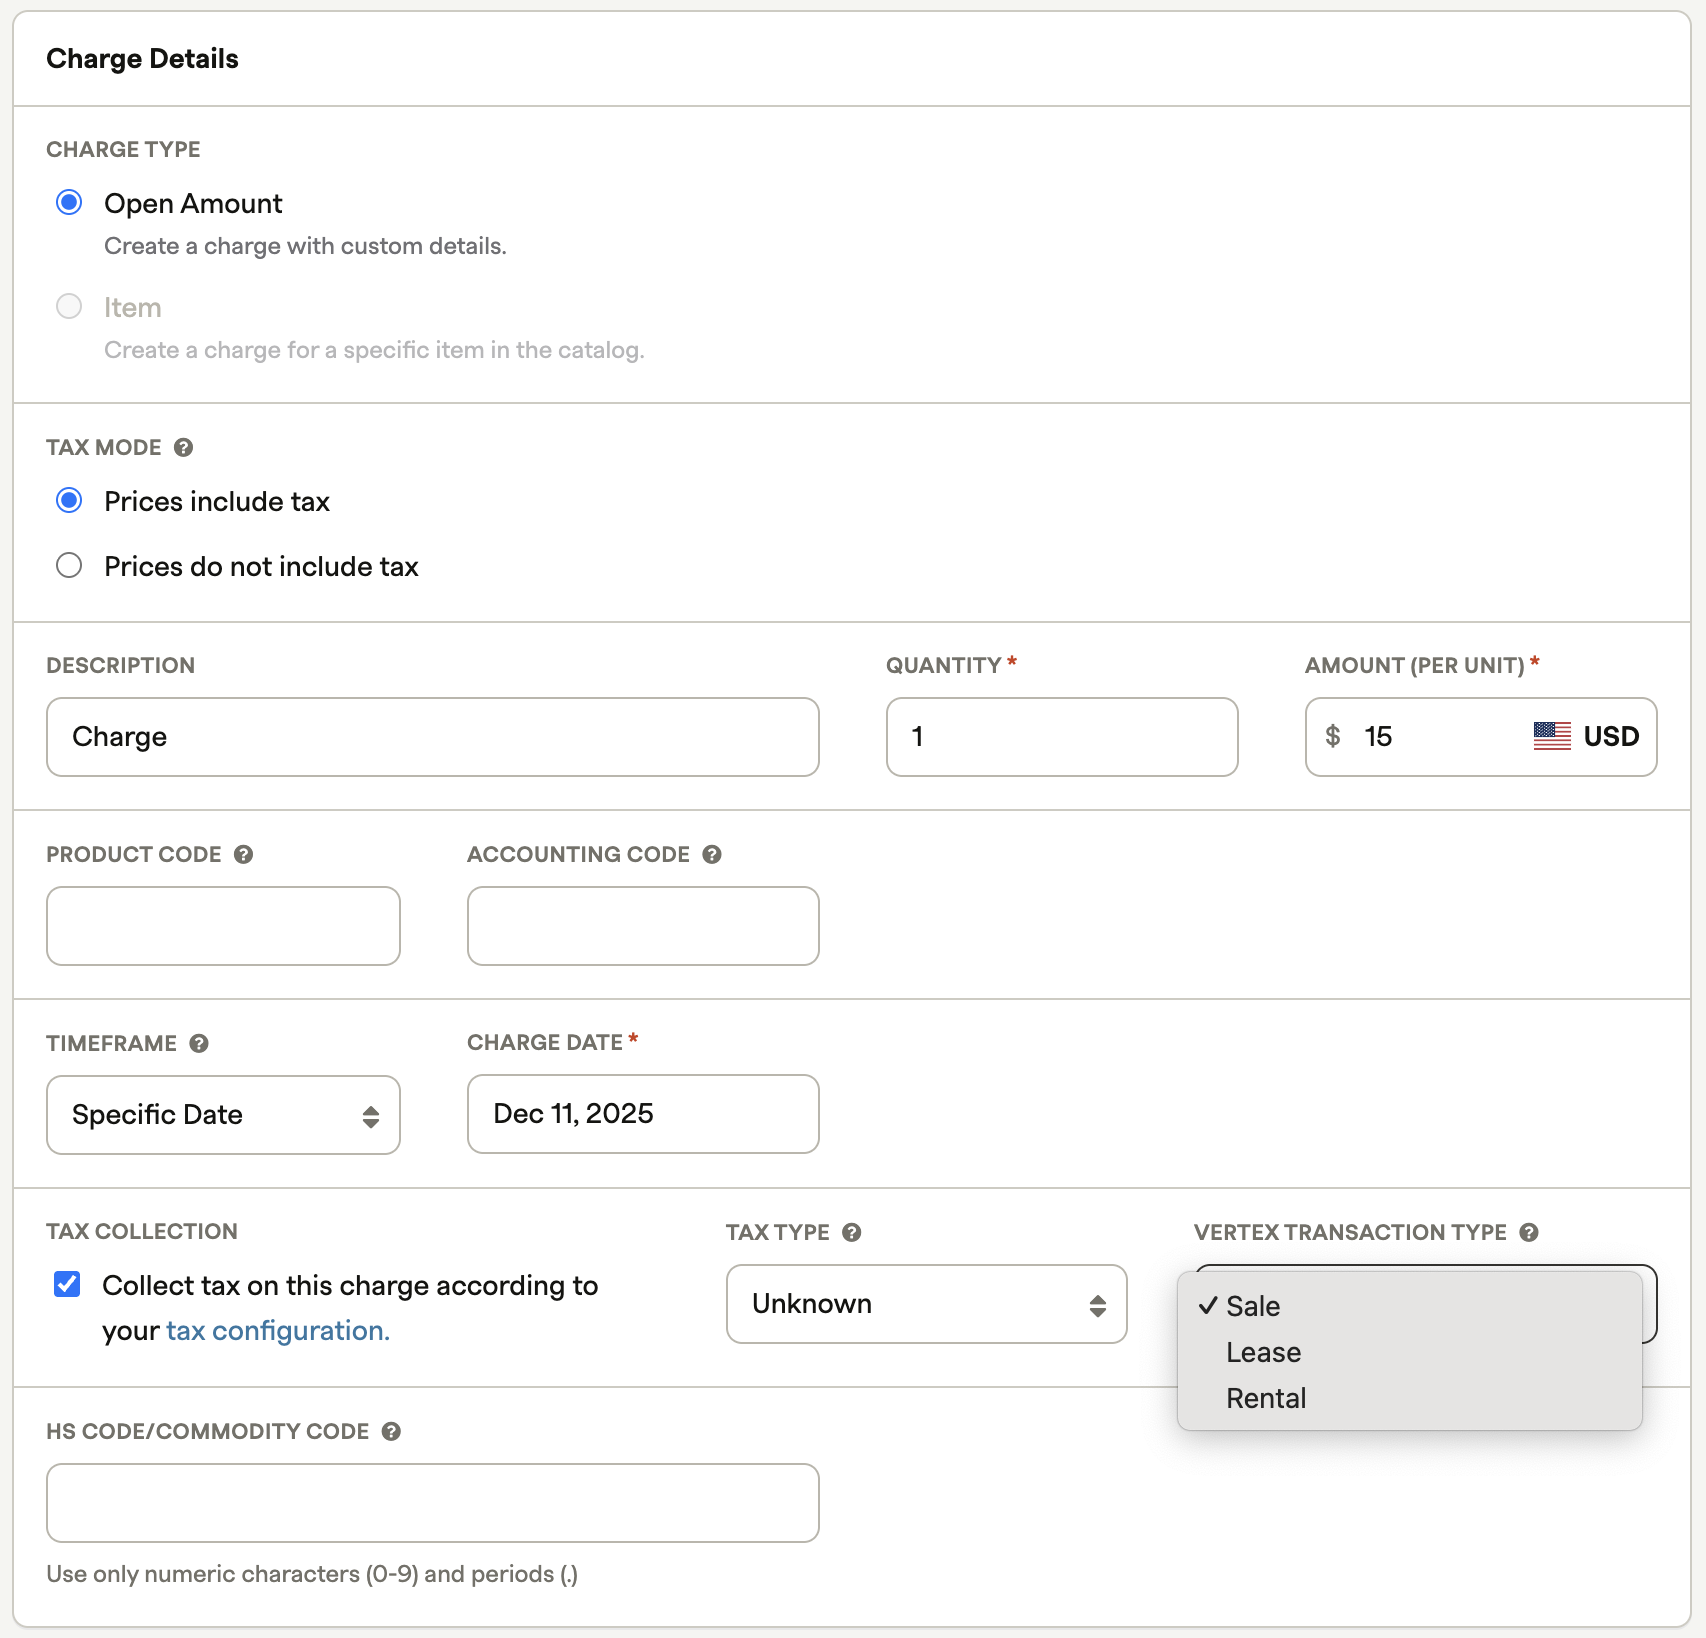
On the Add Charge page, you will see the same dropdown within the Charge Details.
If you are transitioning from your own Avalara account to Vertex, you need to configure your current tax codes as product classes in Vertex, mapping them to the appropriate taxability rules. Only after configuring your Avalara codes in Vertex should you add your Vertex credentials in Recurly. This ensures proper refund support for invoices processed through Avalara.
By configuring these settings, you can seamlessly integrate Recurly with Vertex for accurate tax calculations and compliance with tax regulations.
Invoicing
Once you enable Vertex, all customer invoices go to your Vertex account, regardless of their location. Invoices with tax included will show an additional Tax column in the line item table displaying the rate for each line item. Below the line item table, a tax section displays the total tax amount for the invoice. It appears below the Subtotal and above the Total, showing the location, tax type, and rate (e.g., “FR VAT 20%” for French VAT).
In addition, Recurly's integration with Vertex comes with the ability to breakdown taxes in greater detail based on the jurisdiction type. This setting, Communication Tax Breakdown, can be found when creating or editing an invoice, is only visible when Vertex is turned on for your site, and can be used internationally. Once turned on, the tax breakdown will be displayed on invoices, invoice previews, and PDF invoices.

Tax previews
Recurly offers tax previews for Vertex customers via the API in the Preview Subscription, Preview Subscription Change, Preview Purchase, and Preview Invoice endpoints. These calls allow Recurly to query Vertex directly for tax information and return it in the preview. Currently, tax previews for Vertex are not supported by Recurly.js, the Recurly Admin Console, Checkout or the Hosted Payment Pages.
The previews are sent to Vertex as a Quotation Request and do not create entries in the Tax Journal.
Tax inclusive pricing
Tax inclusive pricing is available with Vertex. For more information, refer to the Tax Inclusive Pricing page.
Issued invoices
Recurly sends all issued invoices as an Invoice Request to Vertex, which creates an entry in the Tax Journal. Charge invoices send a positive Invoice Request, while credit invoices send a negative one. Events such as refunds, subscription changes, or write-offs lead to credit invoice events. Note that one-off credit invoices don't go to Vertex, as they're not related to a charge invoice and, therefore, don't include tax.
In certain scenarios, Recurly sends an additional request for the invoice to remove it from the Vertex Tax Journal:
- Failed purchases due to credit card decline: Recurly sends a negative Invoice Request for the opposite amount to offset the initial invoice.
- Voided credit invoice: Recurly sends a positive Invoice Request.
Exempt products or customers
If you wish to exempt certain line items from tax, you can do this at the plan, account, or one-time charge level. In the API, this is the tax_exempt attribute. If a plan or an account is exempt, all associated invoice line items are treated as exempt. However, if a one-time charge is exempt, only that specific line item is exempt. You can also configure a product or product class in Vertex to ensure the line item is tax-exempt.
Reporting
You can access invoice and line item tax rate, amount, type, geocode, and region data via exports and the API for your tax reporting needs.
Errors and downtime
Recurly, by default, blocks purchases when Vertex returns an error. You can disable this in the Recurly Admin Console under Configuration→Taxes→Tax Settings under “Tax Service Settings”.
Flexible fields
During integration setup, you can specify a FlexibleField ID and the value you'd like to pass into that FlexibleField for all Recurly documents (charge and credit invoices). This enables you to segment the data from a specific Recurly site from all other data you have in Vertex.
Field mapping
This section details the fields that Recurly sends to Vertex with each invoice that is created. This core set of data fields supports basic tax configurations. If you require additional fields as part of your tax setup, contact your Vertex rep and Recurly Sales or Support to see if that request can be supported.
| Recurly Attribute | Vertex Attribute |
|---|---|
| Invoice number | Request/documentNumber |
| Invoice posted date | Request/documentDate |
| N/A | Request/TransactionType (always sends "SALE") |
| Invoice currency | Request/isoCurrencyCodeAlpha (defaults to "USD") |
| Vertex credentials/company | Request/Seller/Company |
| Vertex credentials/division(s) | Request/Seller/Division(s) |
| Business Entity address | Request/Seller/PhysicalOrigin Request/Seller/AdministrativeOrigin |
| Customer account code | Request/Customer/CustomerCode Must be 40 characters or less. |
| Invoice taxable address (e.g. - Bill To or Ship To) | Request/Customer/Destination Request/LineItem/Customer/Destination (for credit line items) |
| VAT number for invoice taxable address | Request/LineItem/Customer/TaxRegistration |
| Line item product code (e.g. - plan code, add-on code) | Request/LineItem/Product |
| Line item tax code | Request/LineItem/productClass |
| Line item subtotal after discounts | Request/LineItem/ExtendedPrice |
| Line item's original invoice number (for credit line items / refunds) | Request/LineItem/FlexibleFields |
| Line items' original invoice posted date (for credit line items / refunds) | Request/LineItem/taxDate |
Limitations
Vertex requires the Customer Code to be 40 characters or fewer. Recurly allows up to 50 characters for Account Code, so ensure that your Recurly Account Codes are within Vertex's character limit to avoid declined transactions.
Disable Vertex
If you need to disable your Vertex integration, you can do this on the Taxes page by clicking “Disable Vertex”. This will clear all tax codes configured in your plans and halt tax collection on your invoices.
Updated 3 months ago