Single sign-on
Configure Single Sign-On (SSO) in Recurly with Okta, Microsoft Entra, or Google — including SAML setup, certificate management, user transitions, and SCIM provisioning for Okta.
Limitations
- User provisioning: New users must be added manually in Recurly before they can authenticate via SSO for Microsoft Entra and Google. For Okta, user provisioning can be automated via SCIM — contact [email protected] for details.
- Supported identity providers: Recurly SSO currently supports Okta, Microsoft Entra, and Google. Contact [email protected] to discuss other providers.
- SCIM for Okta is available on request — contact your Recurly account manager or [email protected] for details.
Definition
Key benefits
Key details
Key principles
- One-to-one relationship — Each Recurly user must have a corresponding account in the identity provider. A user can't use two different identity providers for the same Recurly account. For access to multiple Recurly sites via different providers, separate Recurly accounts are required.
- User ID matching — The email address registered in Recurly must exactly match the email in your identity provider. Update the Recurly user email first if they differ.
- Site-level configuration — SSO is configured per site. If a user is associated with multiple sites, the first site that requires SSO determines which identity provider and configuration the user must use.
- Access control is separate — SSO handles authentication only. Once logged in, users have access to all Recurly sites associated with their account.
- SSO replaces two-factor authentication — When a user switches to SSO, Recurly's two-factor authentication is disabled for that account.
- Limited provider support — Only Okta, Microsoft Entra, and Google are currently supported. Contact [email protected] for other providers.
SSO certificates
Your identity provider generates an SSO public certificate used to sign and encrypt SAML responses between Recurly and your IdP. This certificate verifies that login requests are from the correct source and haven't been tampered with.
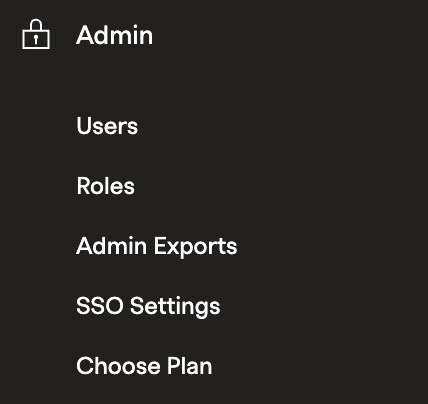
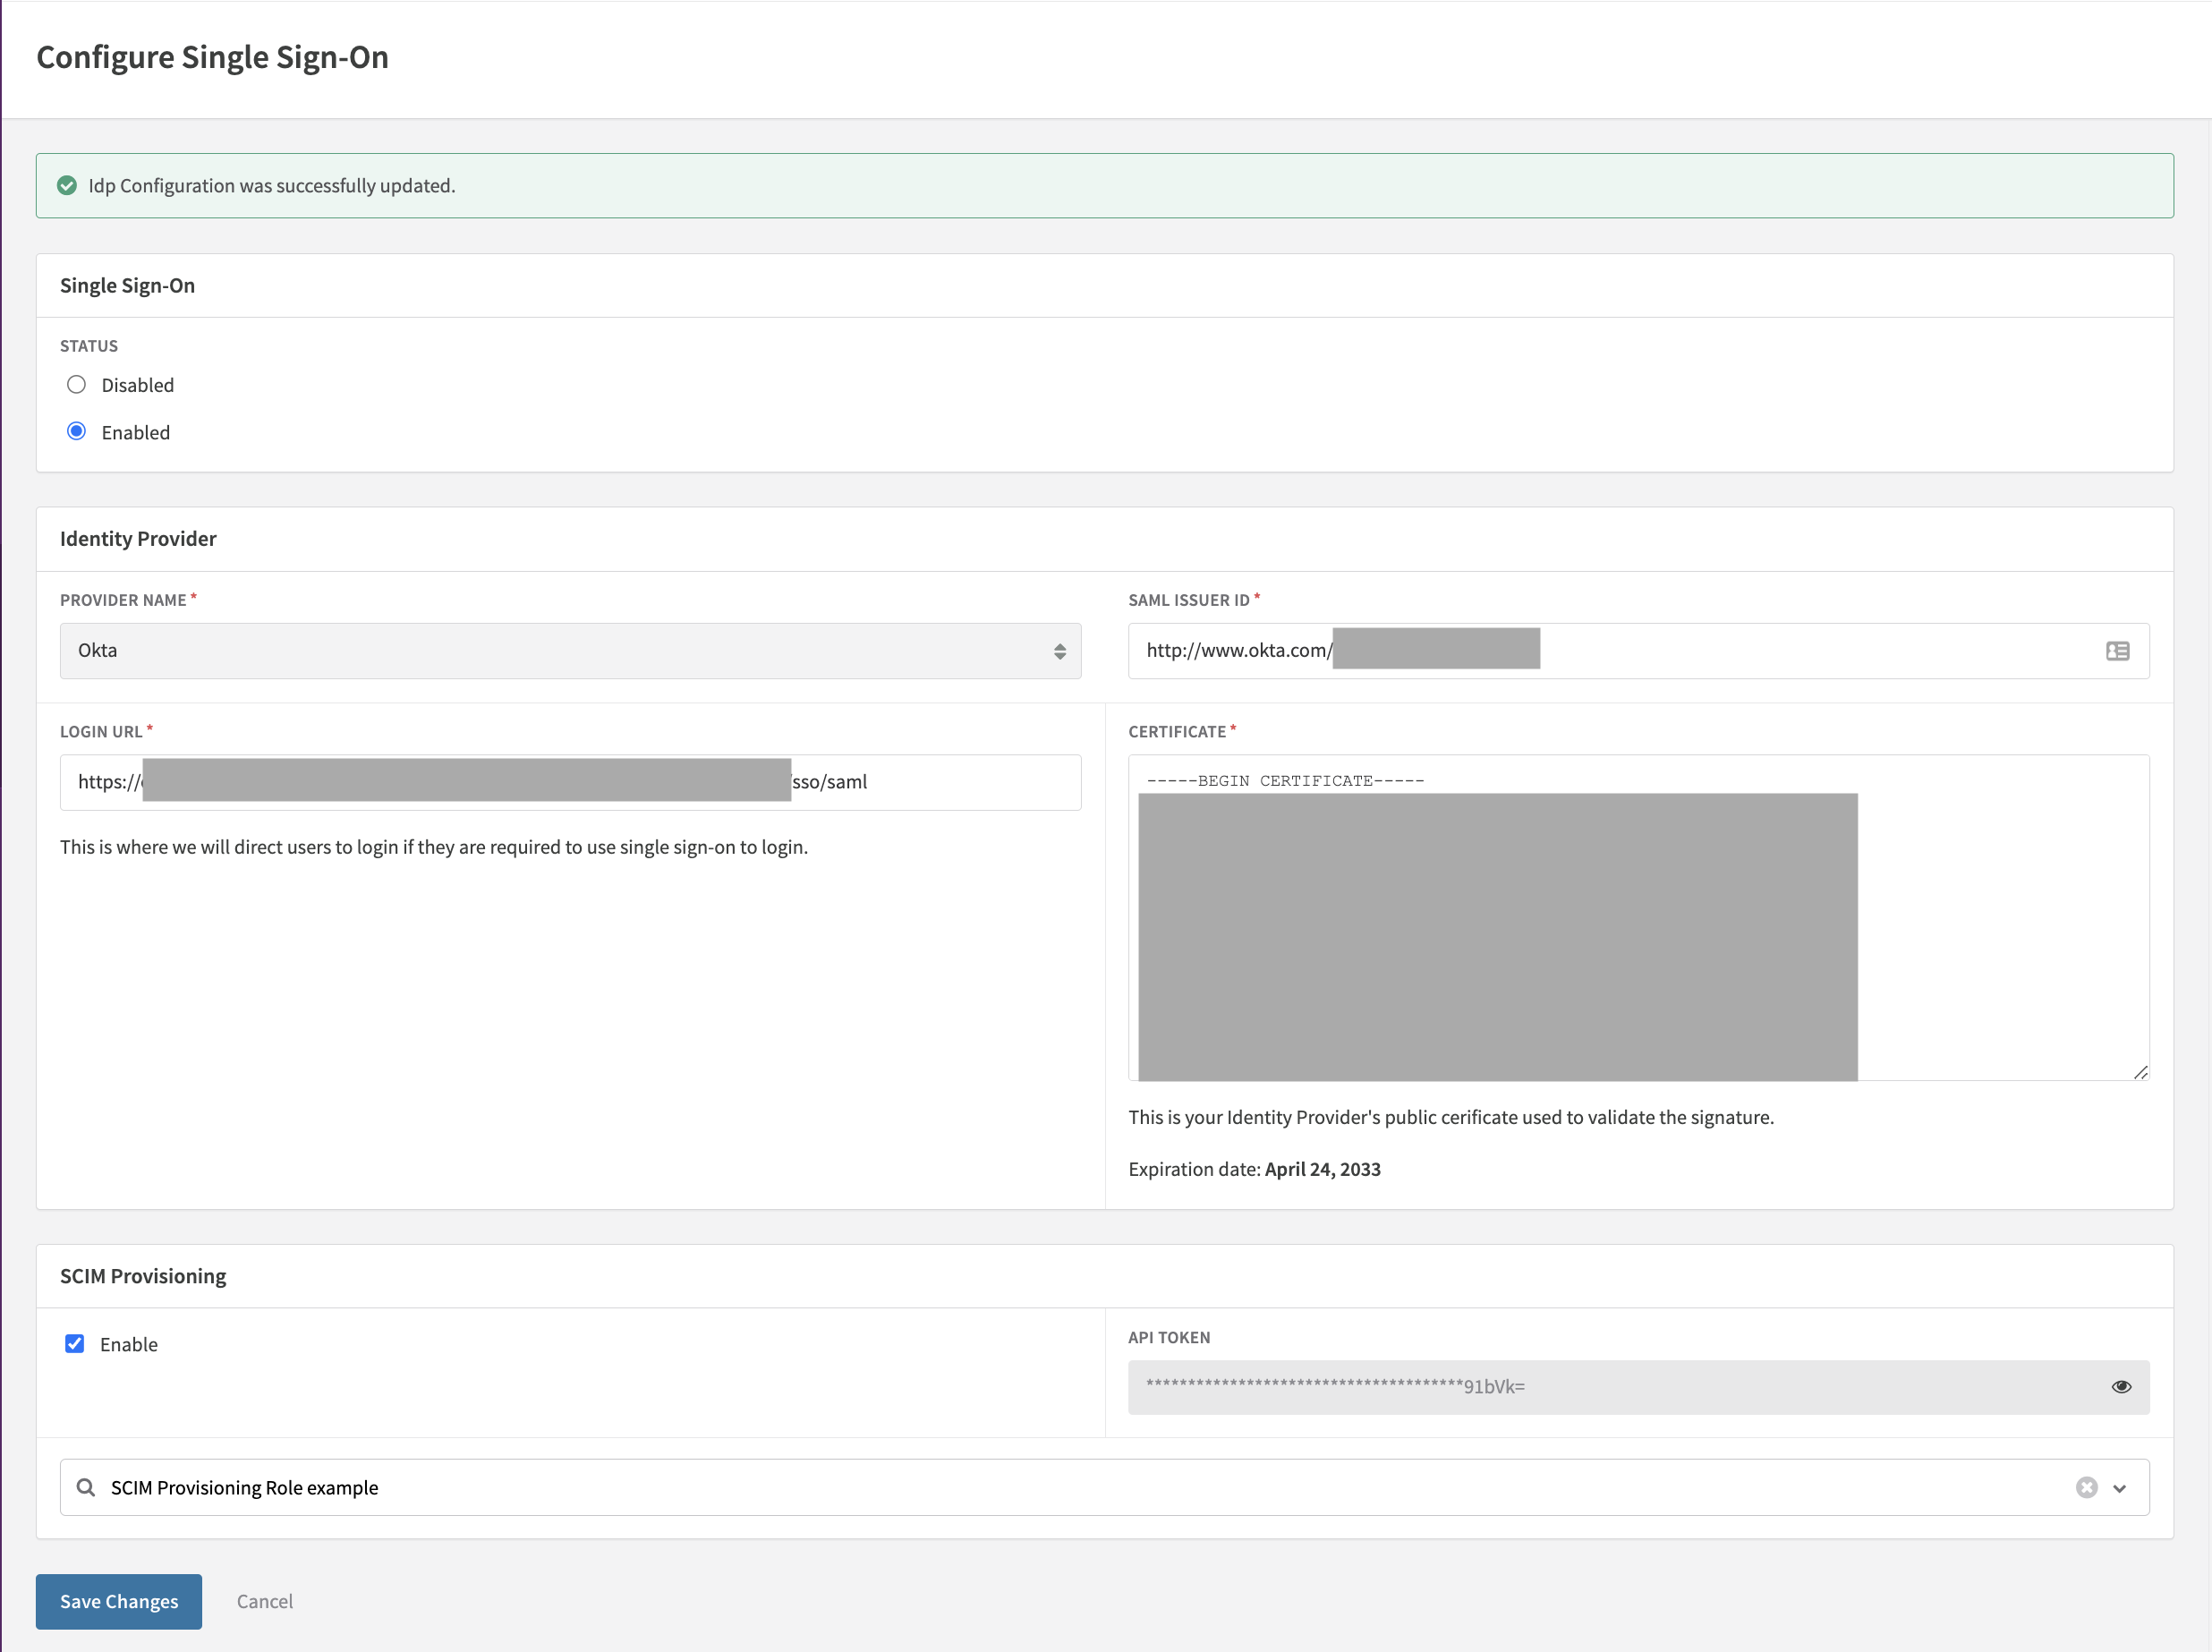
If the certificate expires and isn't updated, SSO users will be unable to log in. To find the expiration date, go to Admin → SSO Settings in Recurly — the expiration date is displayed alongside the certificate. Renew the certificate before it expires to avoid login disruptions.
Set up Okta
Step 1: Add the Recurly app in Okta
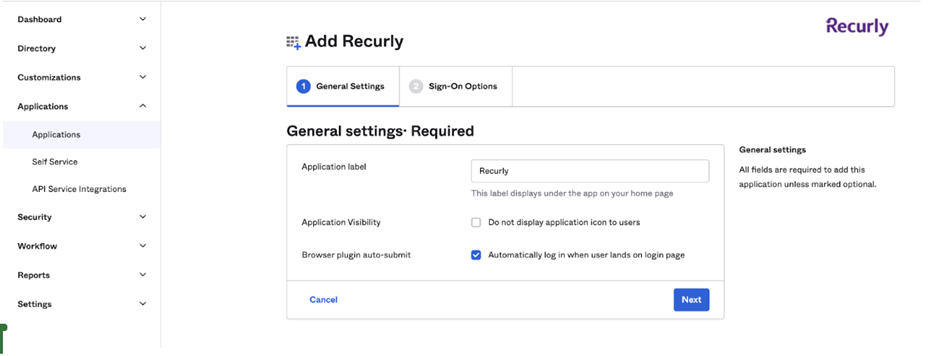
Upload the Recurly certificate
Get a copy of the certificate from [email protected] and upload it in this step.
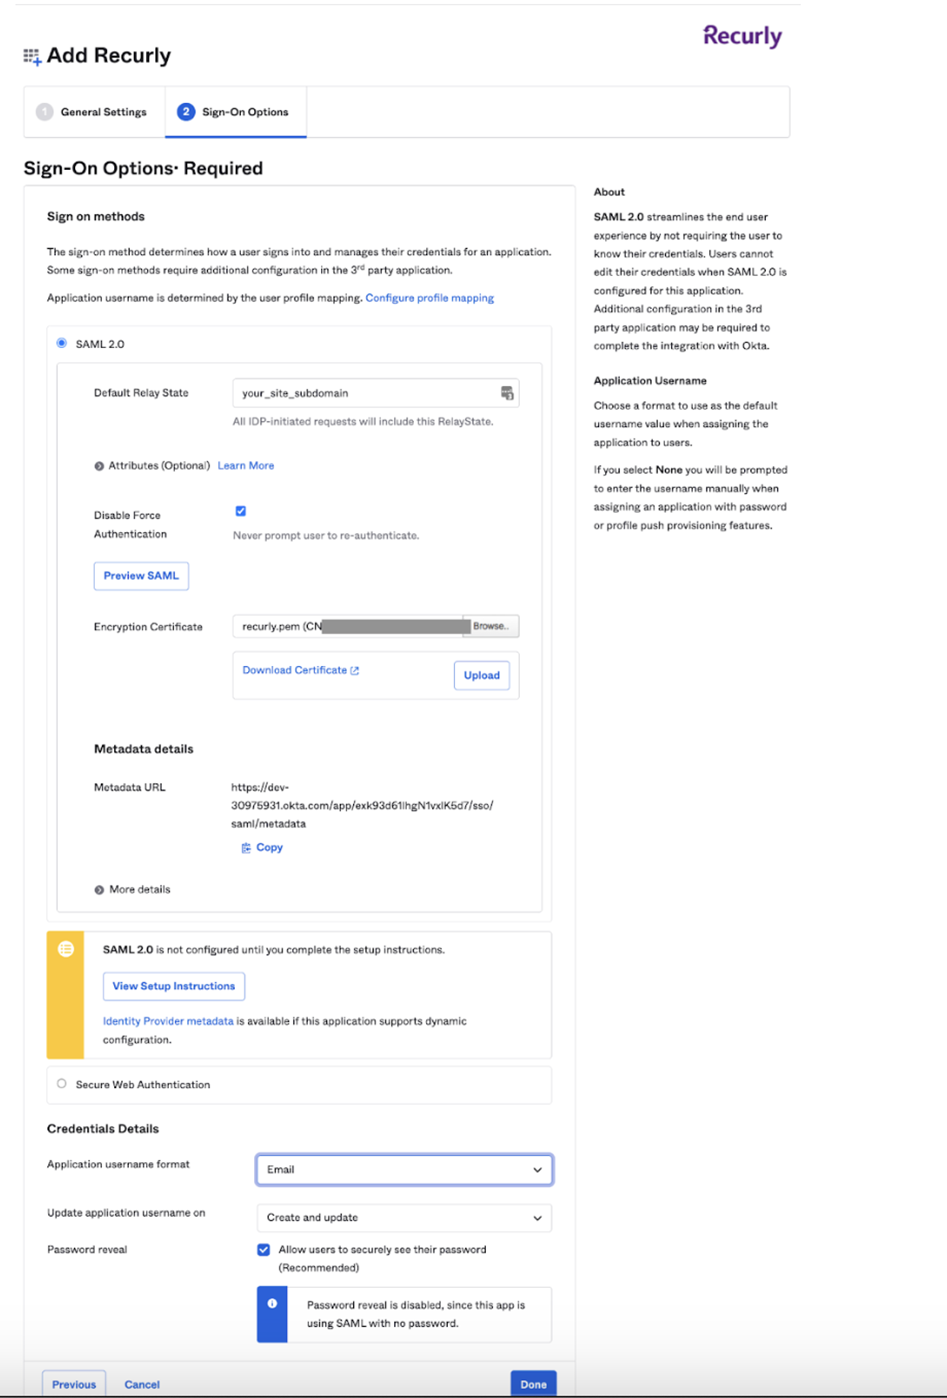
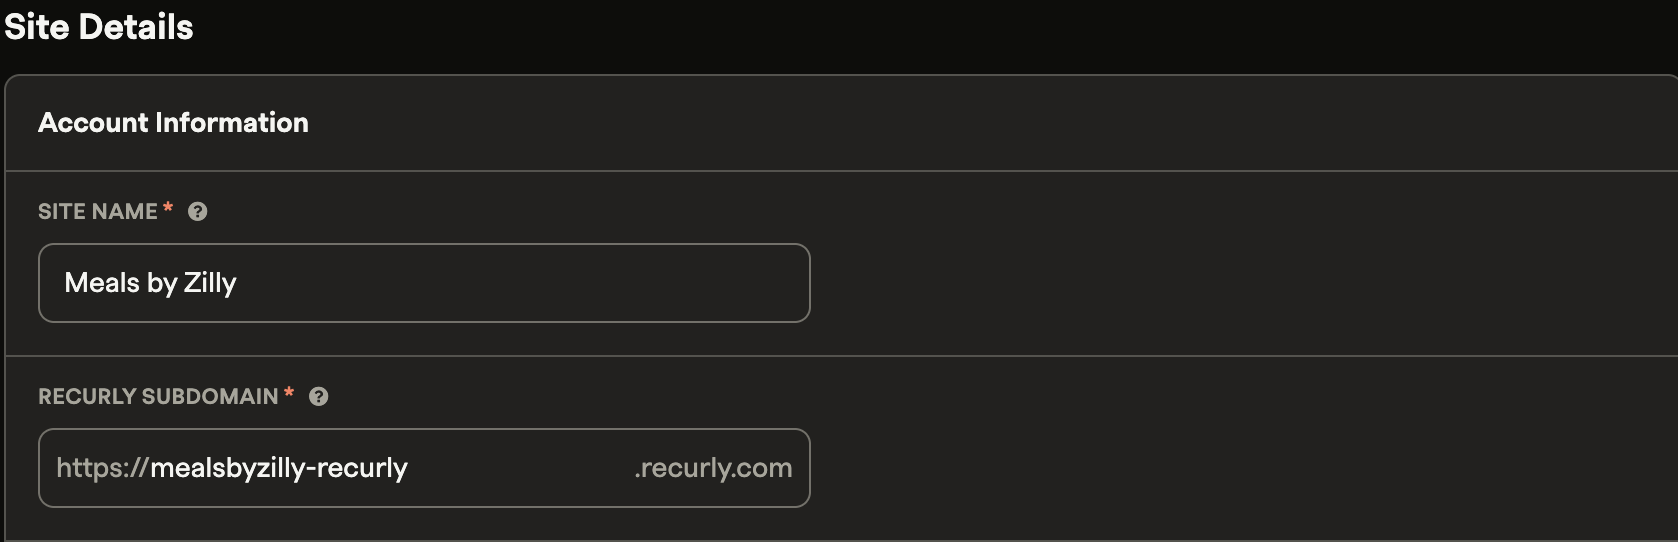
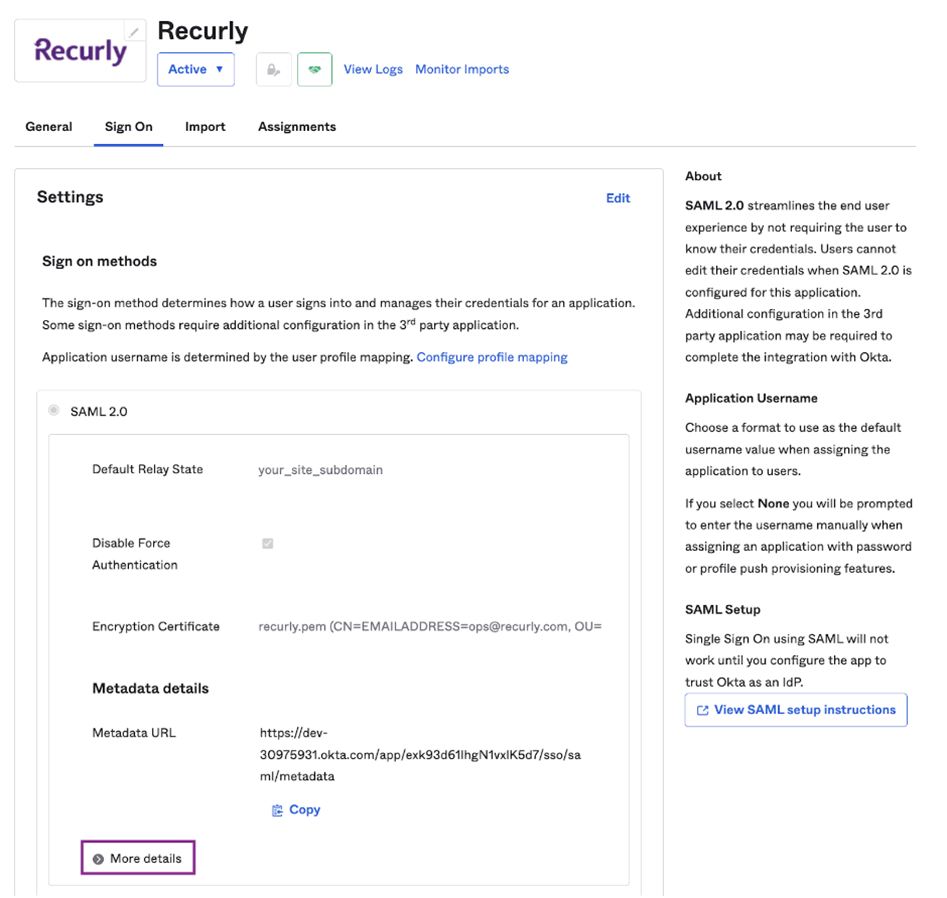
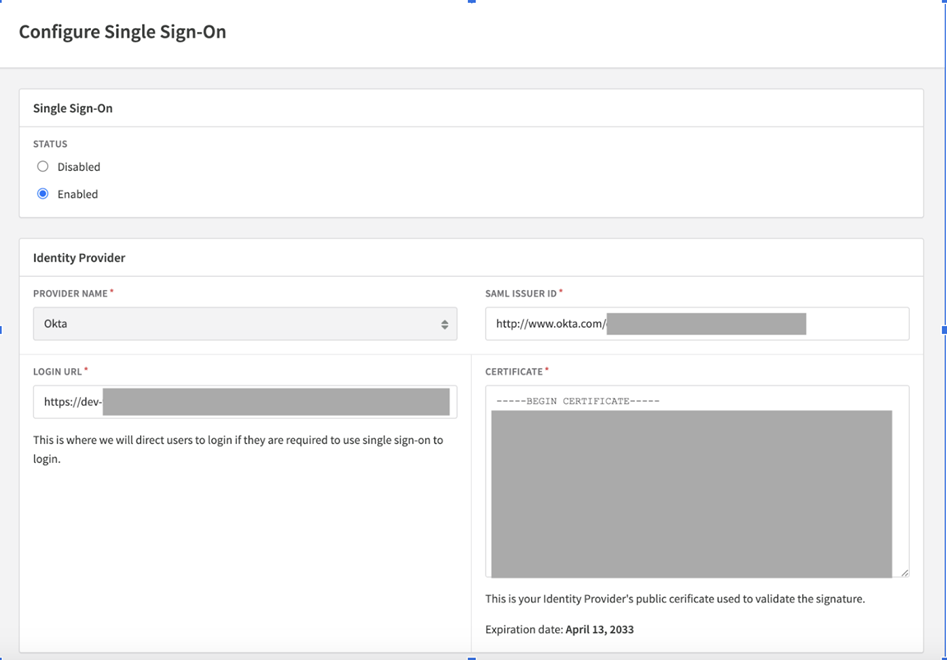
Step 2: Configure SAML credentials in Recurly
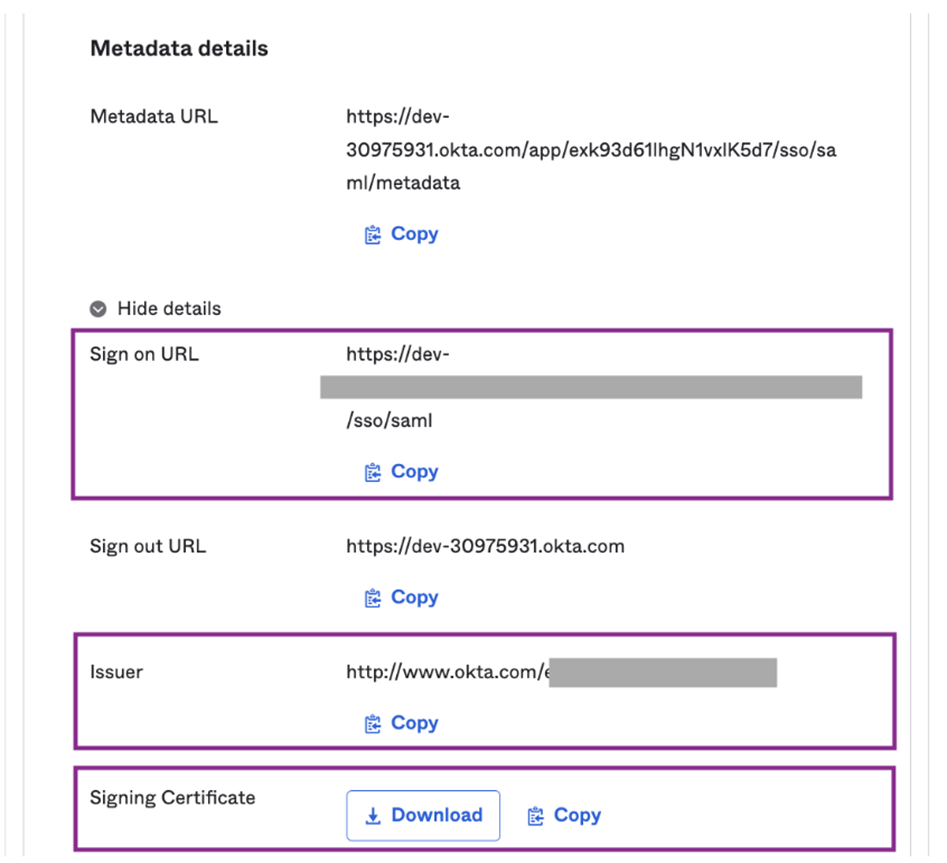
| Okta field | Recurly field |
| Sign-On URL | Login URL |
| Issuer | SAML Issuer ID |
| Signing Certificate | Certificate |
Log in via SP-initiated SSO
Navigate to https://app.recurly.com/login/sso, enter your email, and click Log In.
Set up Microsoft Entra
Follow Microsoft's Entra Active Directory tutorial for Recurly to configure Microsoft Entra as your identity provider. Contact [email protected] if you need assistance during setup.
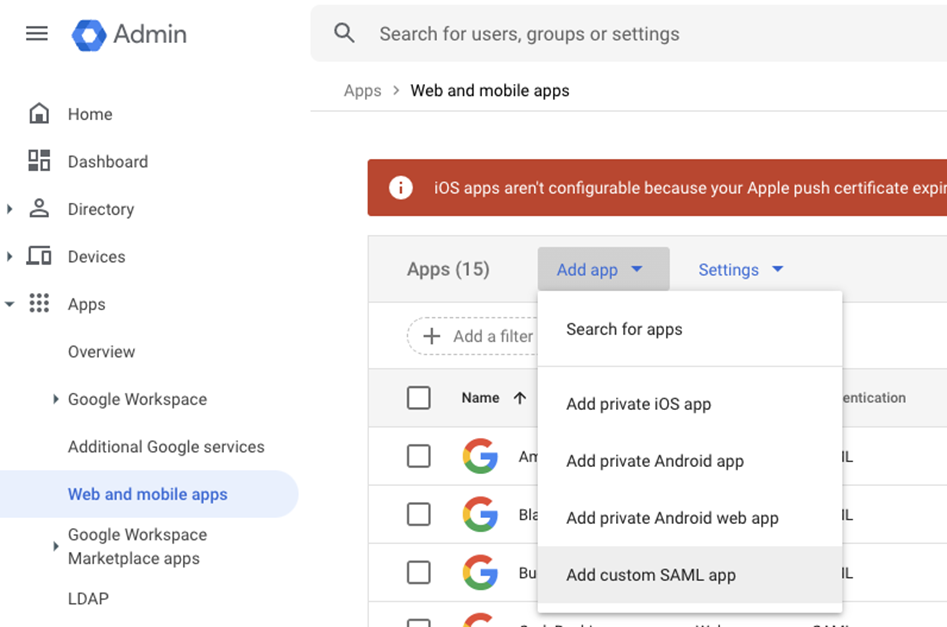
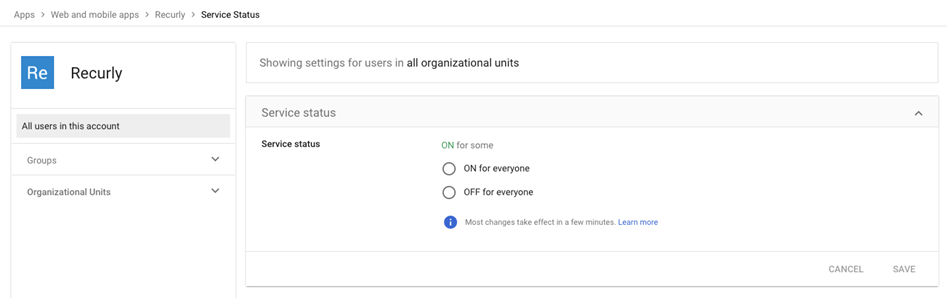
Set up Google SSO
Super Administrator permissions in Google Workspace are required for this configuration.
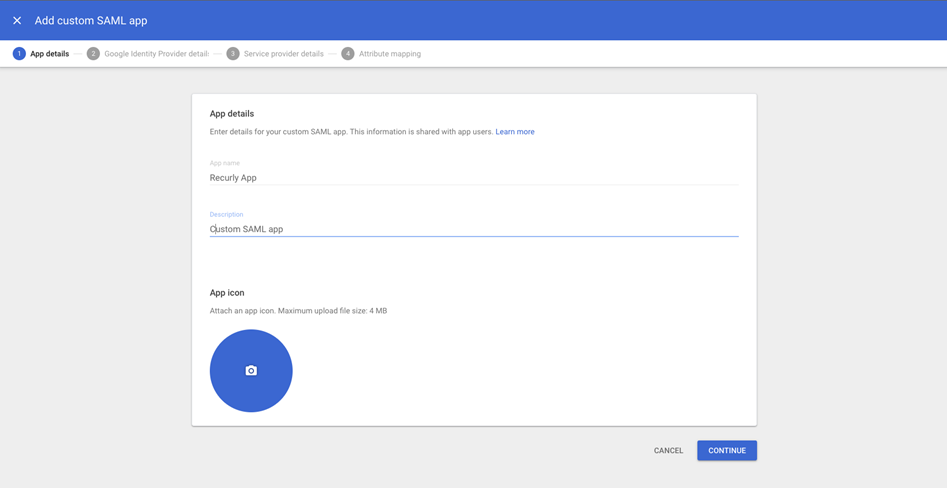
Configure a custom SAML app in Google Admin Console
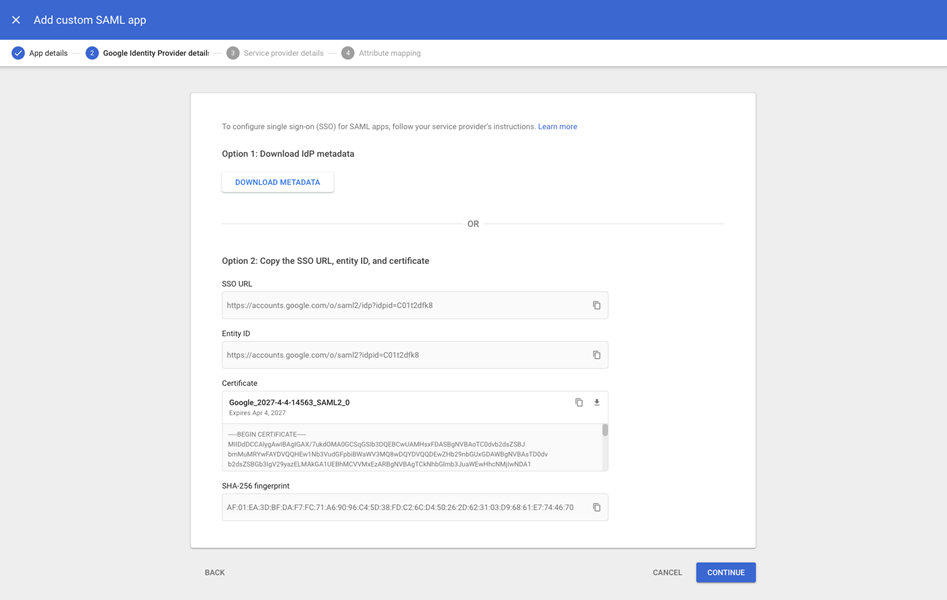
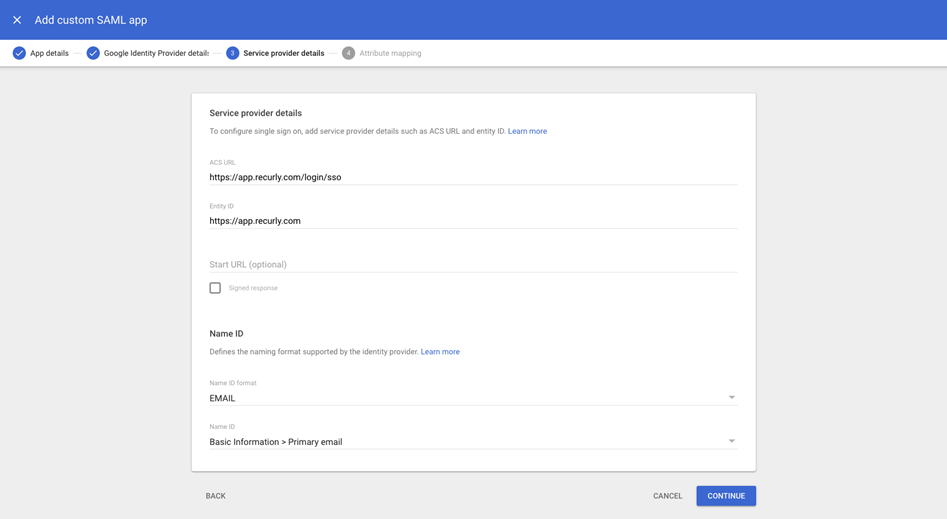
- ACS URL:
https://app.recurly.com/login/sso - Entity ID:
https://app.recurly.com - Signed Response: Uncheck this box — Google won't sign the assertion if it's checked, but Recurly requires the assertion to be signed
- Name ID format: EMAIL
- Name ID: Basic Information → Primary email
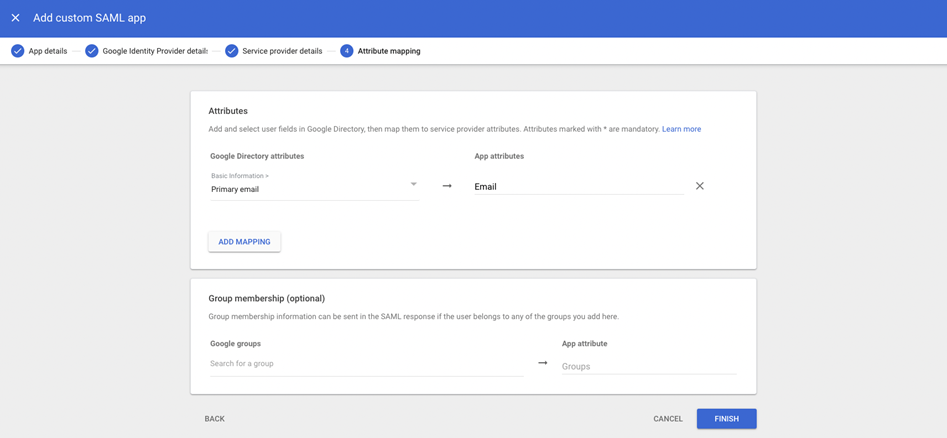
Configure access
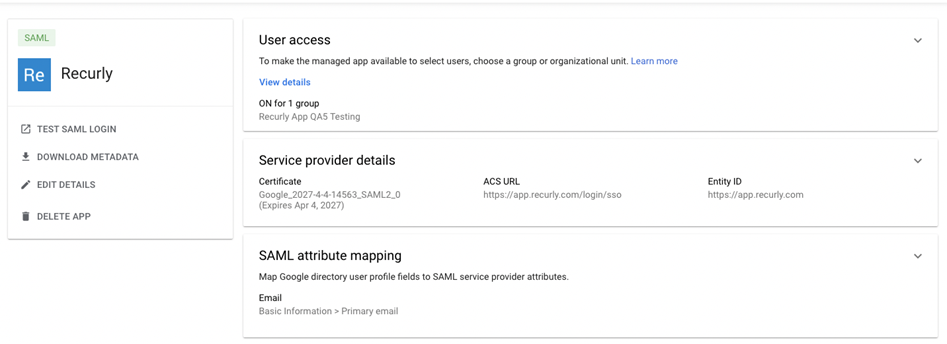
Configure the Recurly app
Manage users and certificates
Finalize SSO settings after setup
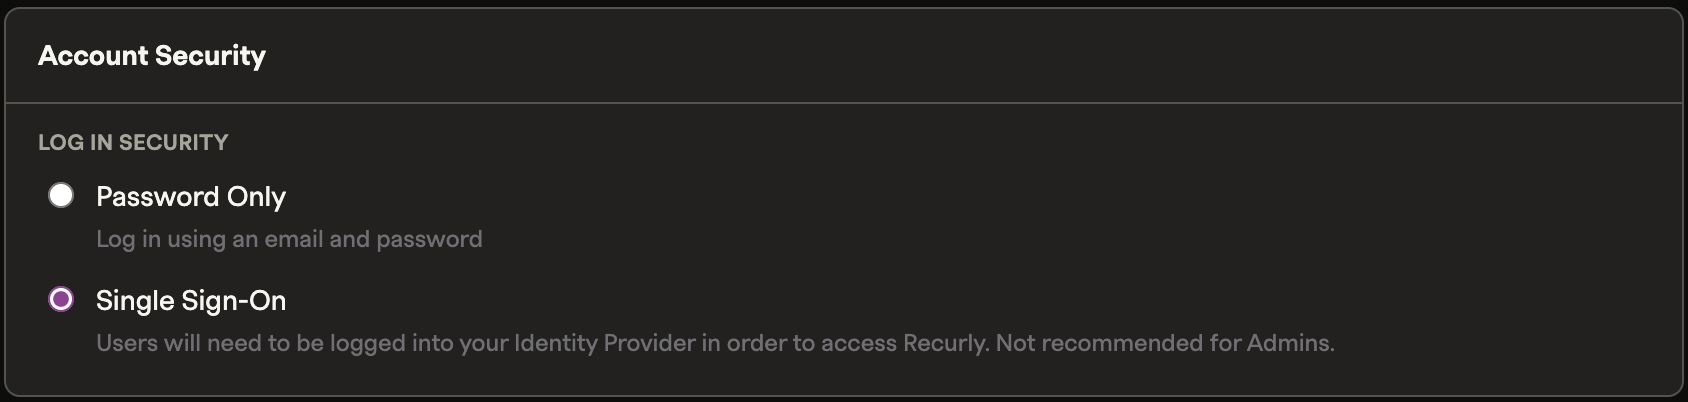
After completing your identity provider configuration, enable SSO in Recurly:
- Go to Admin → SSO Settings.
- Click the Enabled radio button.
Once SSO is enabled, new user invitations automatically require SSO by default.
Transition an existing user to SSO
After saving, Recurly logs the user out, sends them an email notification that SSO is now required, and the user can log back in via https://app.recurly.com/login/sso, the link in the notification email, or their identity provider's Recurly tile.
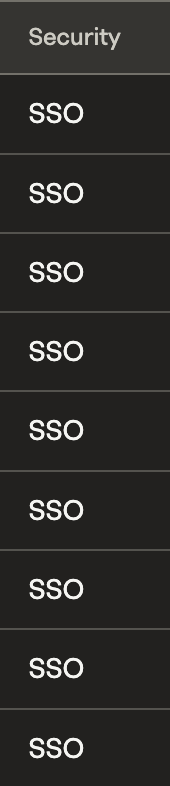
The Security column on the Users page shows each user's authentication method: SSO, 2FA, or blank (email and password only).
Invite a new user with SSO
With SSO enabled, new invitations default to requiring SSO. To invite a new user:
- Send the invitation with the SSO option selected.
- Ensure the user also has access to Recurly through your identity provider.
- The user receives an email invitation and, upon accepting, is notified that SSO is required.

Remove SSO from an existing user
After saving, Recurly logs the user out and sends them an email with a link to reset their password.
Disable SSO for the site
All SSO users are logged out, notified by email, and prompted to create a new password.
Update your SSO certificate
Okta
Microsoft Entra
See Microsoft's certificate management documentation for Entra.
Google
See Google's SSO certificate rotation documentation.
SCIM for Okta
SCIM (System for Cross-domain Identity Management) lets you automate user provisioning and deprovisioning in Recurly via Okta. Supported features include creating users, deactivating users, and group push.
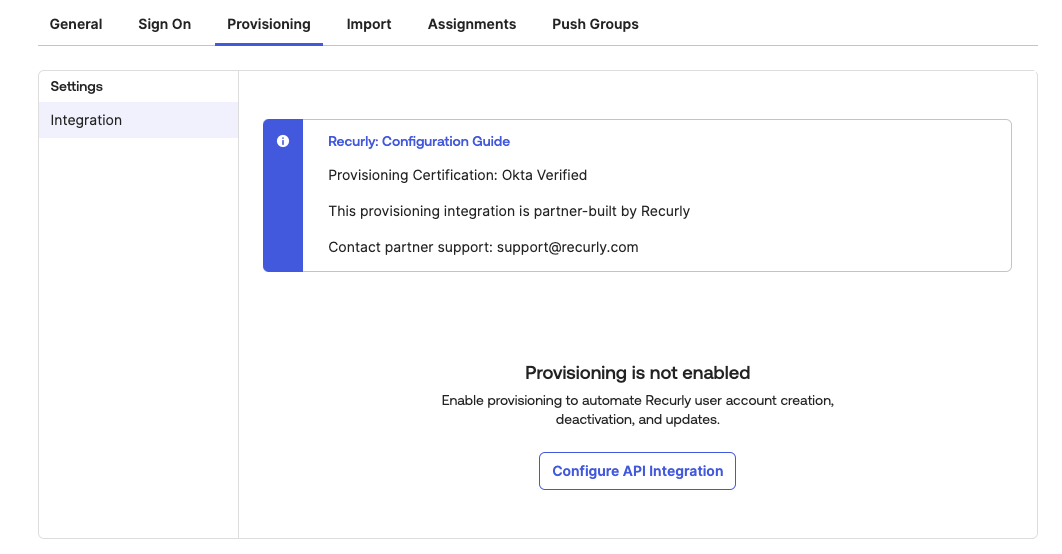
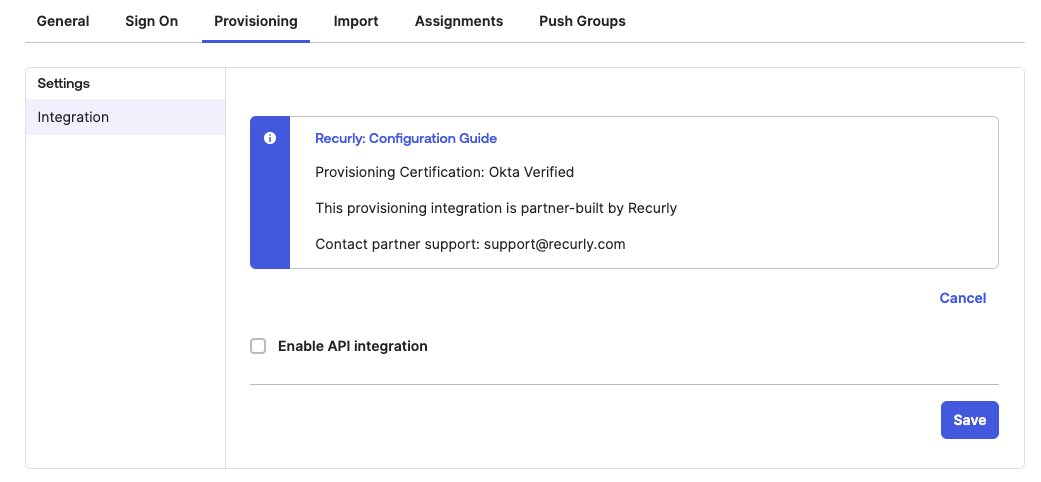
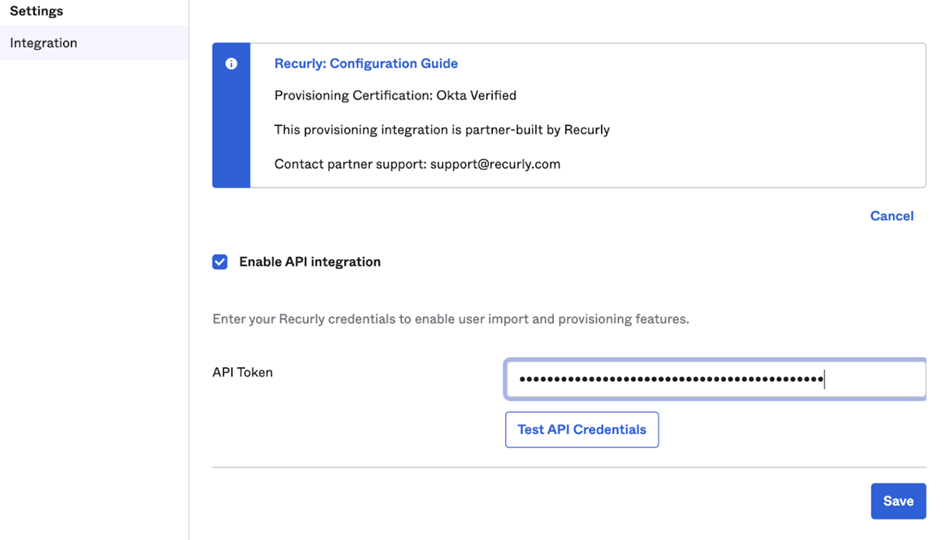
Configure SCIM in Recurly
Configure SCIM in Okta
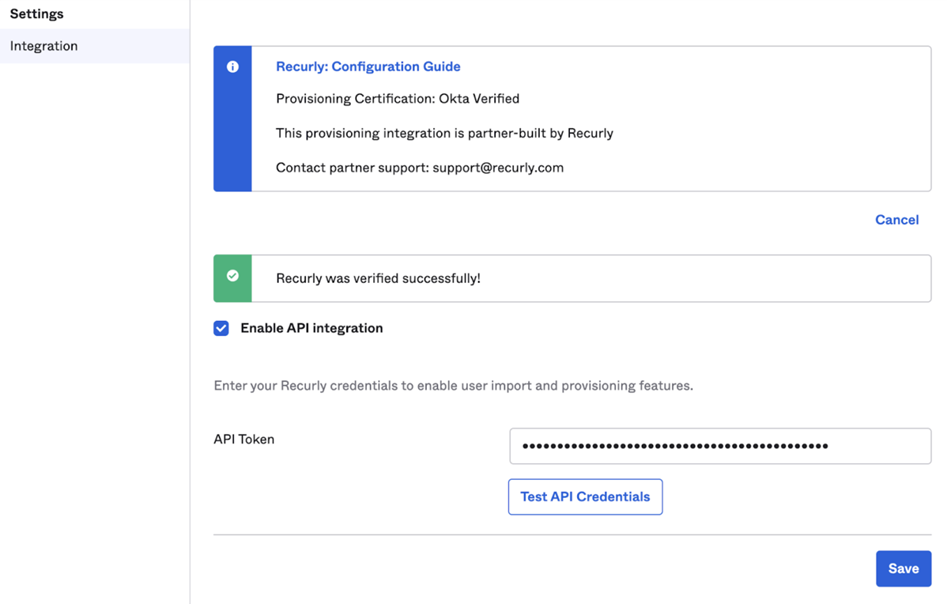
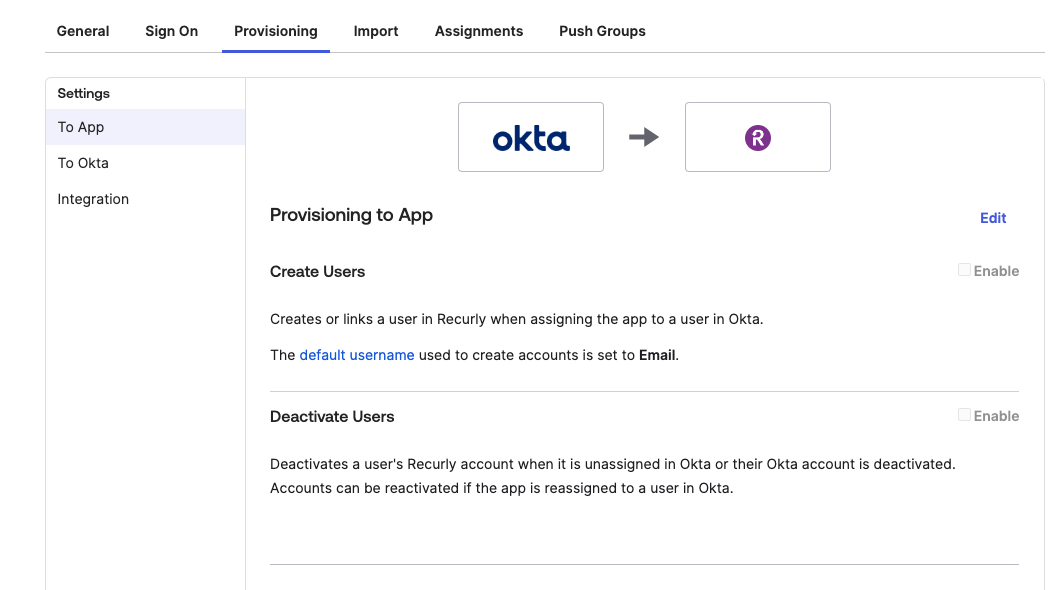

Once configured, users assigned to the Recurly app in Okta receive an invitation to the Recurly site. Users unassigned from the Recurly app in Okta are removed from the site.
SCIM group support
Configure groups in Okta
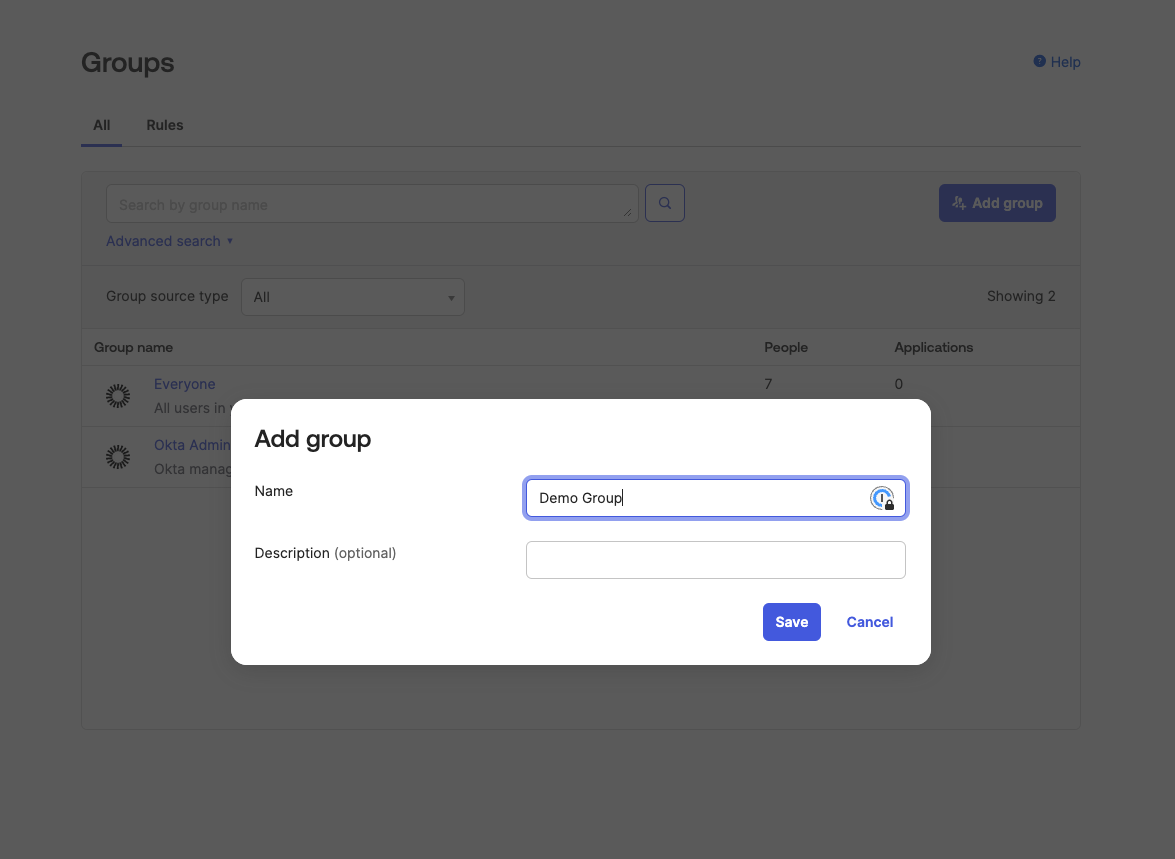
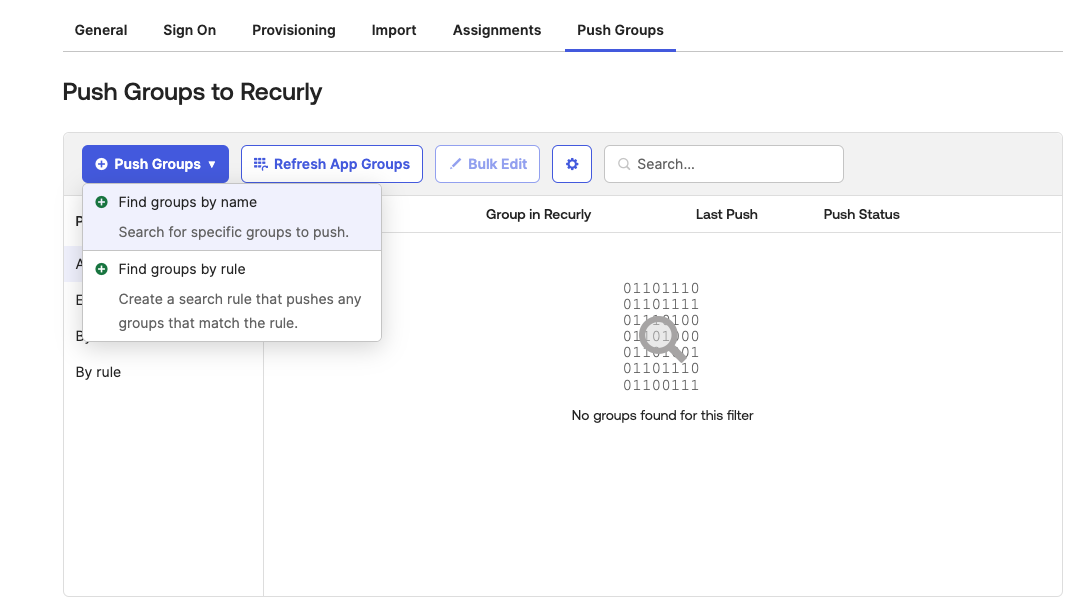
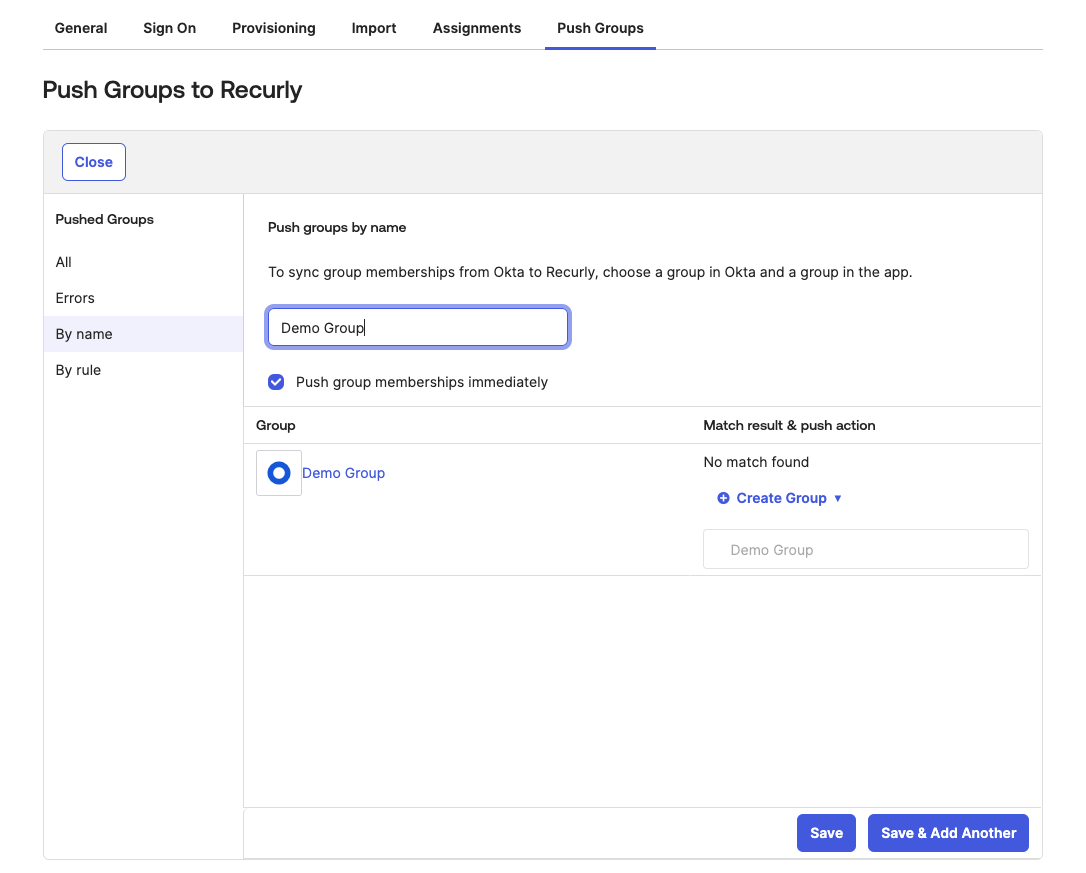
Pushed groups appear in Recurly prefixed with SCIM_.
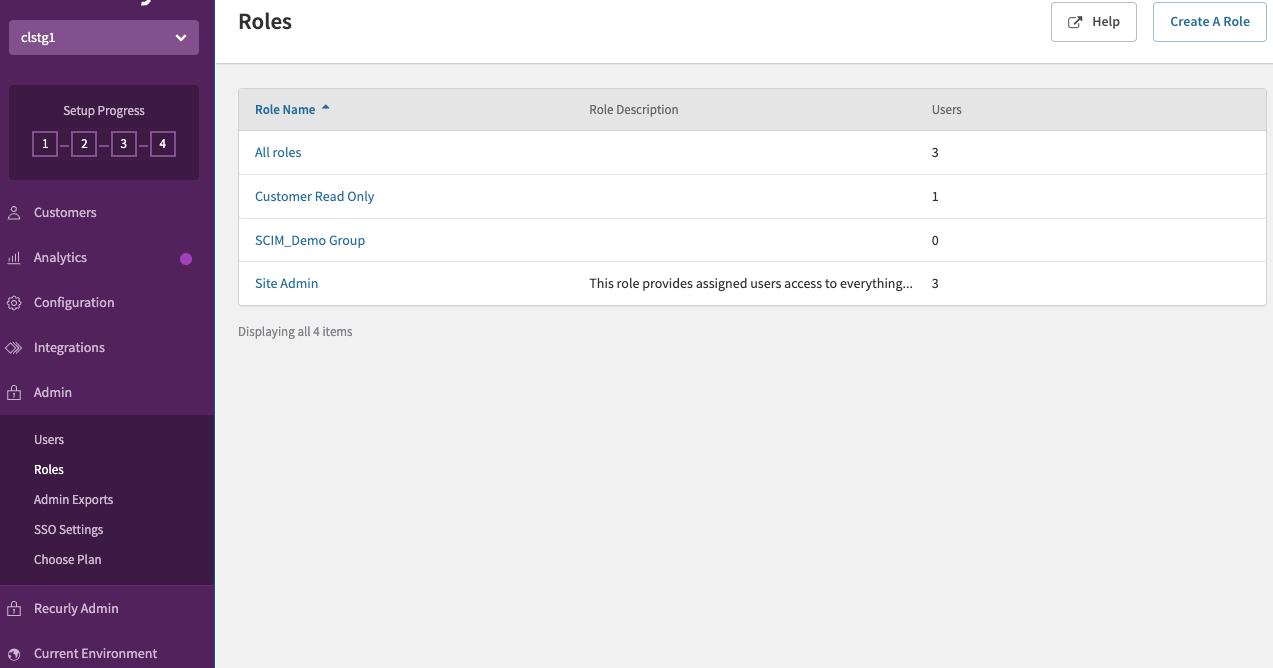
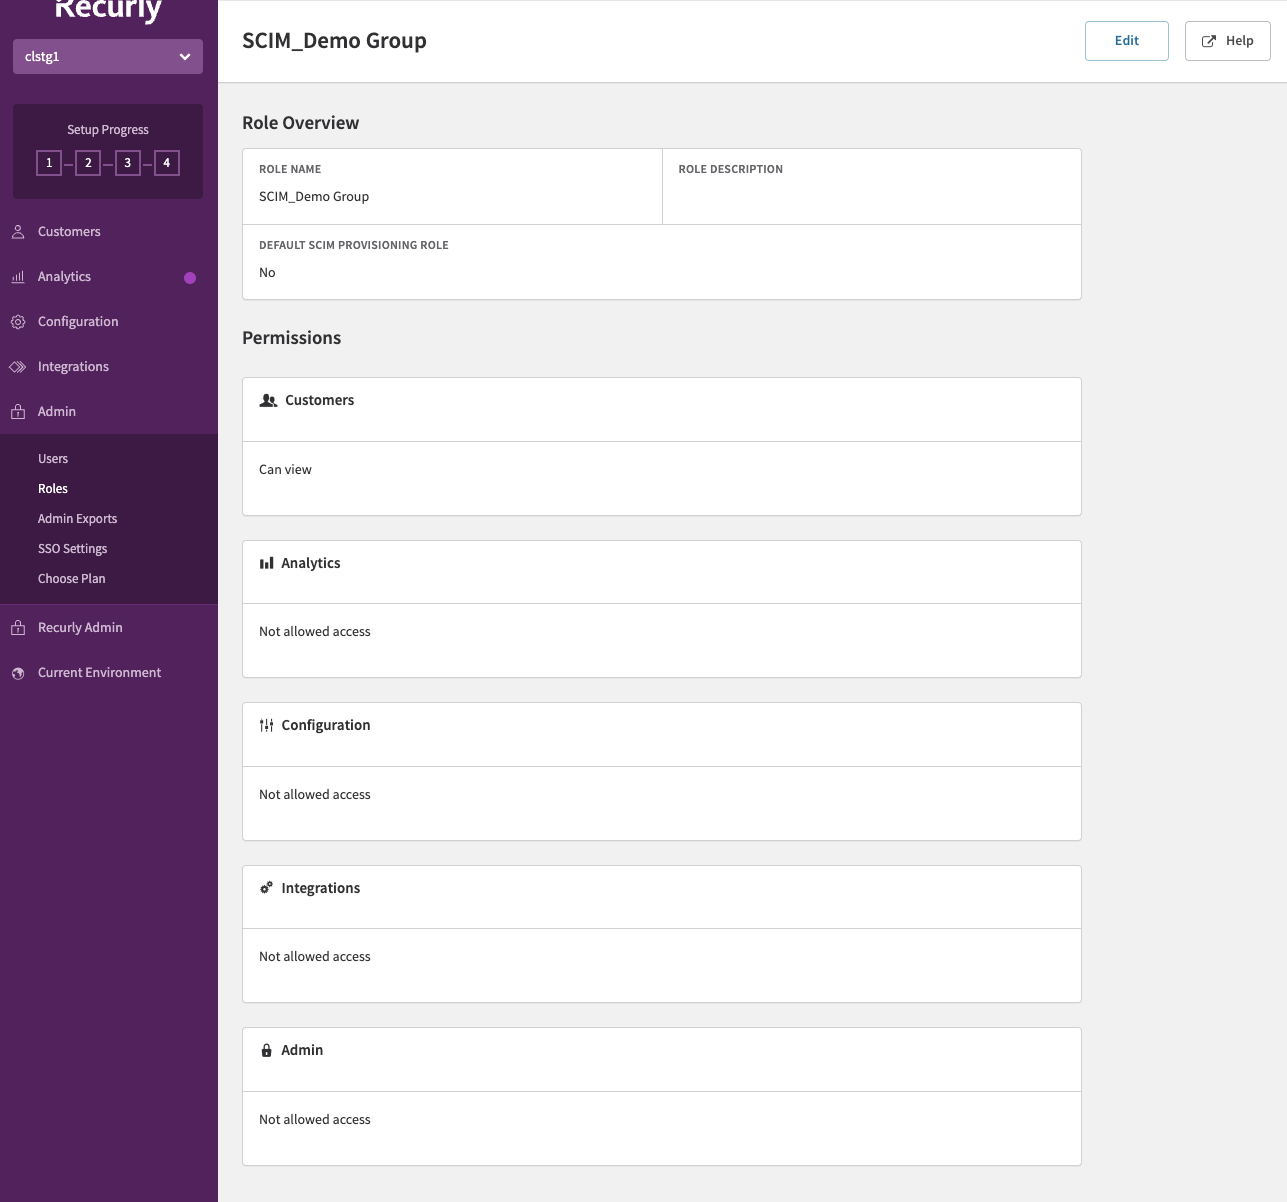
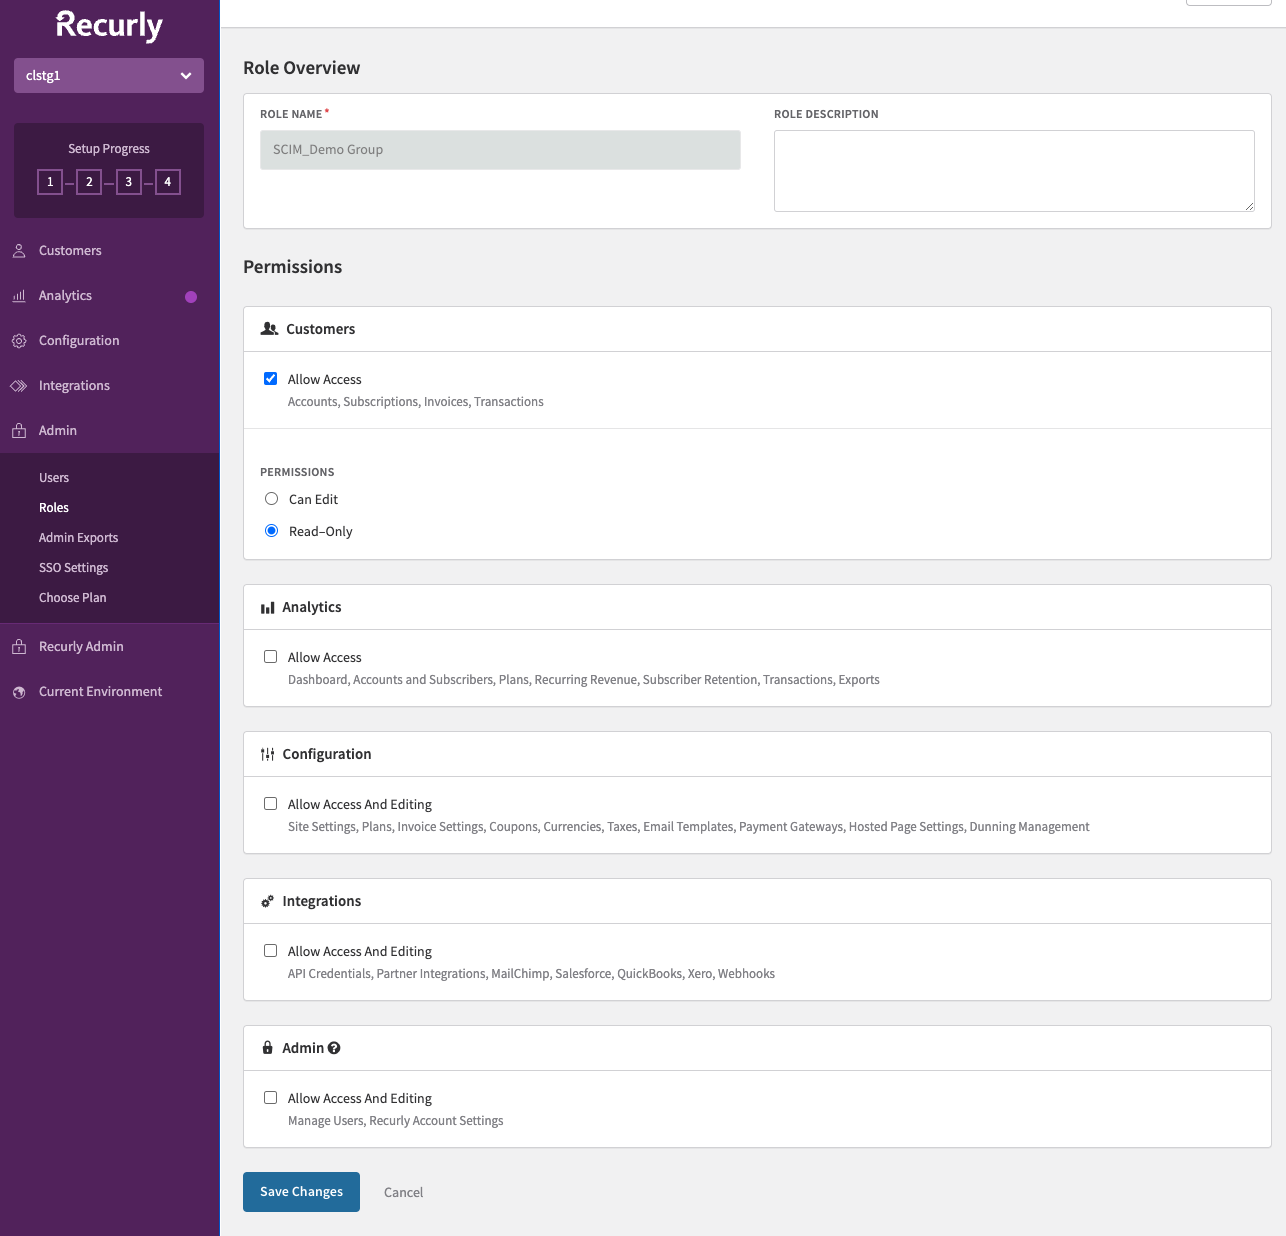
Set group permissions in Recurly
Assigning and removing users
Assign users by adding them to the Recurly Okta App individually or through a group. Users are assigned the default SCIM role unless using Group Push, in which case they receive the corresponding role.
Remove users by unassigning them from the Recurly Okta App (individual) or removing them from the assigned group. Unassigning an entire group removes all users in that group from Recurly.
Changing a user's role
To change a user's role via groups: remove the user from their current pushed Okta group (their role reverts to the default SCIM role), then assign them to the pushed group corresponding to the target role.
Removing pushed groups
- Unlink and delete the pushed group to delete the corresponding Recurly role — affected users revert to the default SCIM role. This is the recommended approach.
- Unlink and leave the pushed group to preserve the Recurly role and keep affected users on their current permissions.
Migrating existing users to SCIM
After enabling SCIM, existing users assigned to the Recurly Okta Integration app need to be migrated — Okta only recognizes users as provisioned after SCIM is enabled.
To migrate: unassign and then reassign the users to the Recurly Okta Integration app. Unassigning won't remove them from Recurly since Okta doesn't recognize them as provisioned yet. During the brief window between unassigning and reassigning, users won't be able to log in. Once reassigned, Okta triggers a provisioning request — since the user already exists in Recurly, this is a no-op and the user's existing role is preserved.
A user's role only changes via SCIM migration if they're a member of a pushed Okta group.
FAQs and troubleshooting
I'm trying to log in at https://app.recurly.com/login but keep getting an email/password error. What should I do?
SSO users must log in at https://app.recurly.com/login/sso or via their identity provider — not the standard login URL.
I'm trying to log in at https://app.recurly.com/login/sso but get an invalid email error. How do I fix this?
You may be entering the wrong email address, or your account may not be configured for SSO. Contact your site administrator or [email protected] for help.
I'm trying to log in to a new site but get an error that I must first accept the invitation. What should I do?
Check your email for an invitation from Recurly and click the Accept invitation link. If you didn't receive it, check your spam folder or ask your site administrator to resend the invitation.
I'm logging in via my identity provider but get an 'invalid login' error on the Recurly side. What could cause this?
Verify that your Recurly account is configured to use SSO and that Recurly is expecting you to sign in via the identity provider you're using. If everything looks correct but login still fails, ask your site administrator to reset your account to password-only and then re-enable SSO.
Updated 5 days ago