
Cleeng
Configuration and usage guide for the Cleeng connector in Recurly Engage, including API setup, supported actions, and subscription data syncing.
The Cleeng integration lets you manage subscriber offers, coupons, and reactivations directly from prompts in Recurly Engage by connecting to your Cleeng account.
Available on all Recurly Engage subscription plans
Prerequisites
- You must have Company or App Administrator permissions in Recurly Engage.
- You must have a Cleeng Publisher account with a valid API Broadcaster Token.
Definition
The Cleeng connector synchronizes offers and subscription data from Cleeng, so you can trigger subscription management actions from within your prompts.
Key benefits
Flexible plan management
Upgrade or downgrade user subscriptions through prompts.
Coupon application
Apply promo codes instantly when users interact.
Reactivation support
Reactivate churned subscribers through targeted prompts.
Key details
Required settings
Configure your Cleeng connector under Settings > Connectors:
- API Key: Your Broadcaster Token. See how to obtain your API Broadcaster Token.
Supported actions
These billing actions are available to attach to prompt interactions:
| Action | Description | Dependencies |
| Switch Subscription | Subscribe user to a different offer (upgrade or downgrade) | Offer upgrade or downgrade configured in the Cleeng console |
| Apply Coupon | Apply coupon code to the user's subscription | None |
| Reactivate Subscription | Reactivate a subscription marked for cancellation | None |
Sync subscription data
Schedule a periodic export of subscription data from Cleeng into Recurly Engage using comma-separated values (CSV) files delivered through Amazon S3.
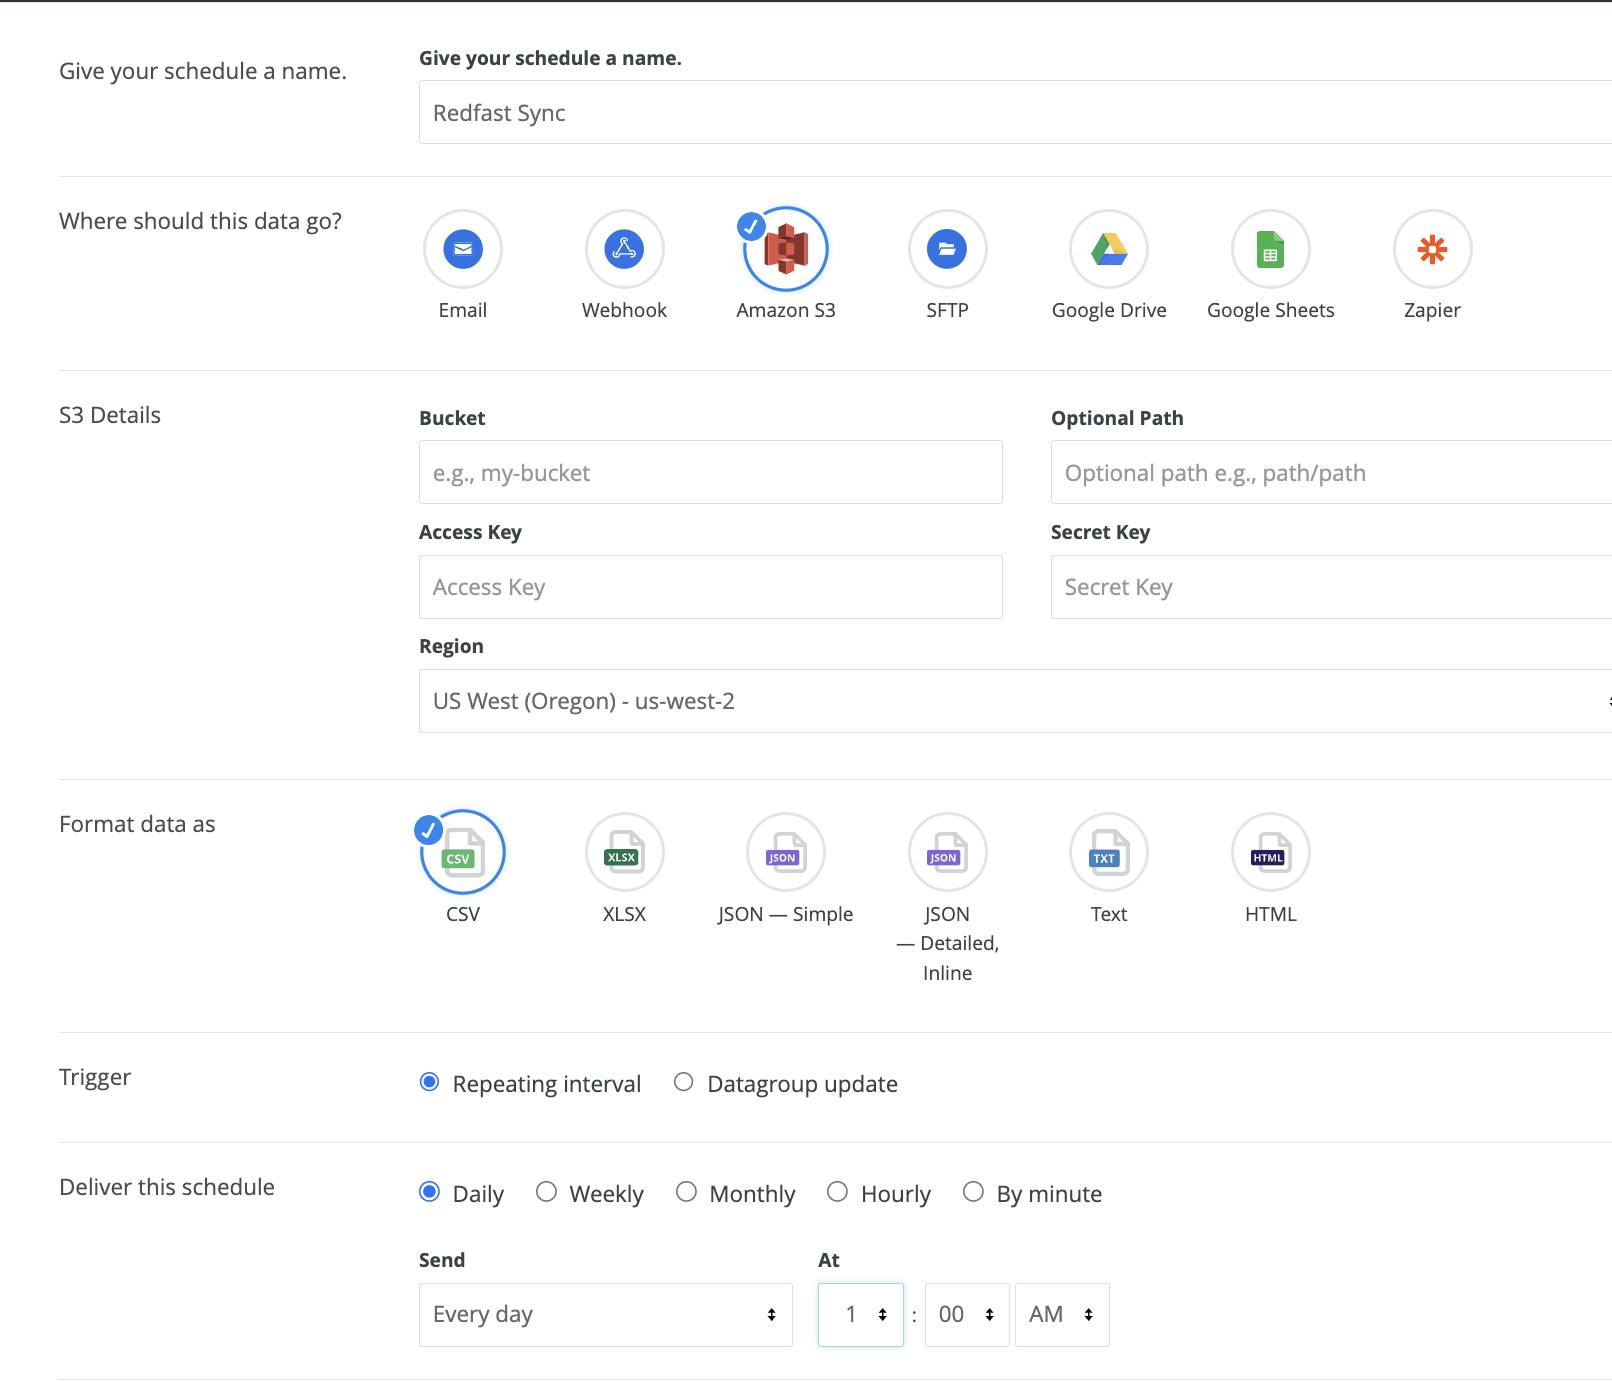
Set up the sync
6
- Send this schedule if: "there are results".
- Check "and results changed since last run".
- Set Timezone to "United States – Los Angeles".
Updated 23 days ago
Did this page help you?