
Create a pop-up
Steps to create and configure a pop-up prompt in Recurly Engage, from initial setup to live deployment.
Pop-ups are one of four prompt types in Recurly Engage, and this guide walks you through building one from scratch — targeting it with segments and triggers, styling it in the designer, and testing it before it goes live.
Available to all customers on any Recurly Engage subscription plan
Prerequisites
- You must have Company, App Administrator, or App Member permissions in Recurly Engage.
Definition
A pop-up is a modal prompt that appears over your site's content to deliver messages, offers, or calls to action. Pop-ups are one of four prompt types available in the Prompts console.
Key benefits
High visibility
Makes sure critical messages capture user attention.
Targeted delivery
Combine with segments and triggers to reach the right audience.
Easy customization
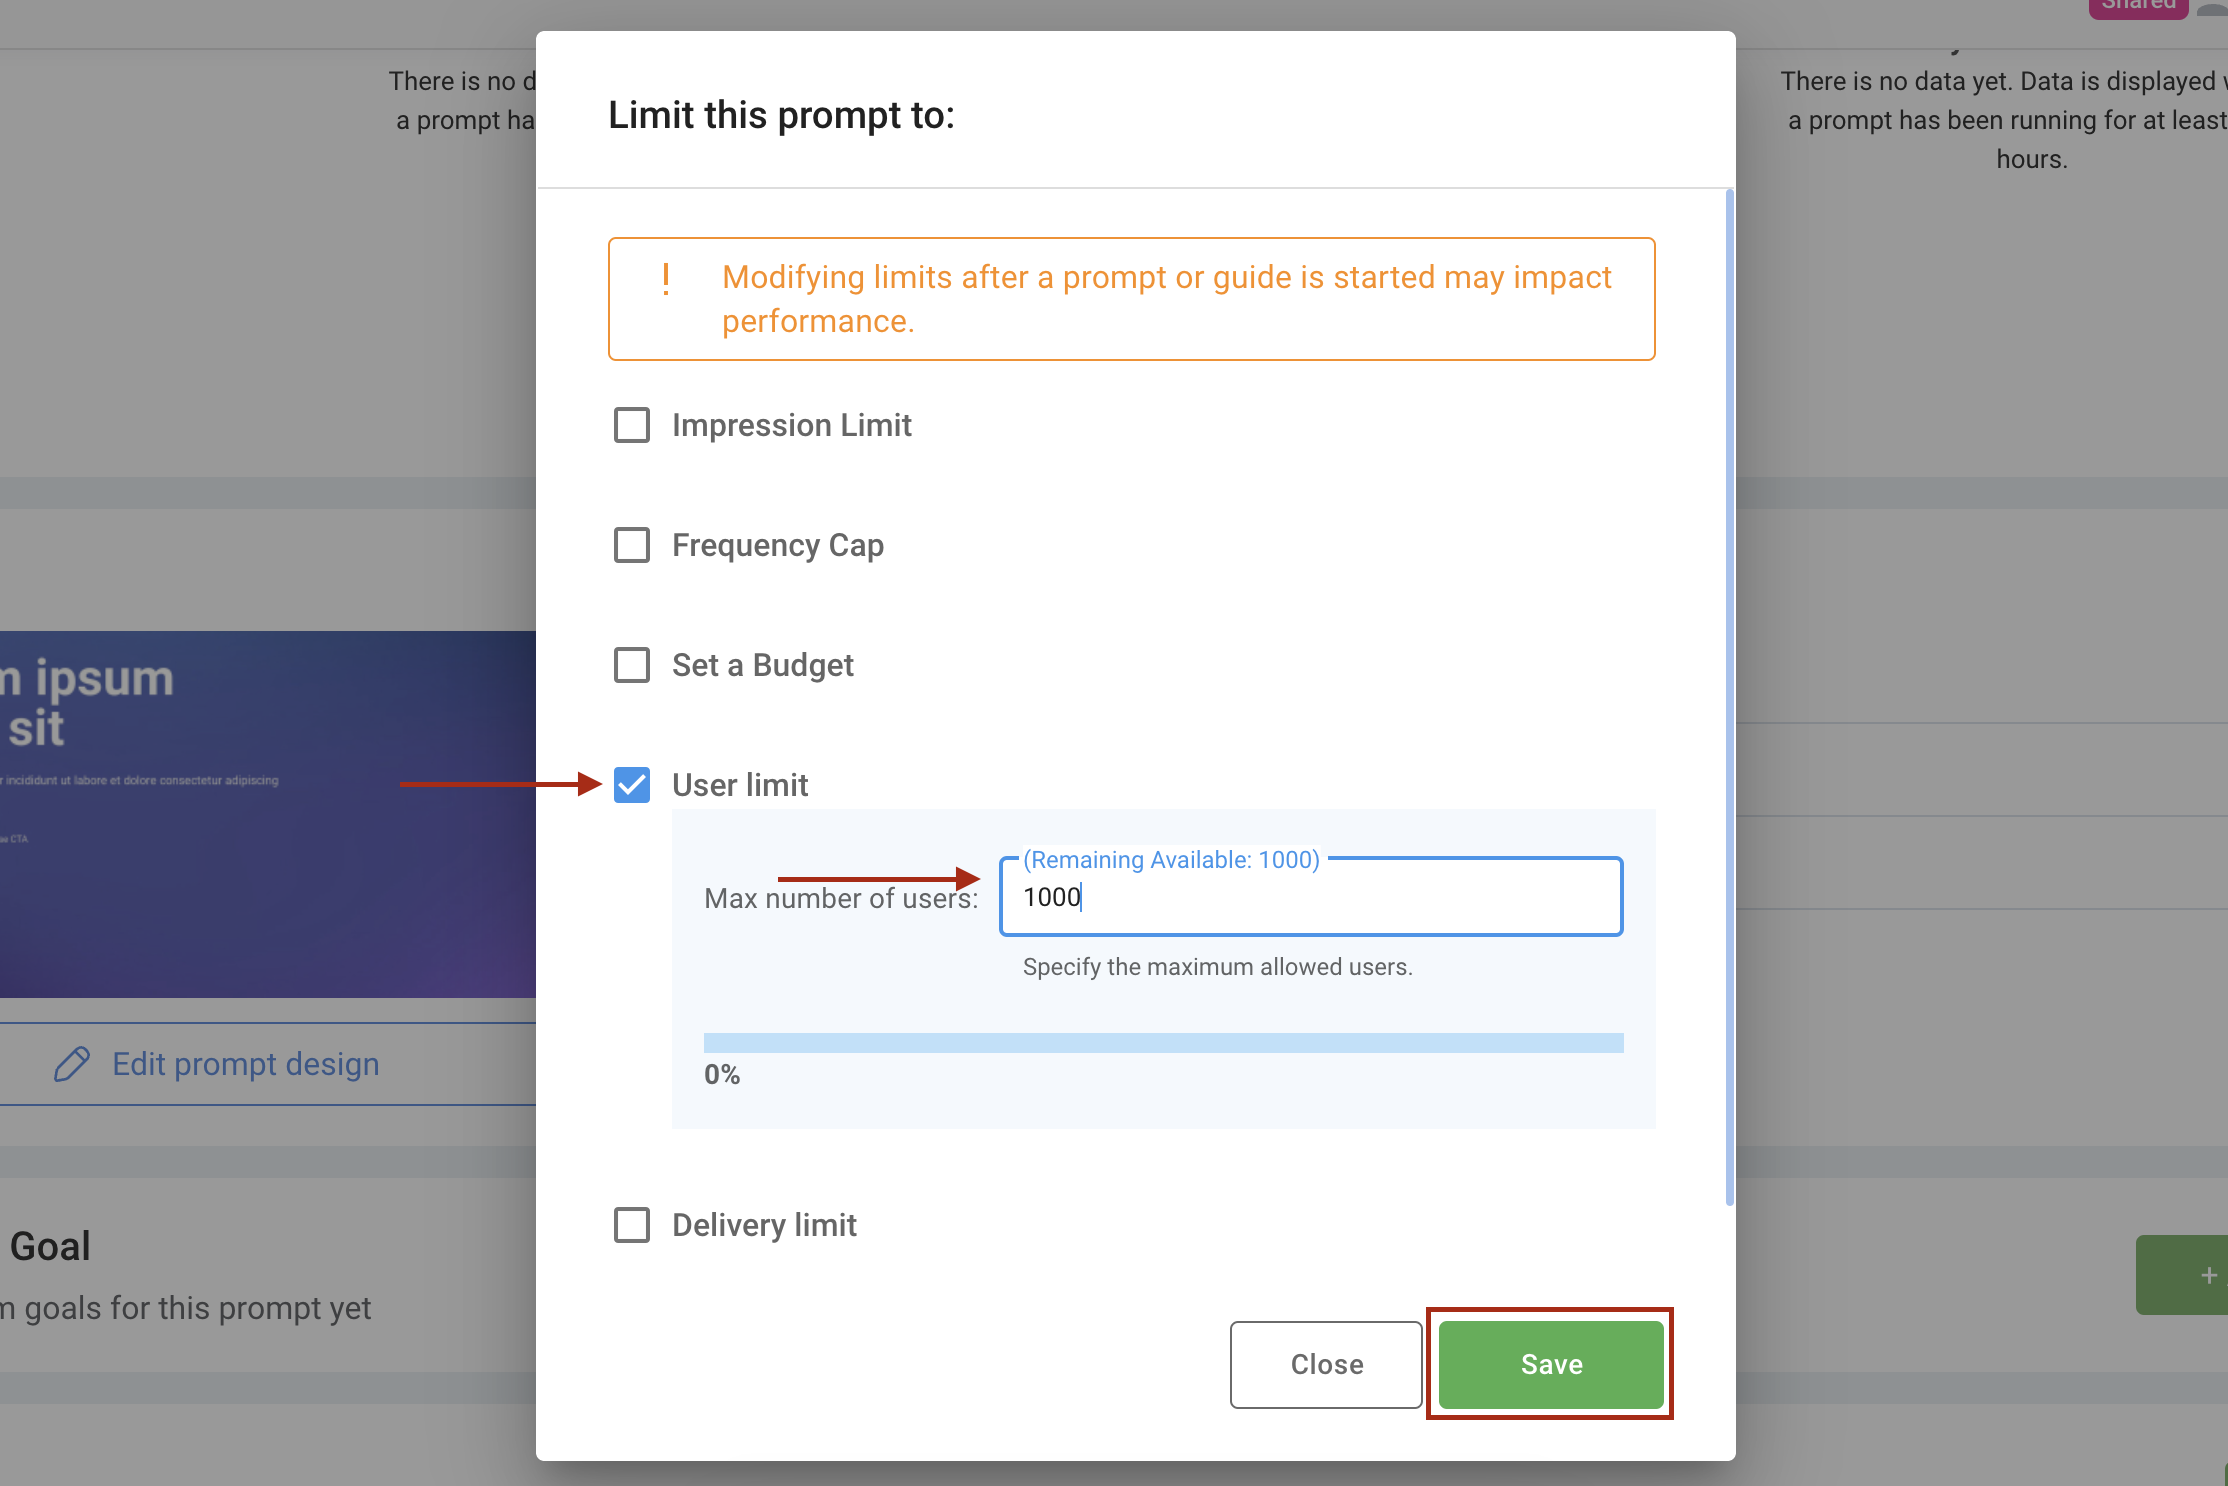
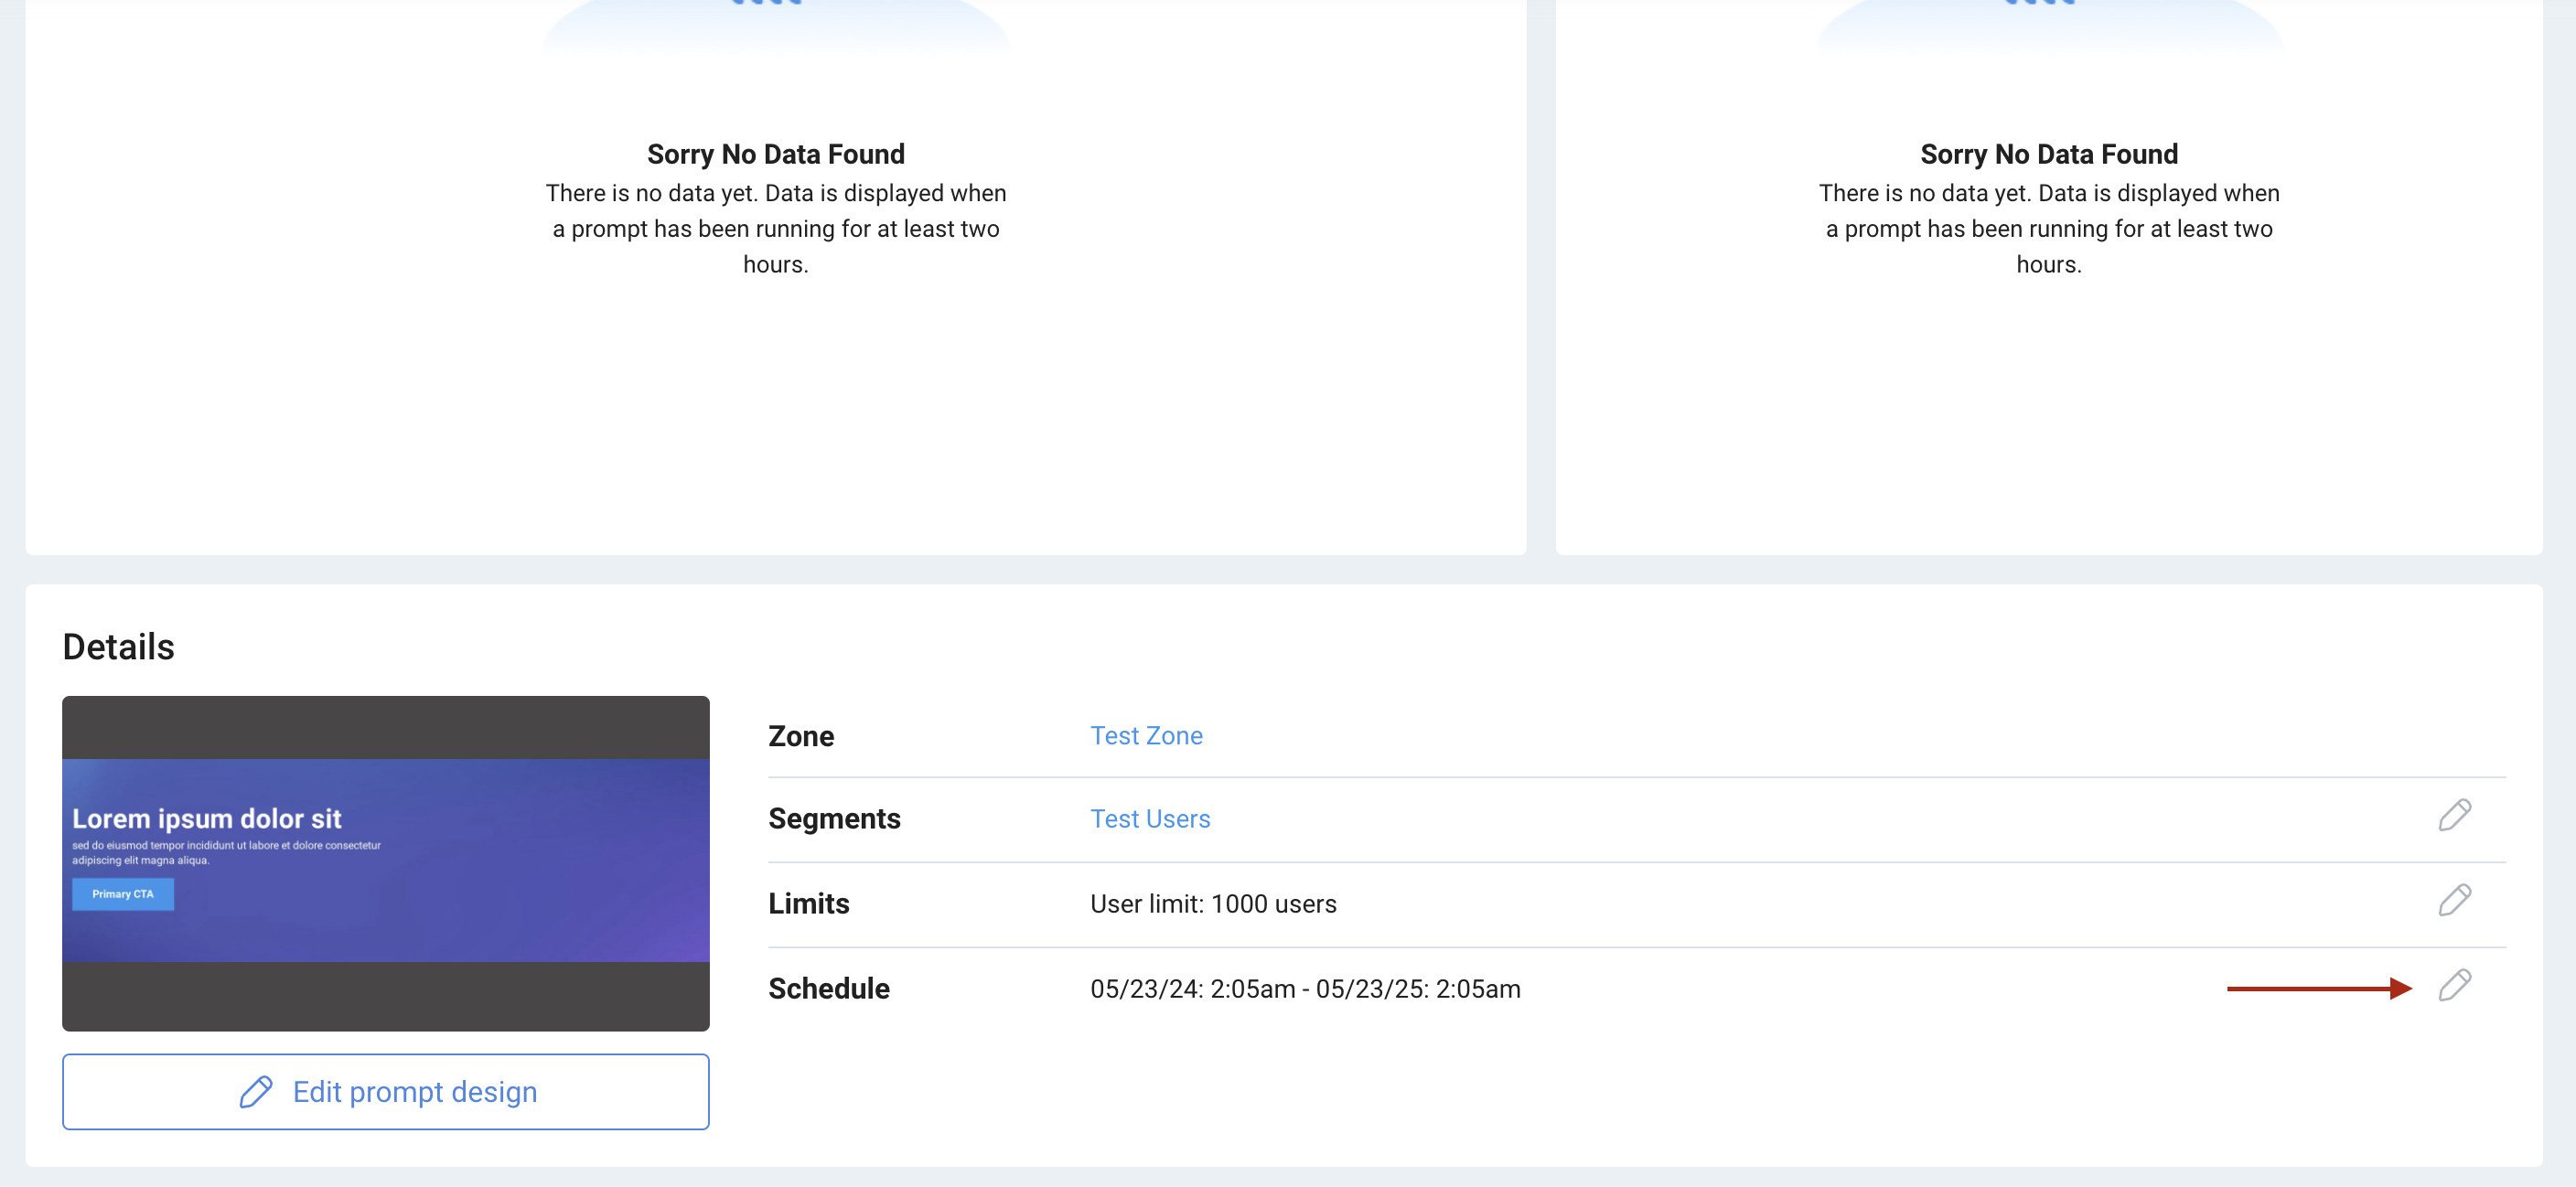
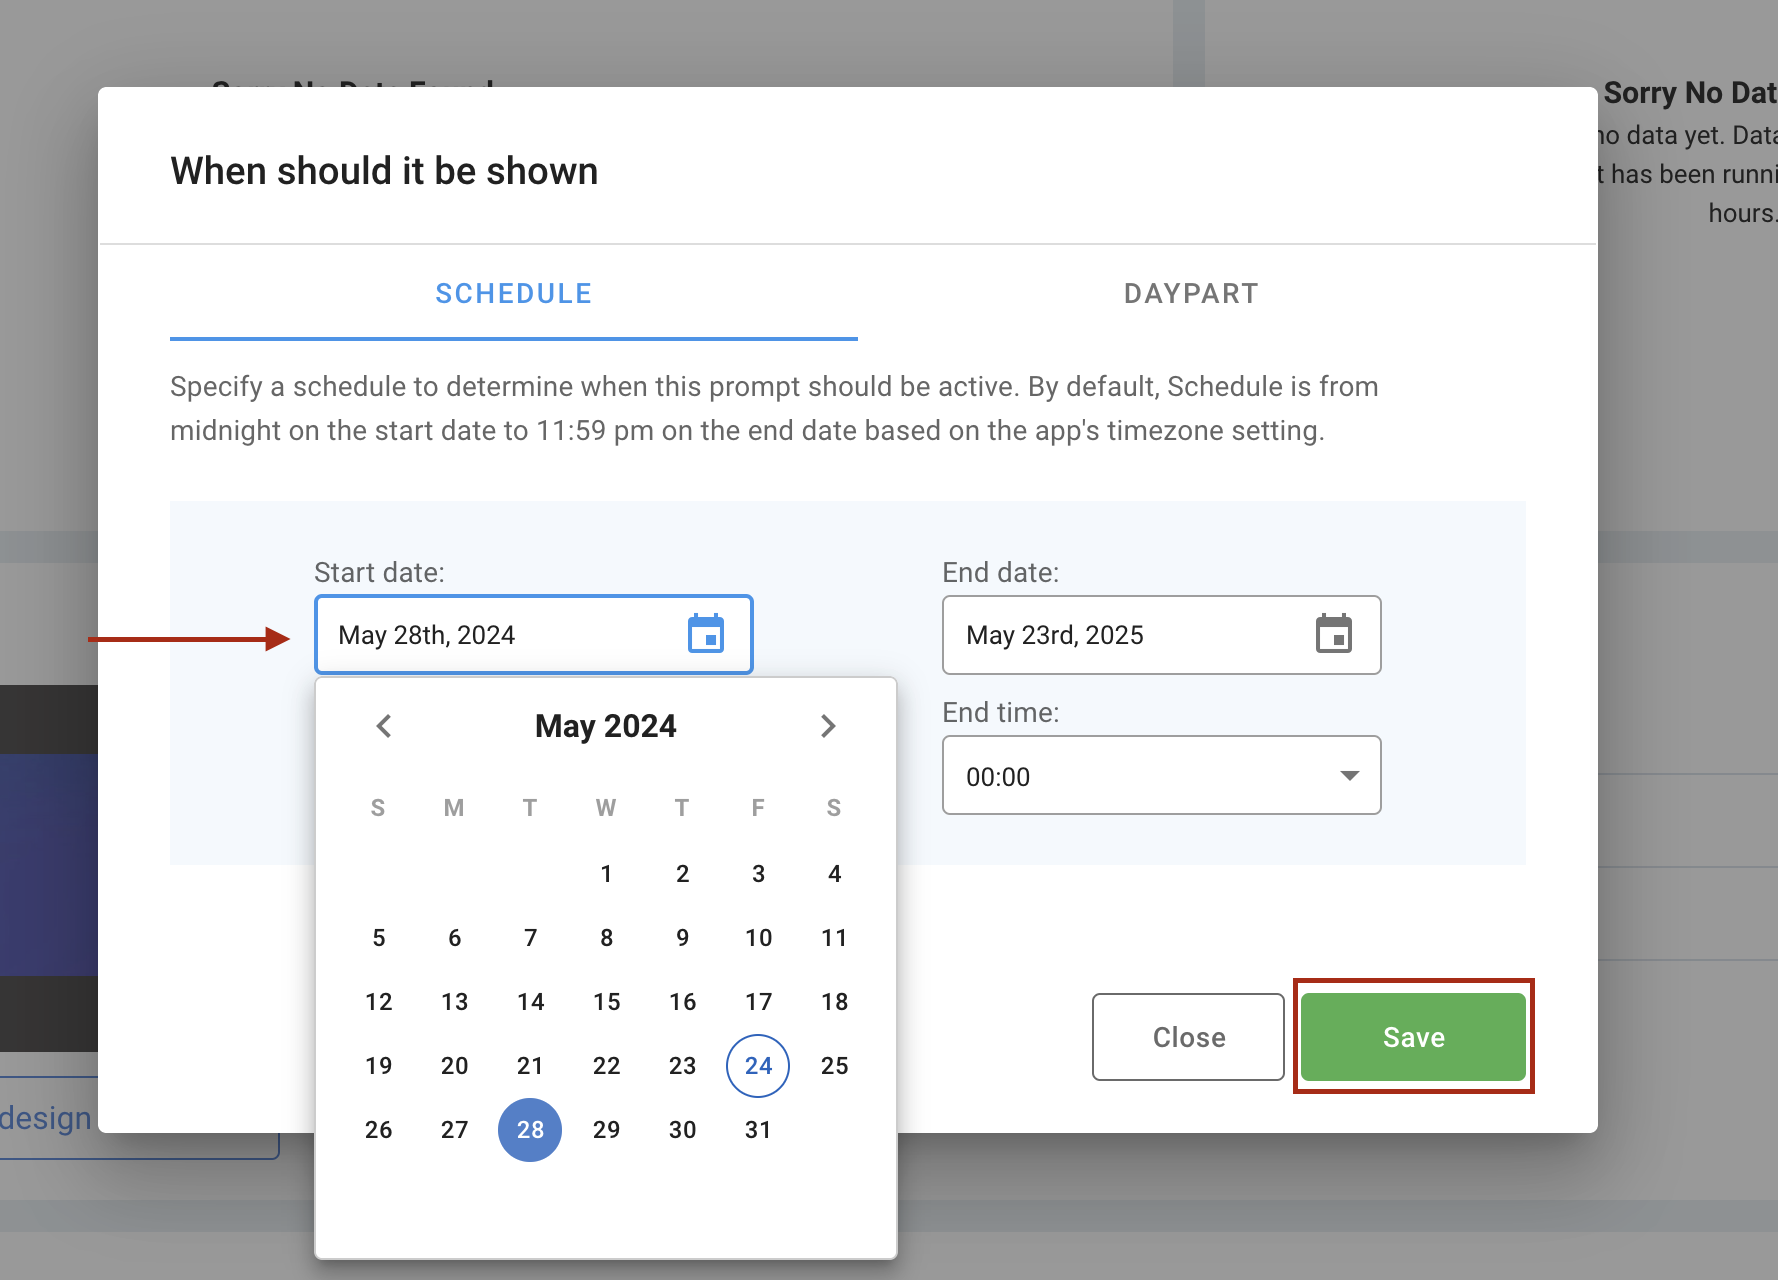
Design, schedule, and limit frequency — all within the console.
Key details
In this guide, you'll create a browser pop-up.
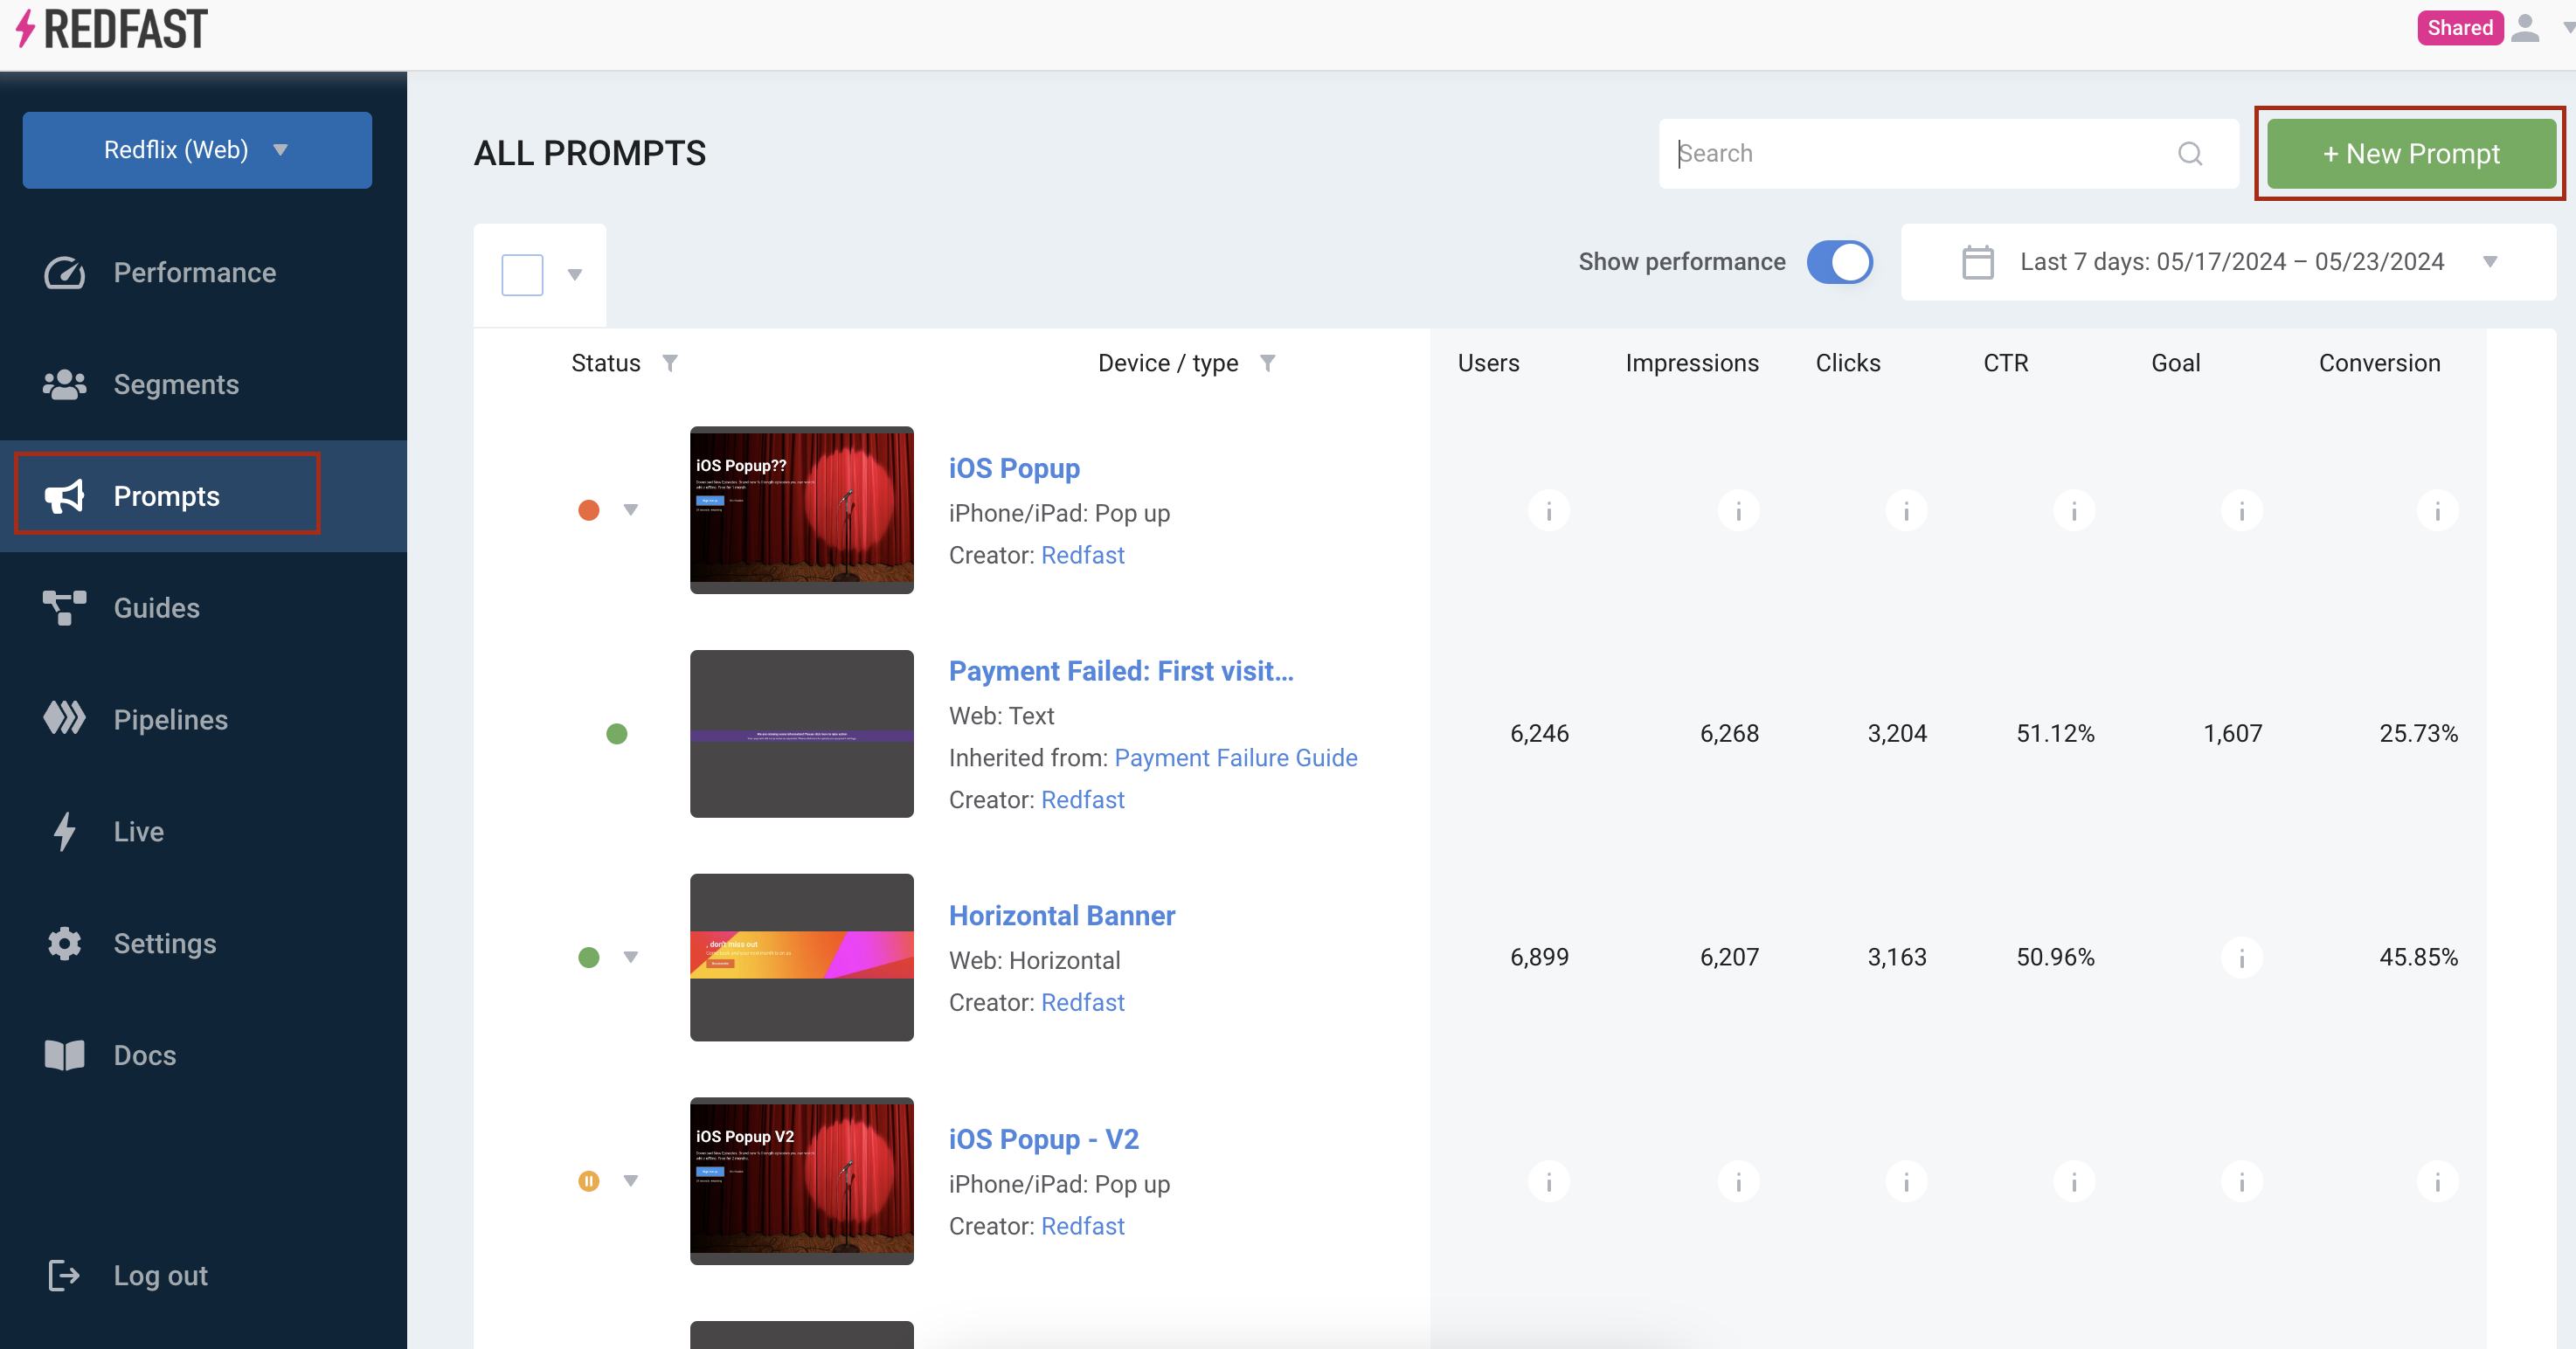
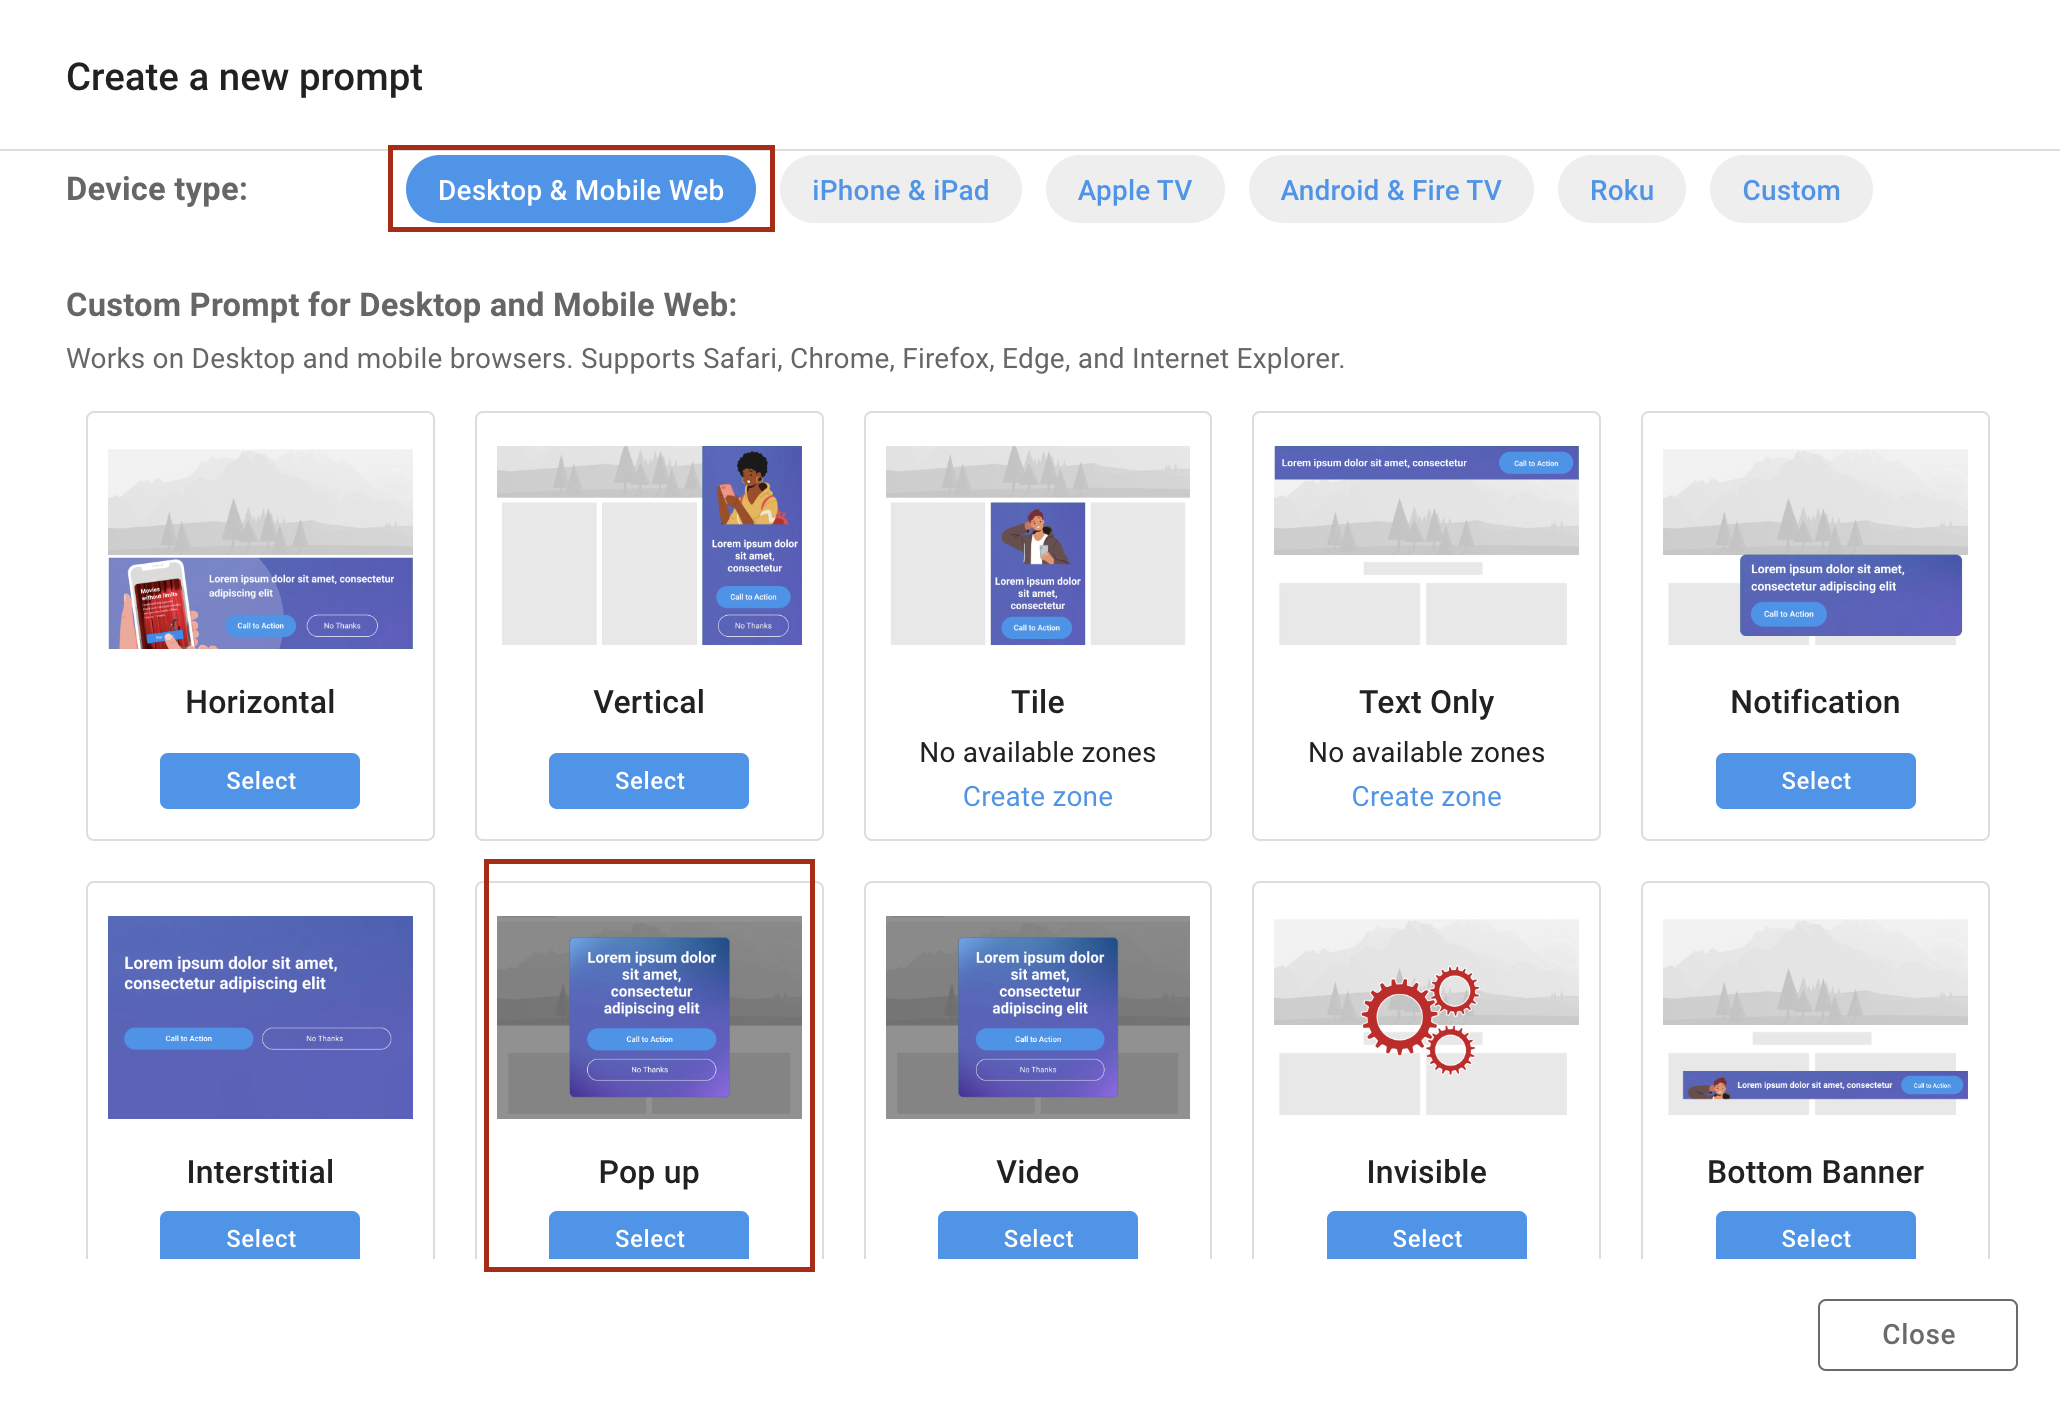
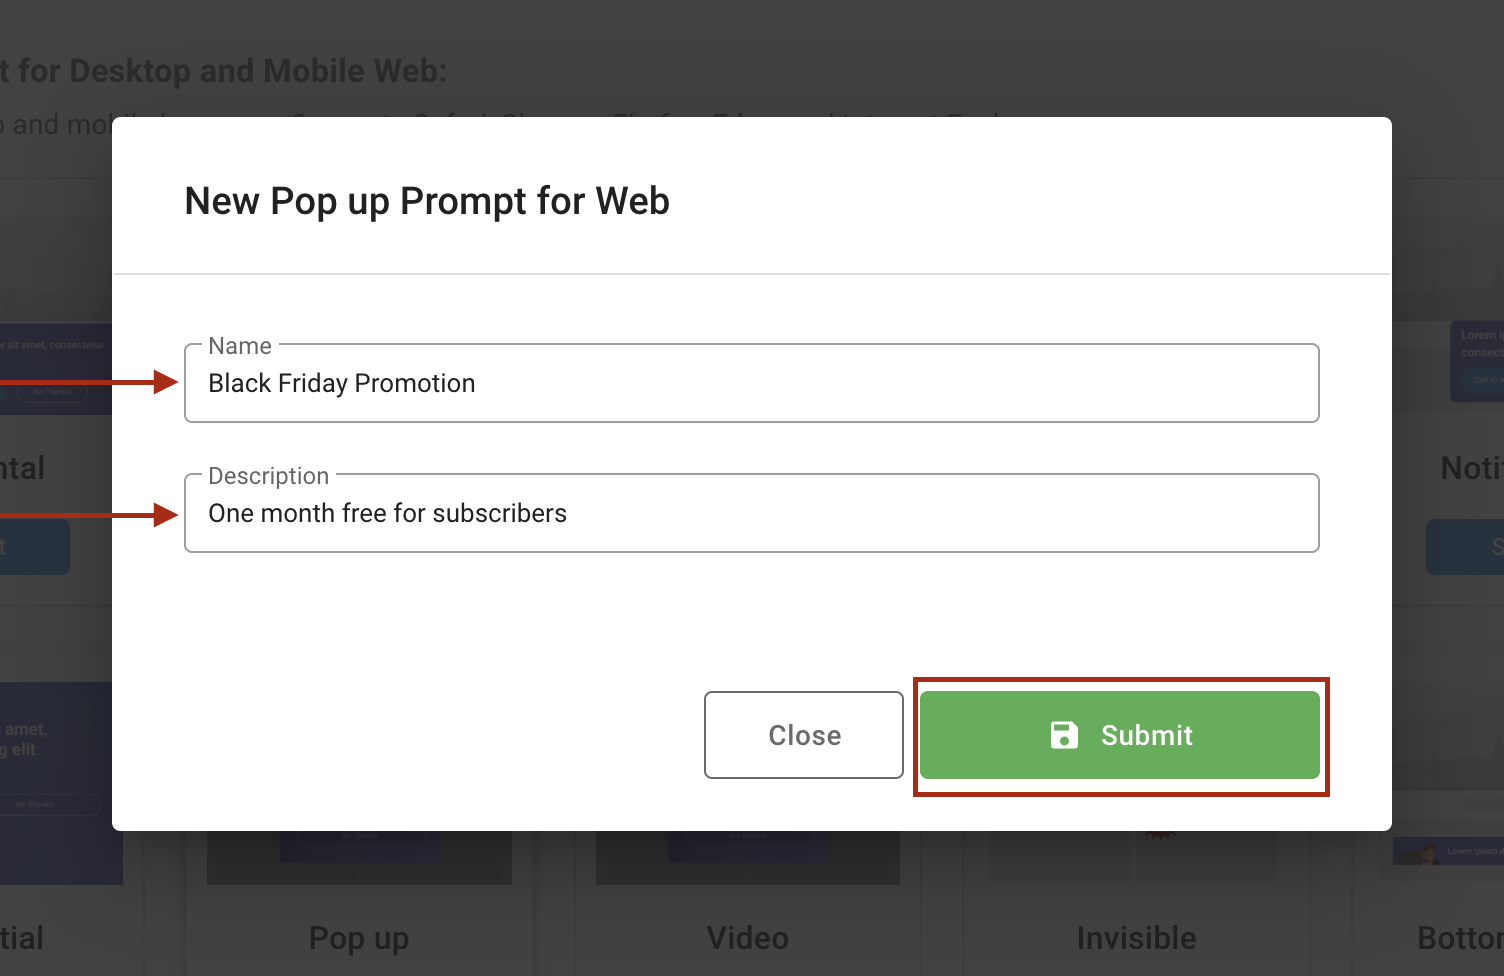
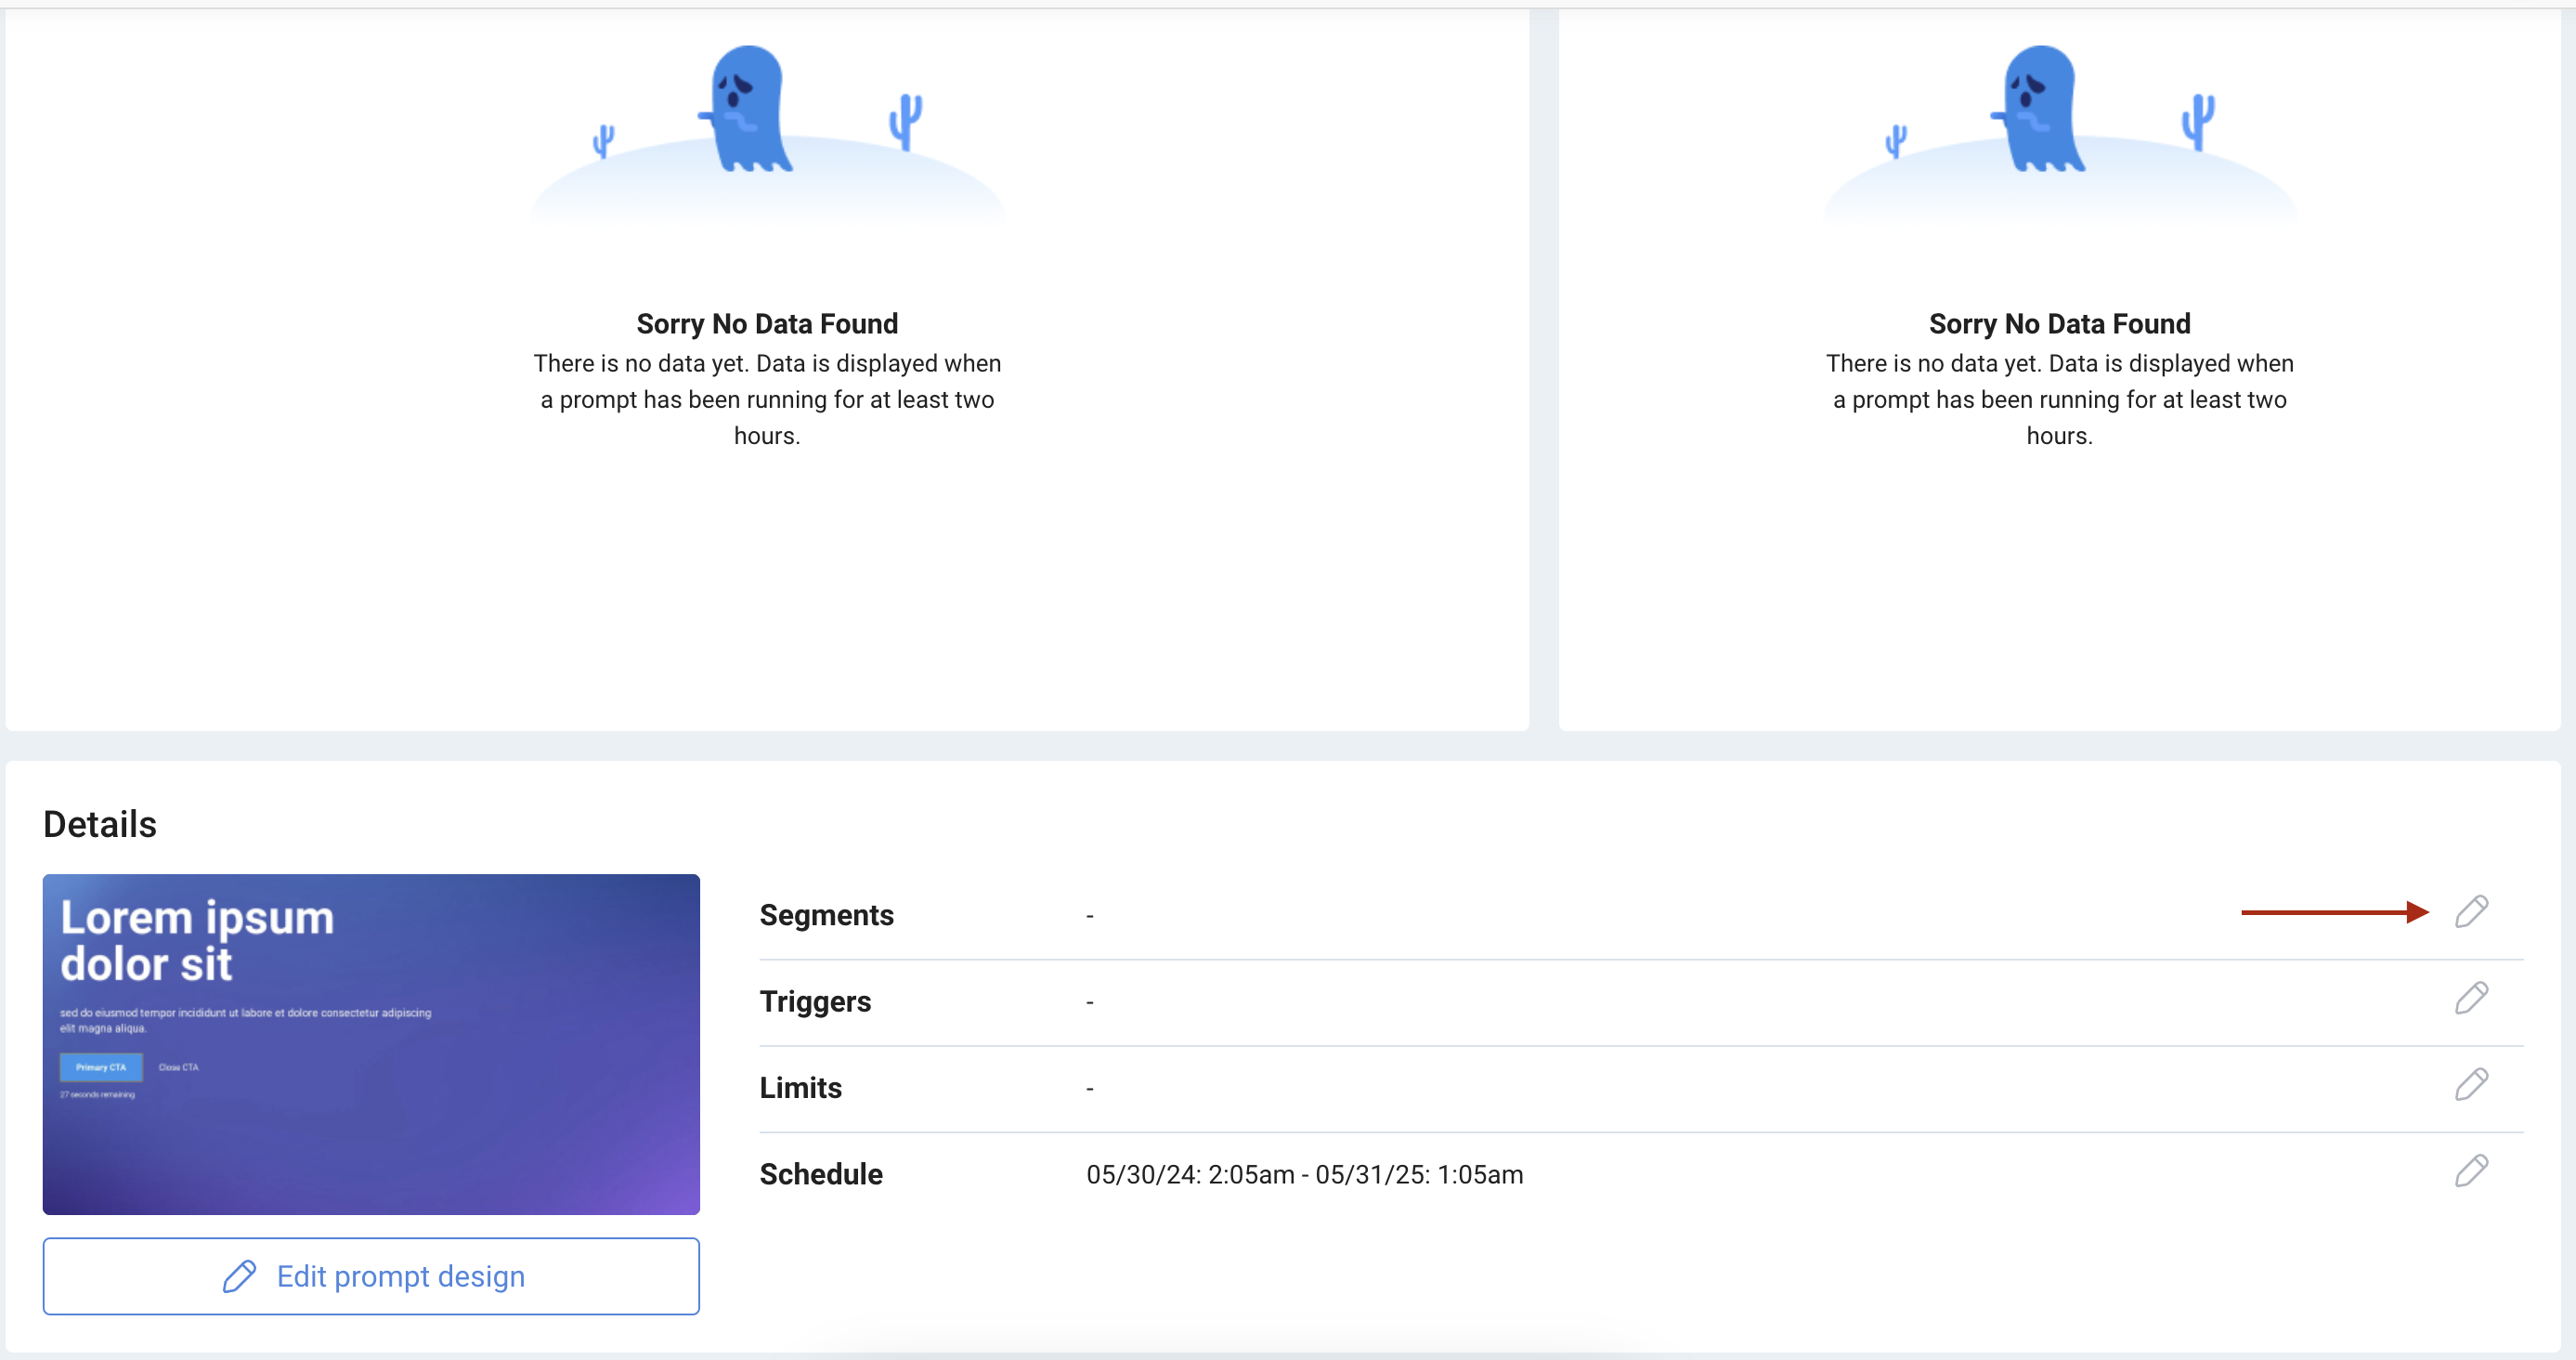
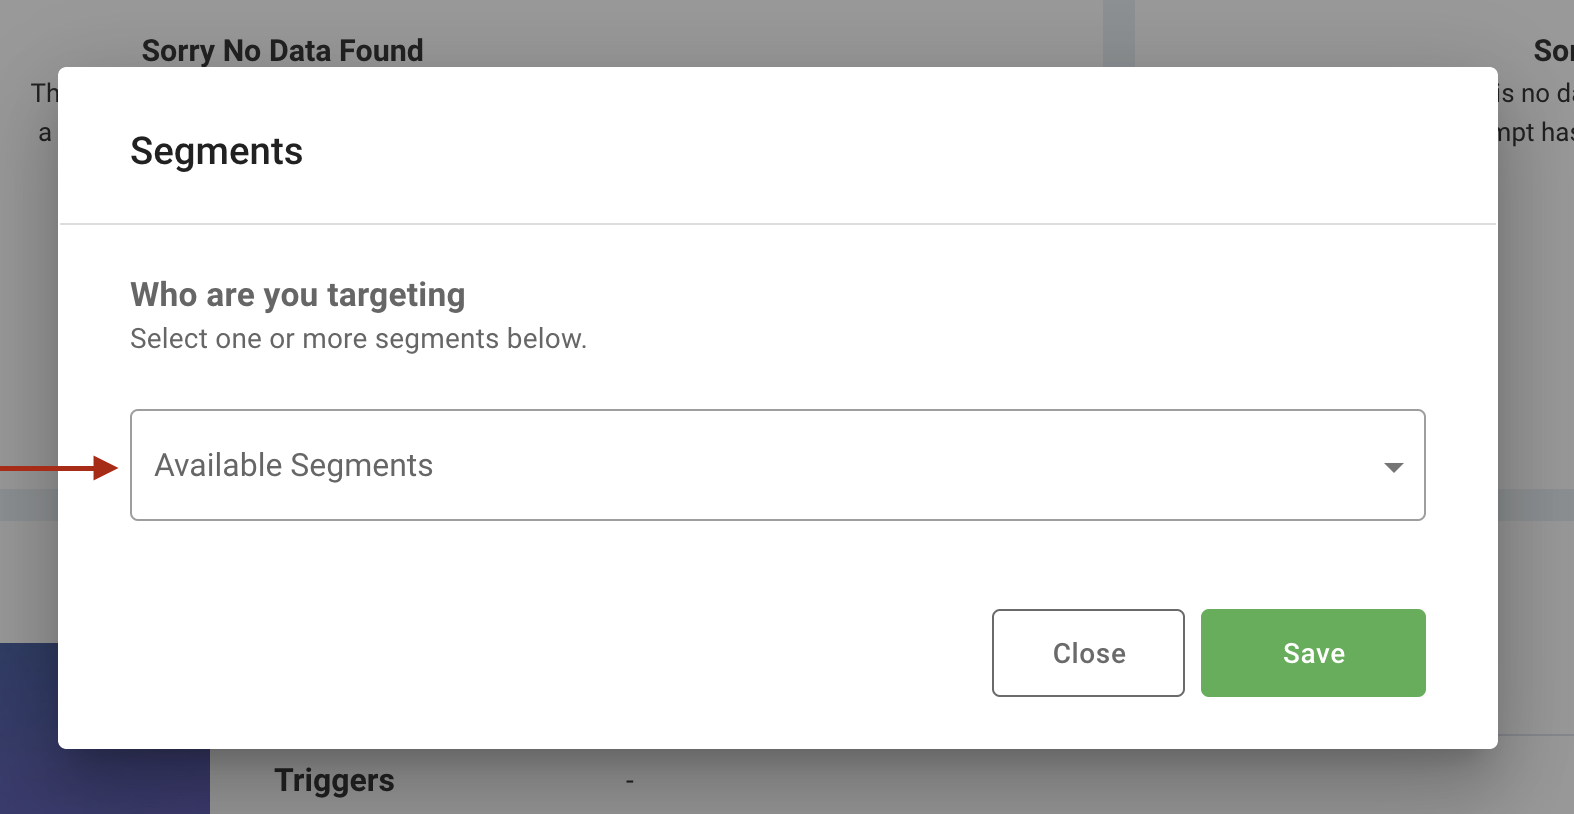
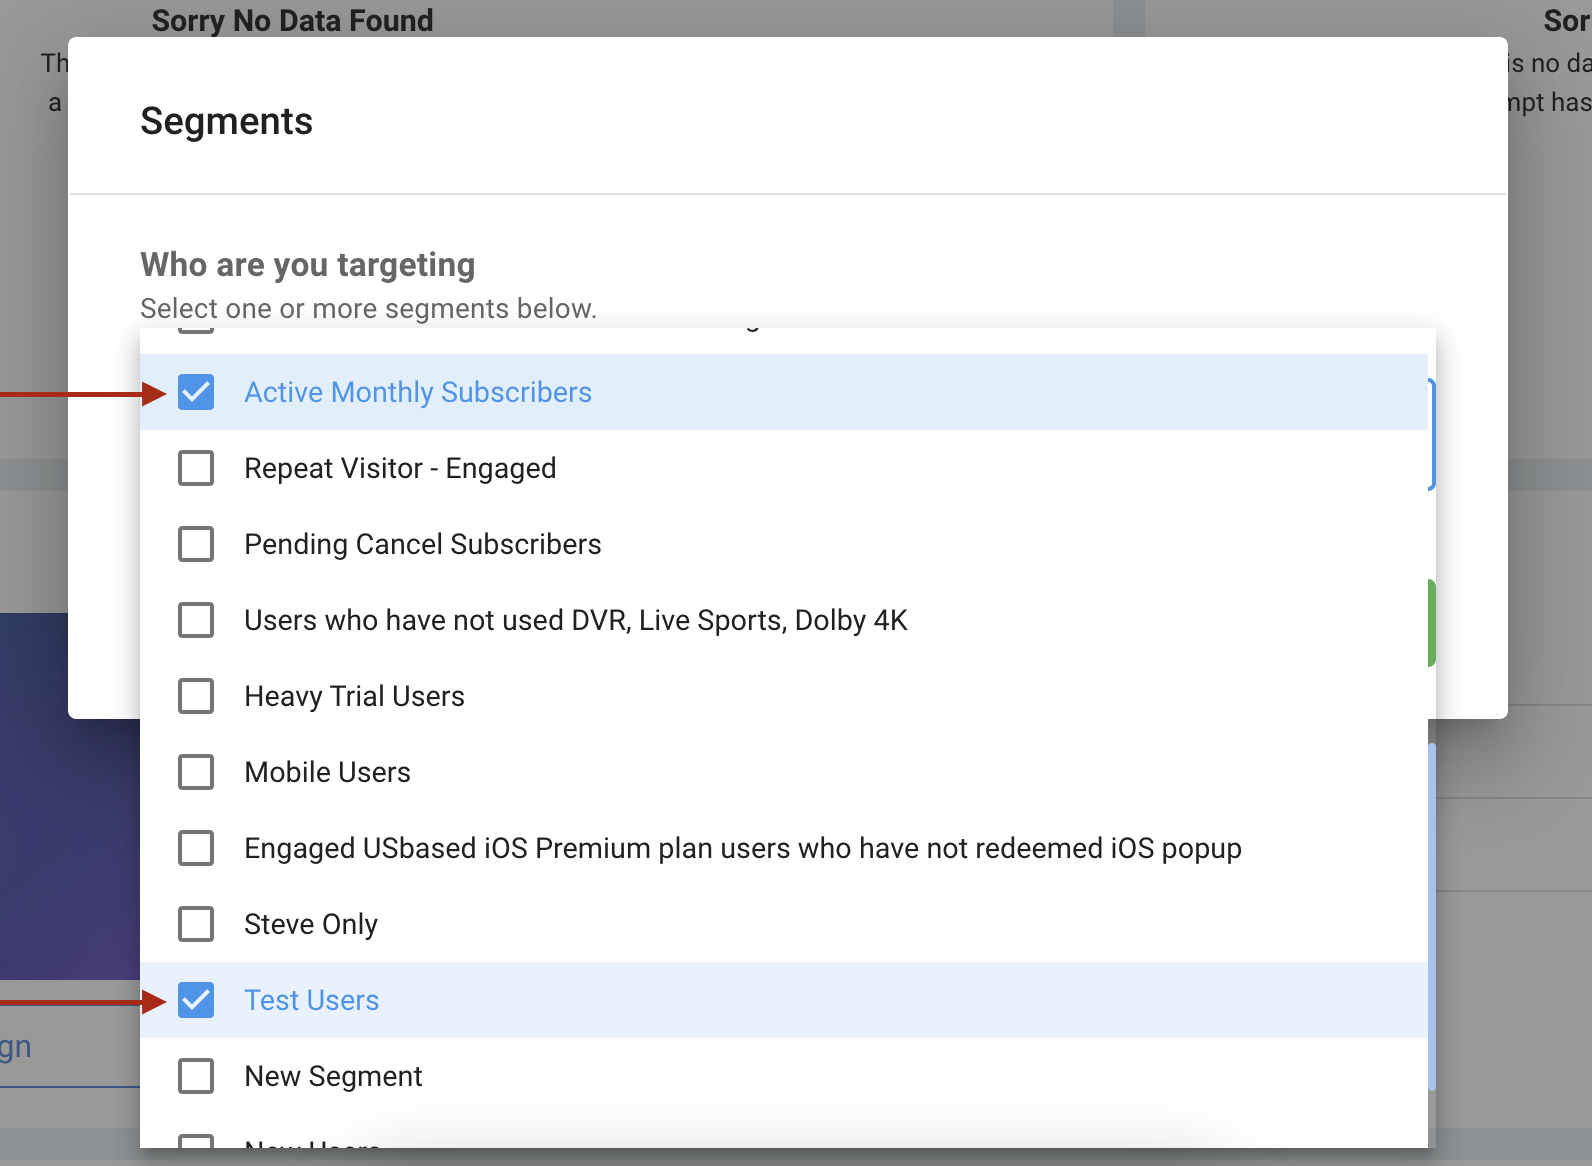
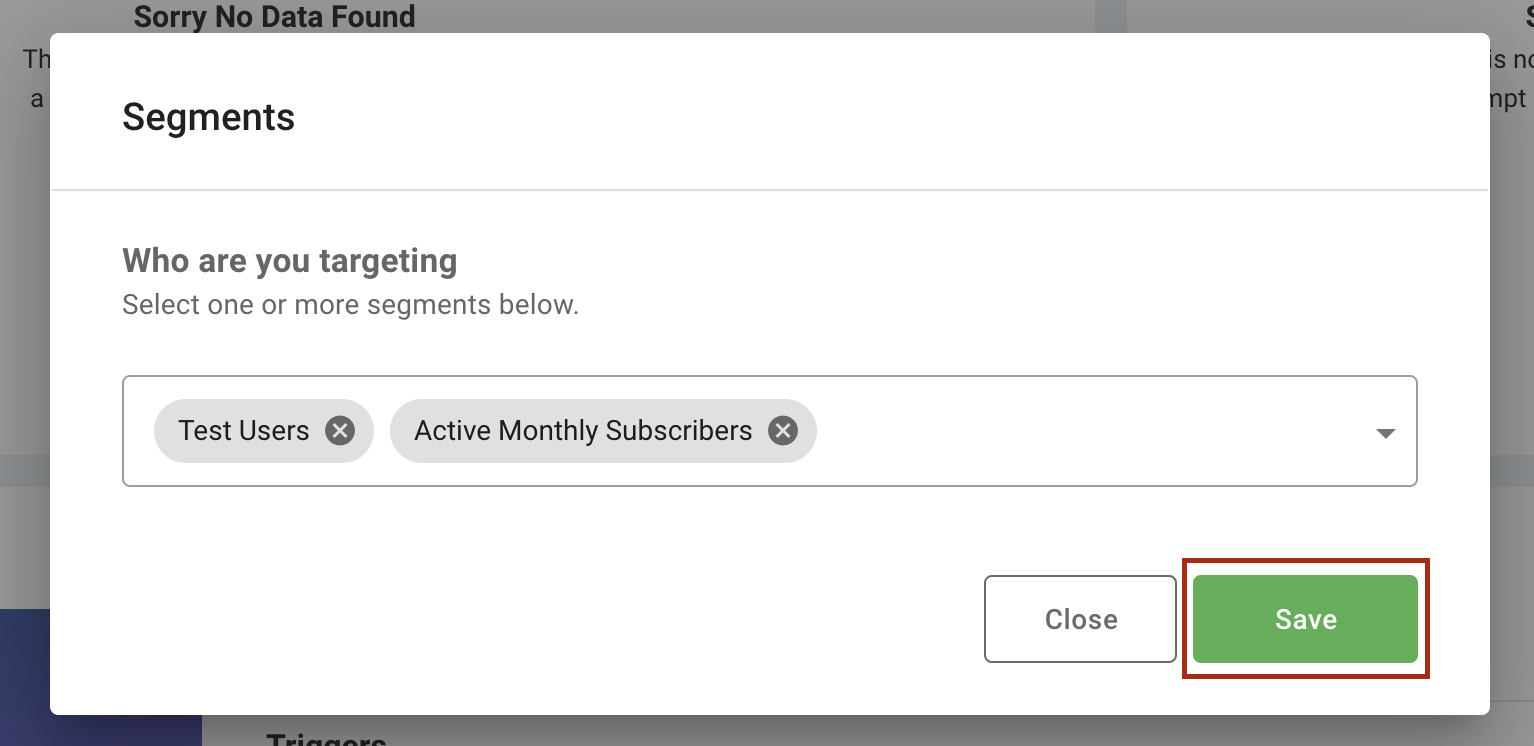
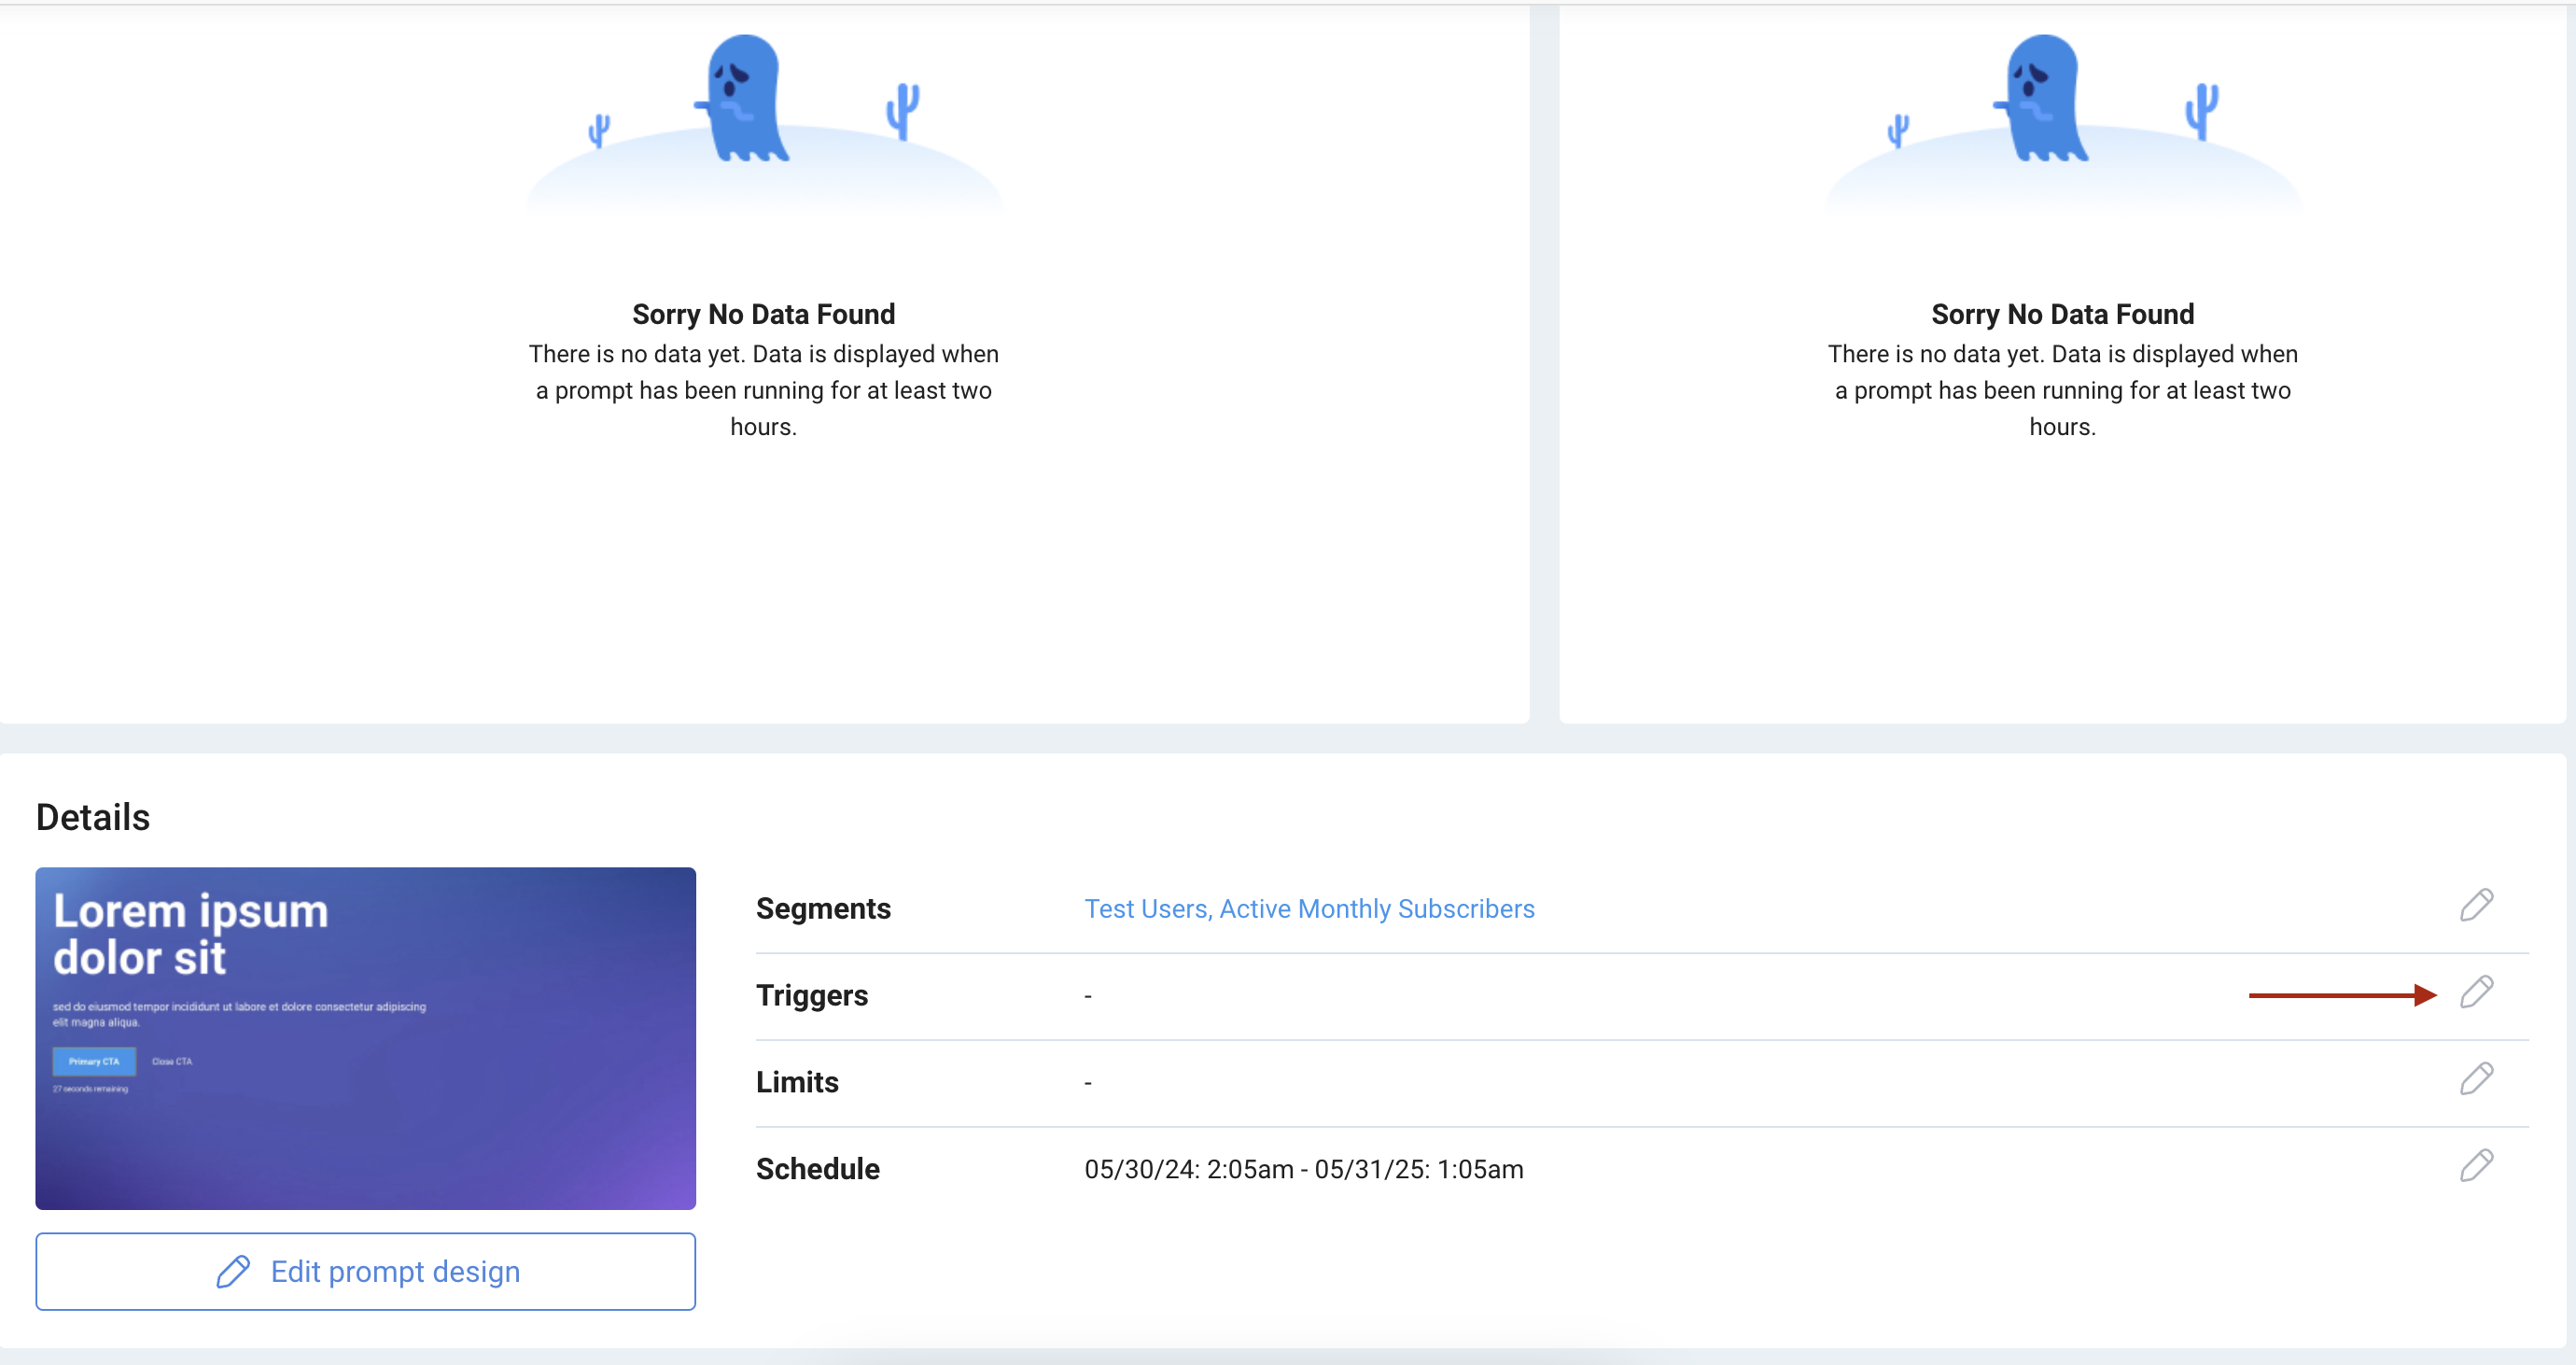
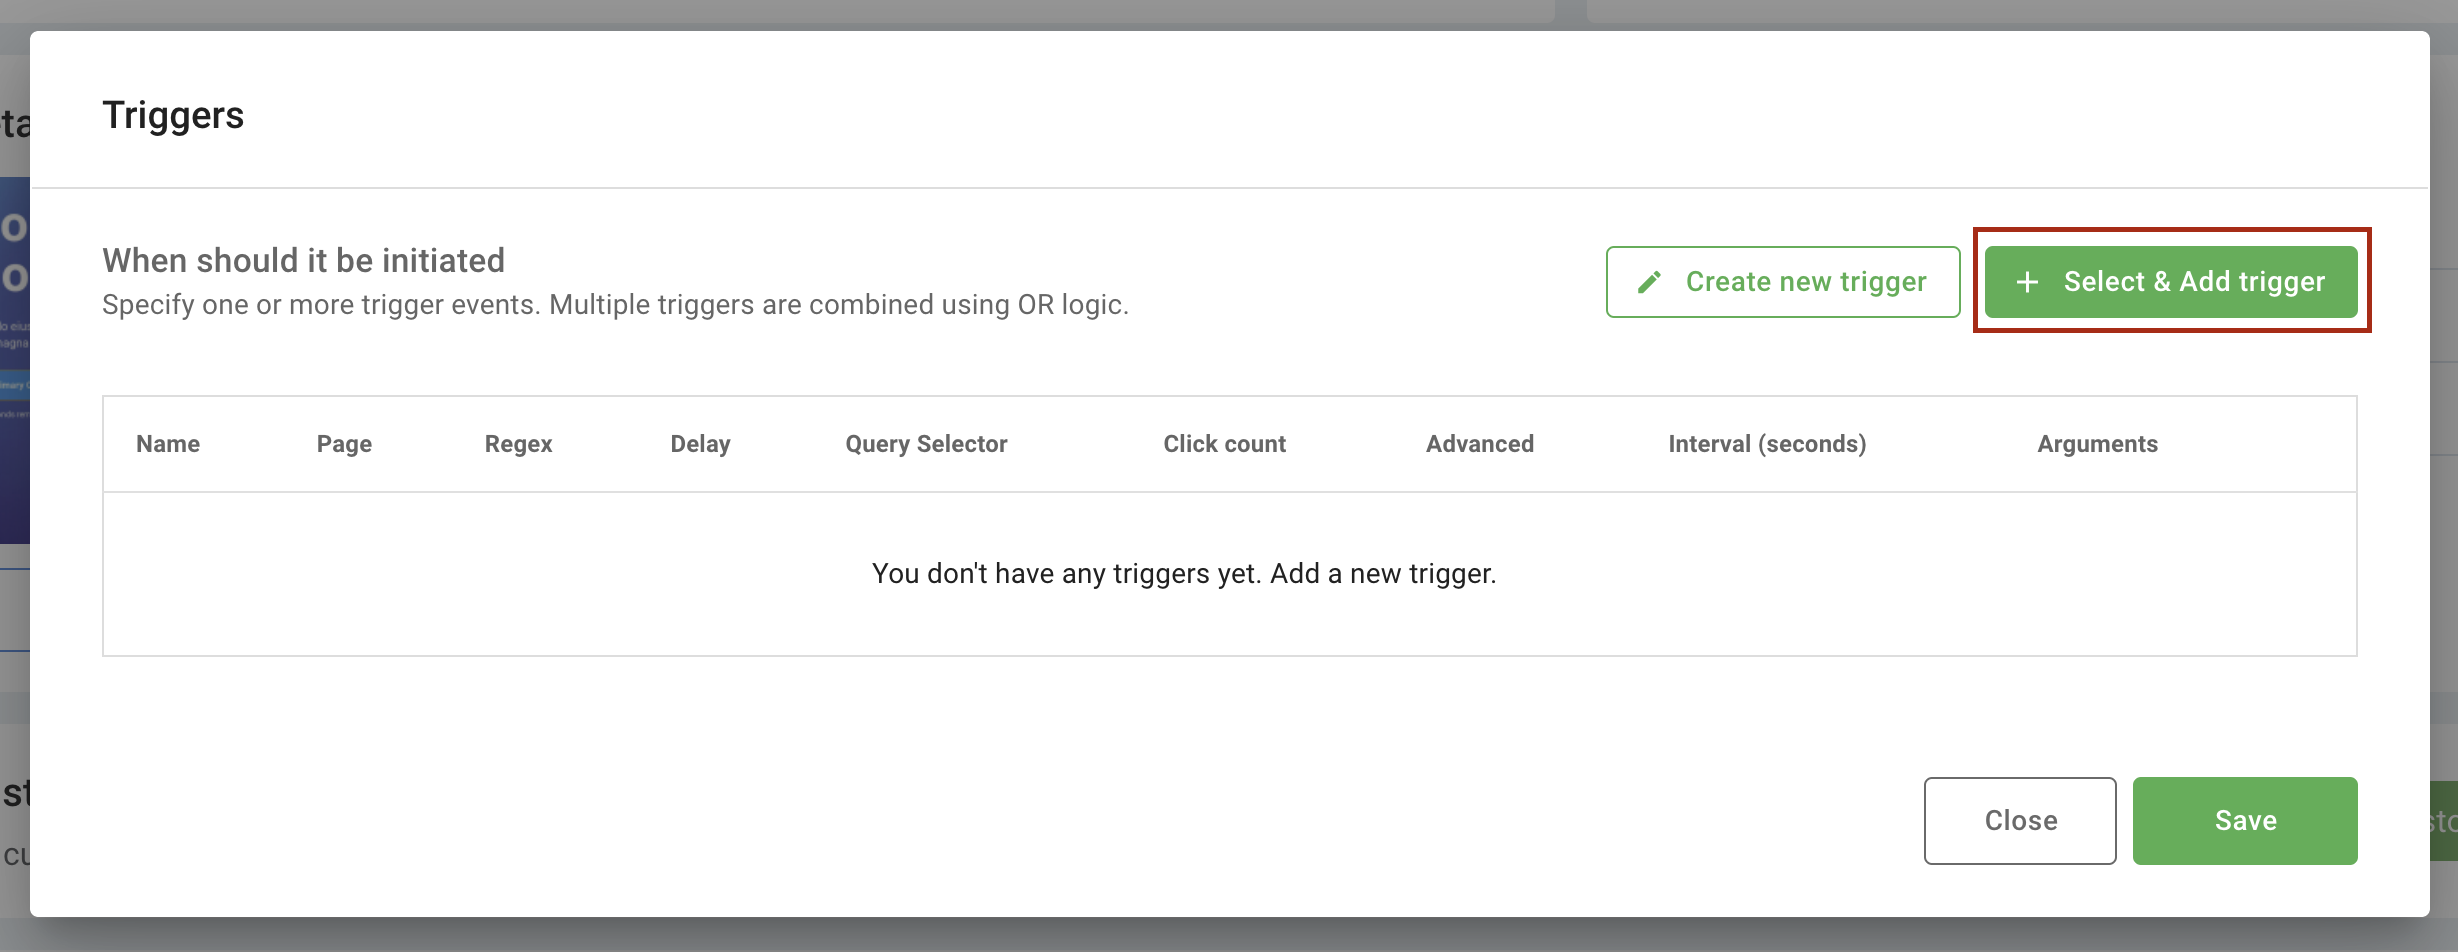
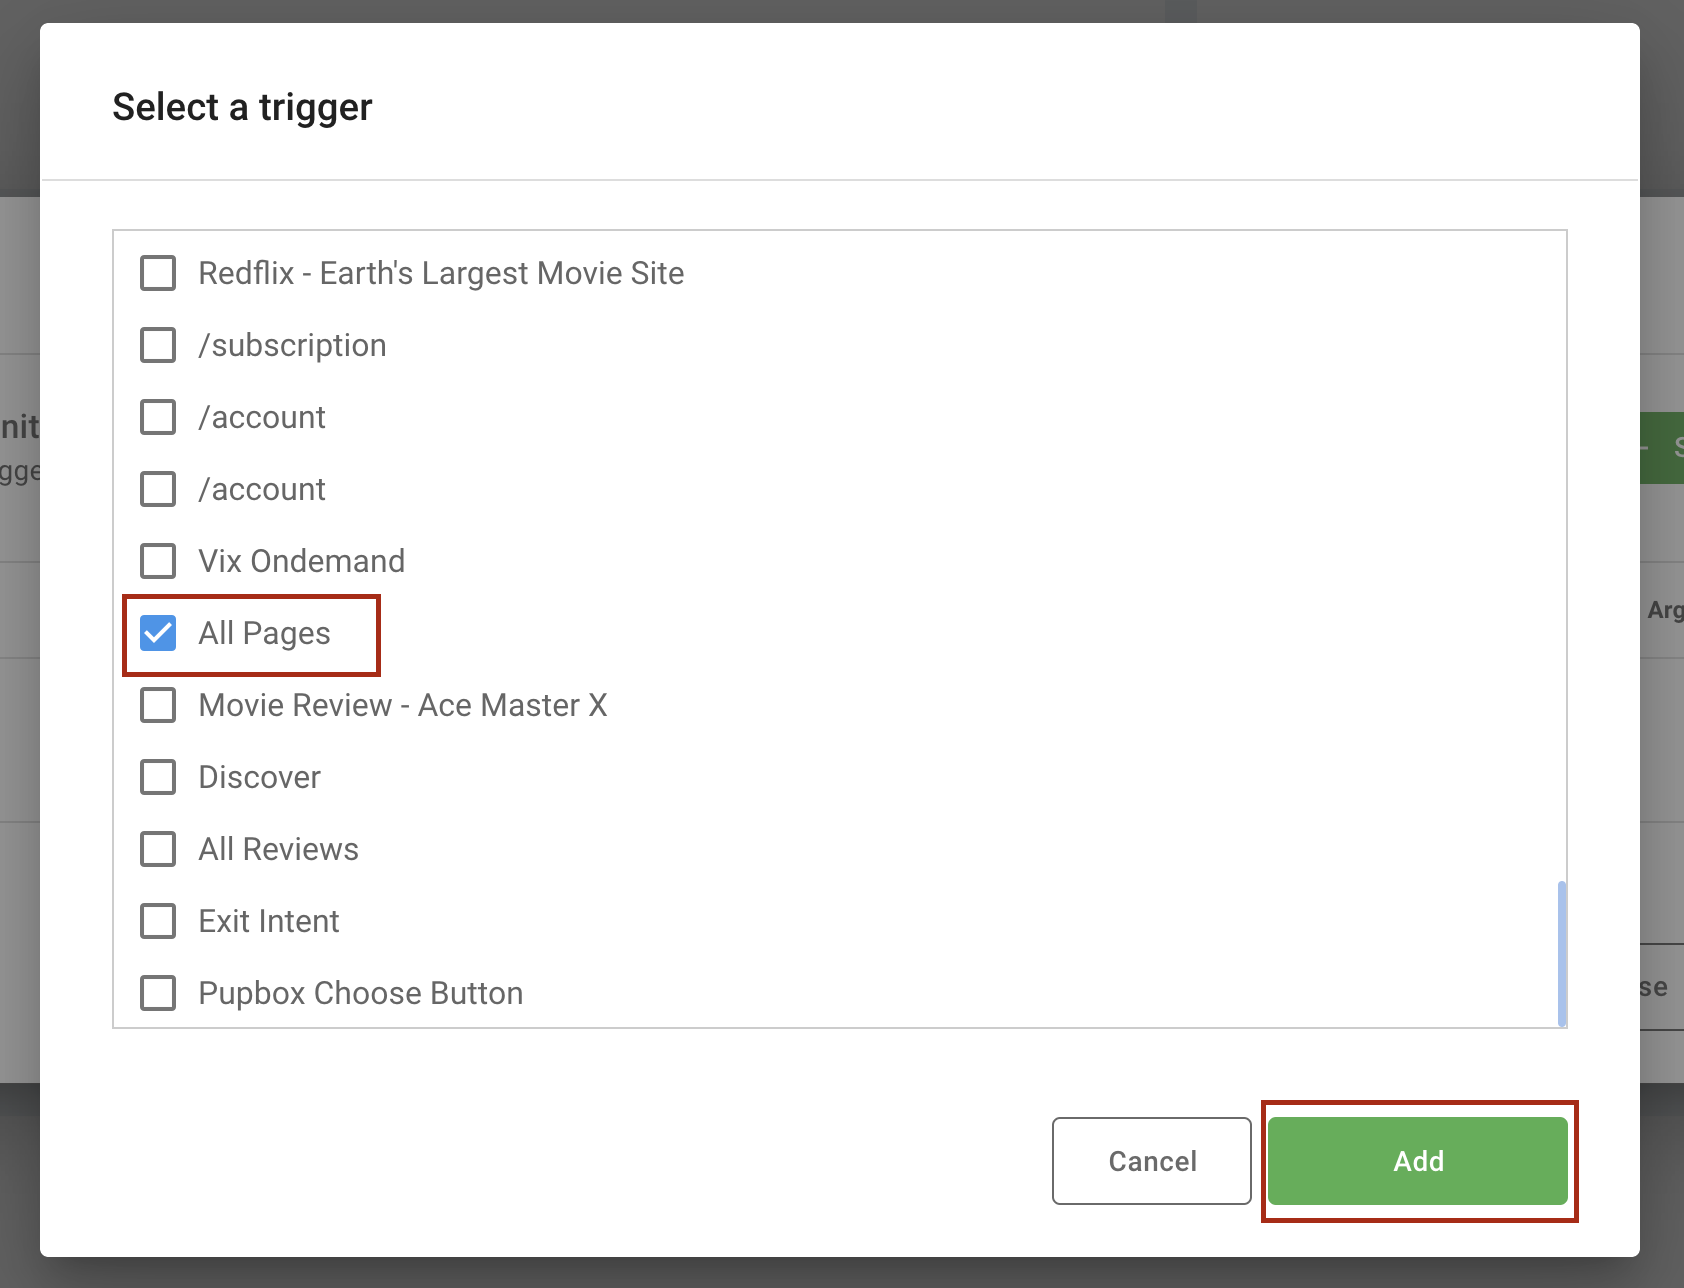
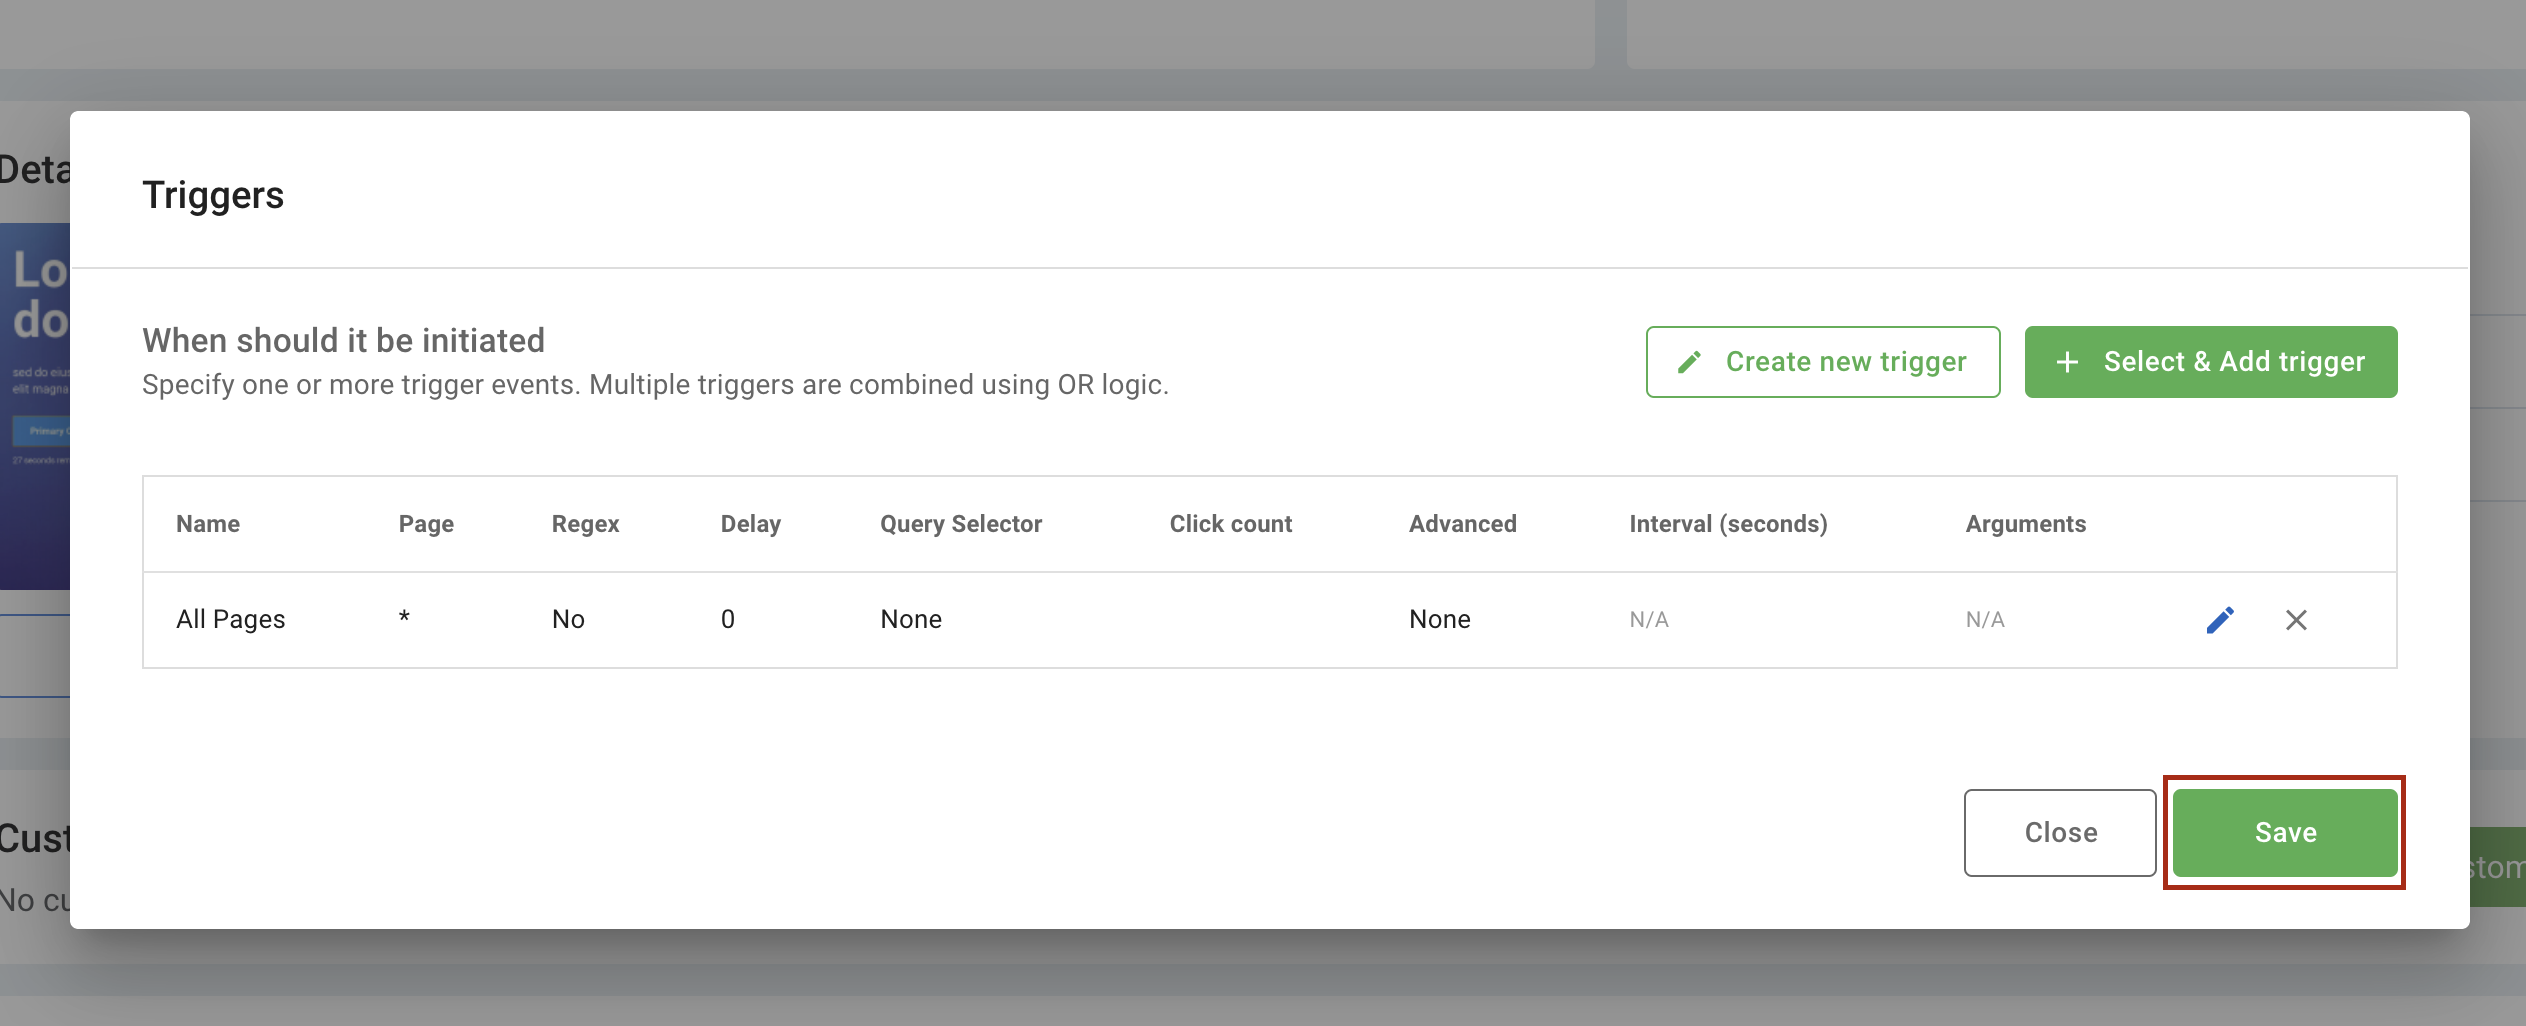
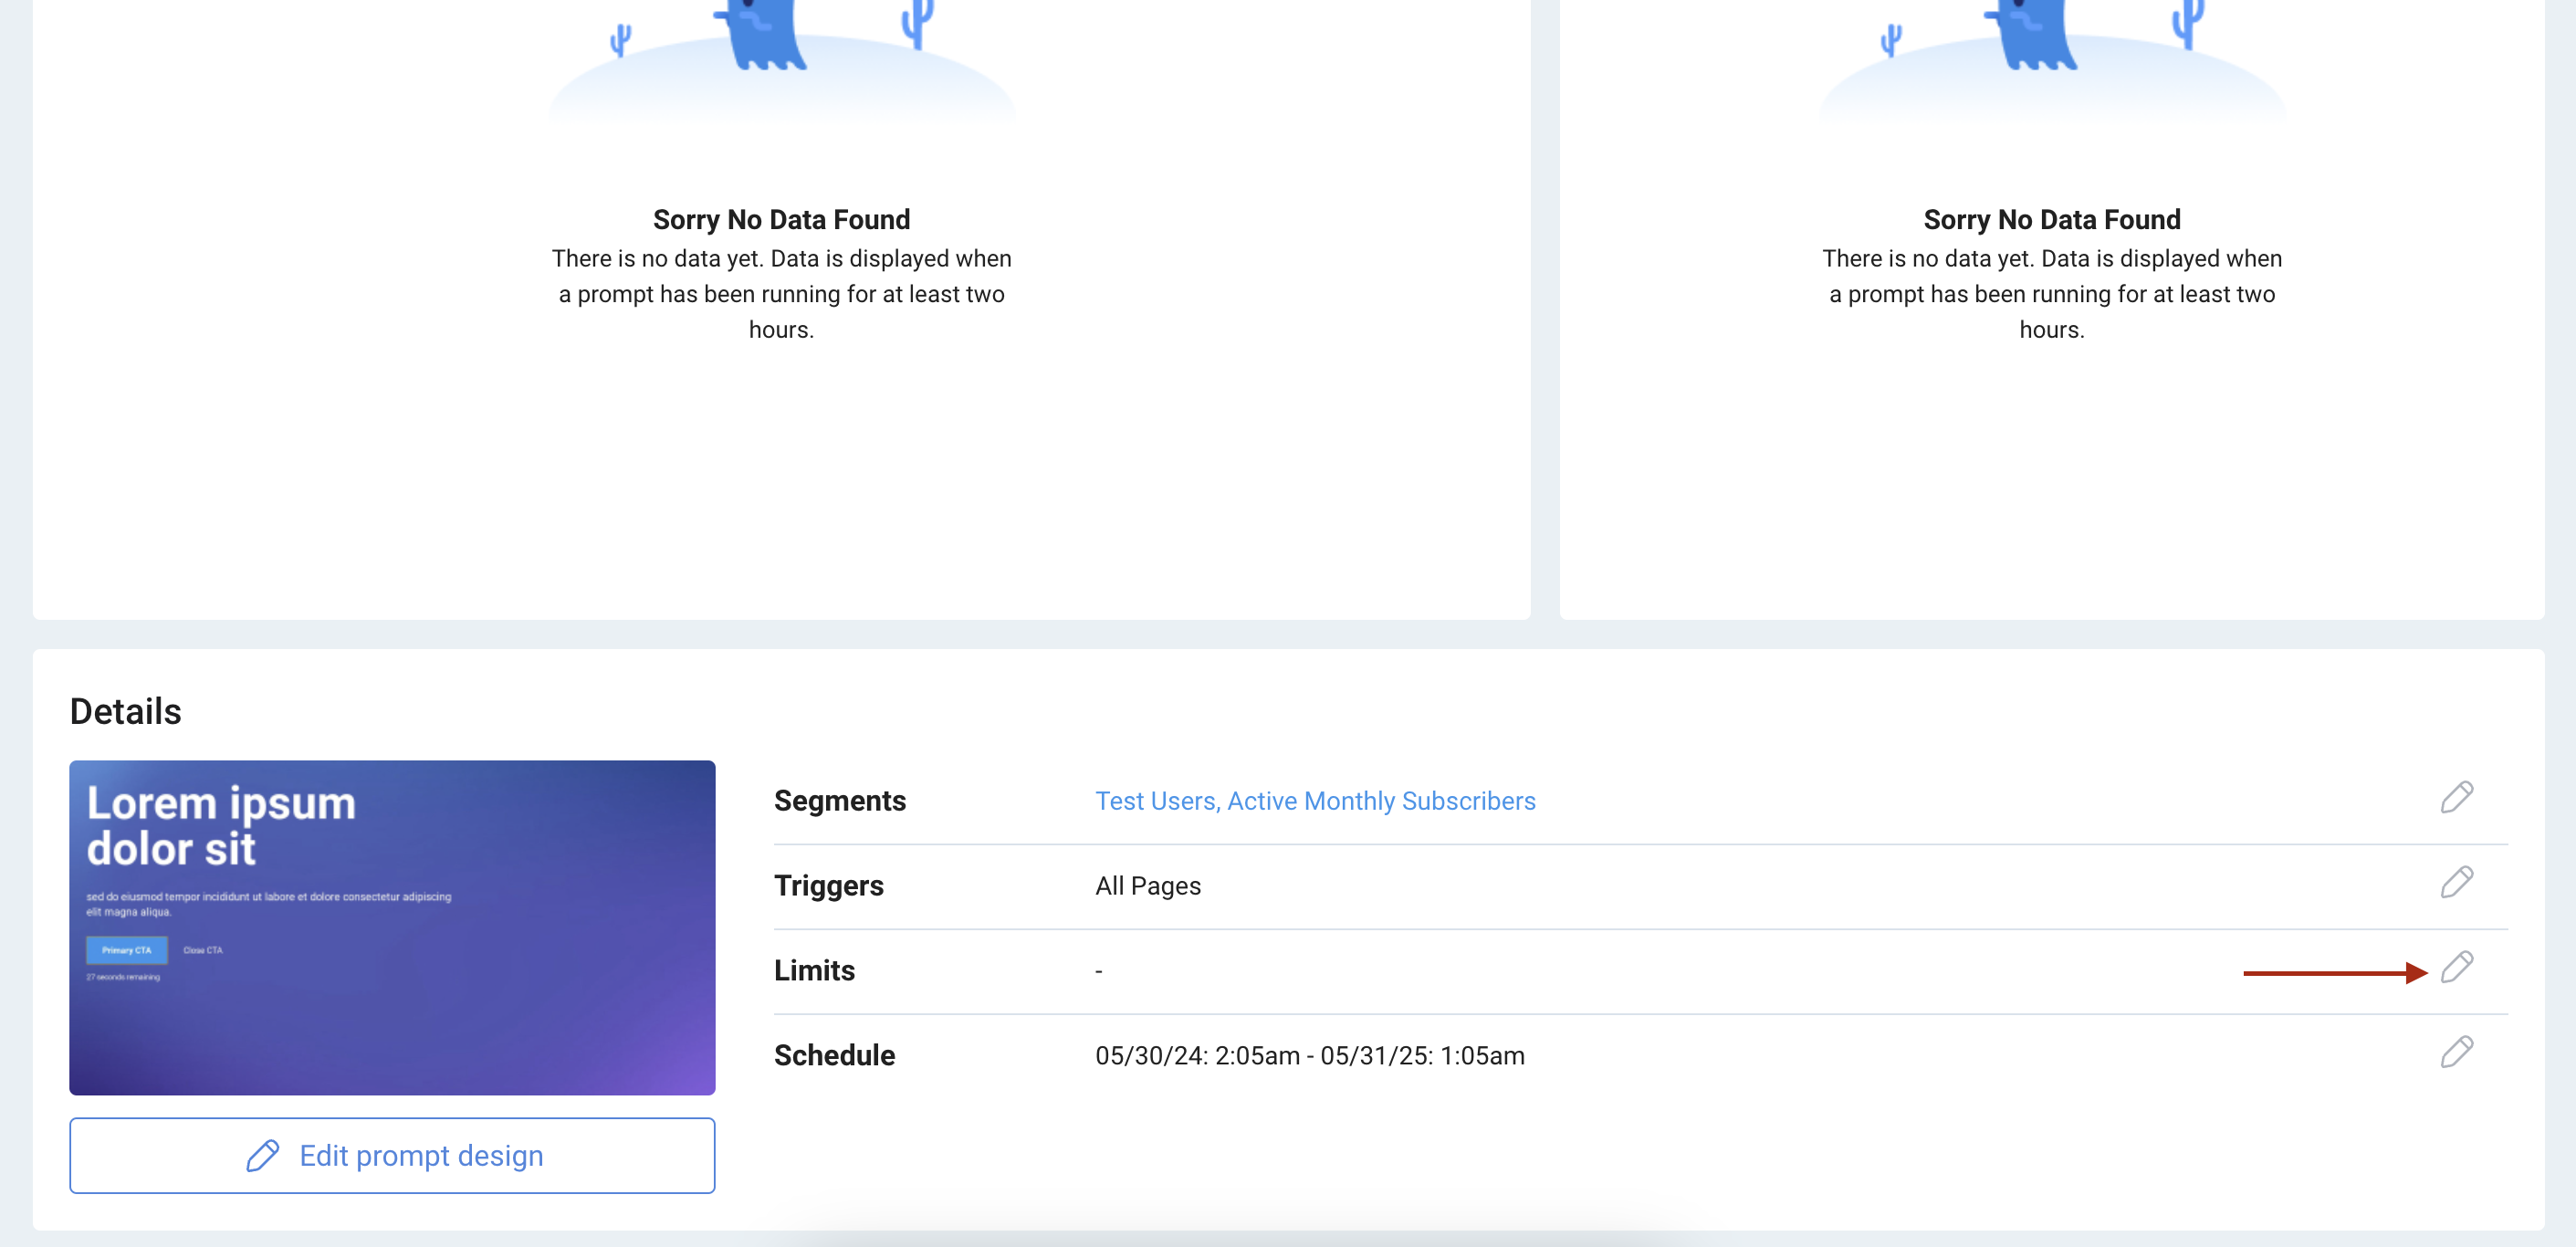
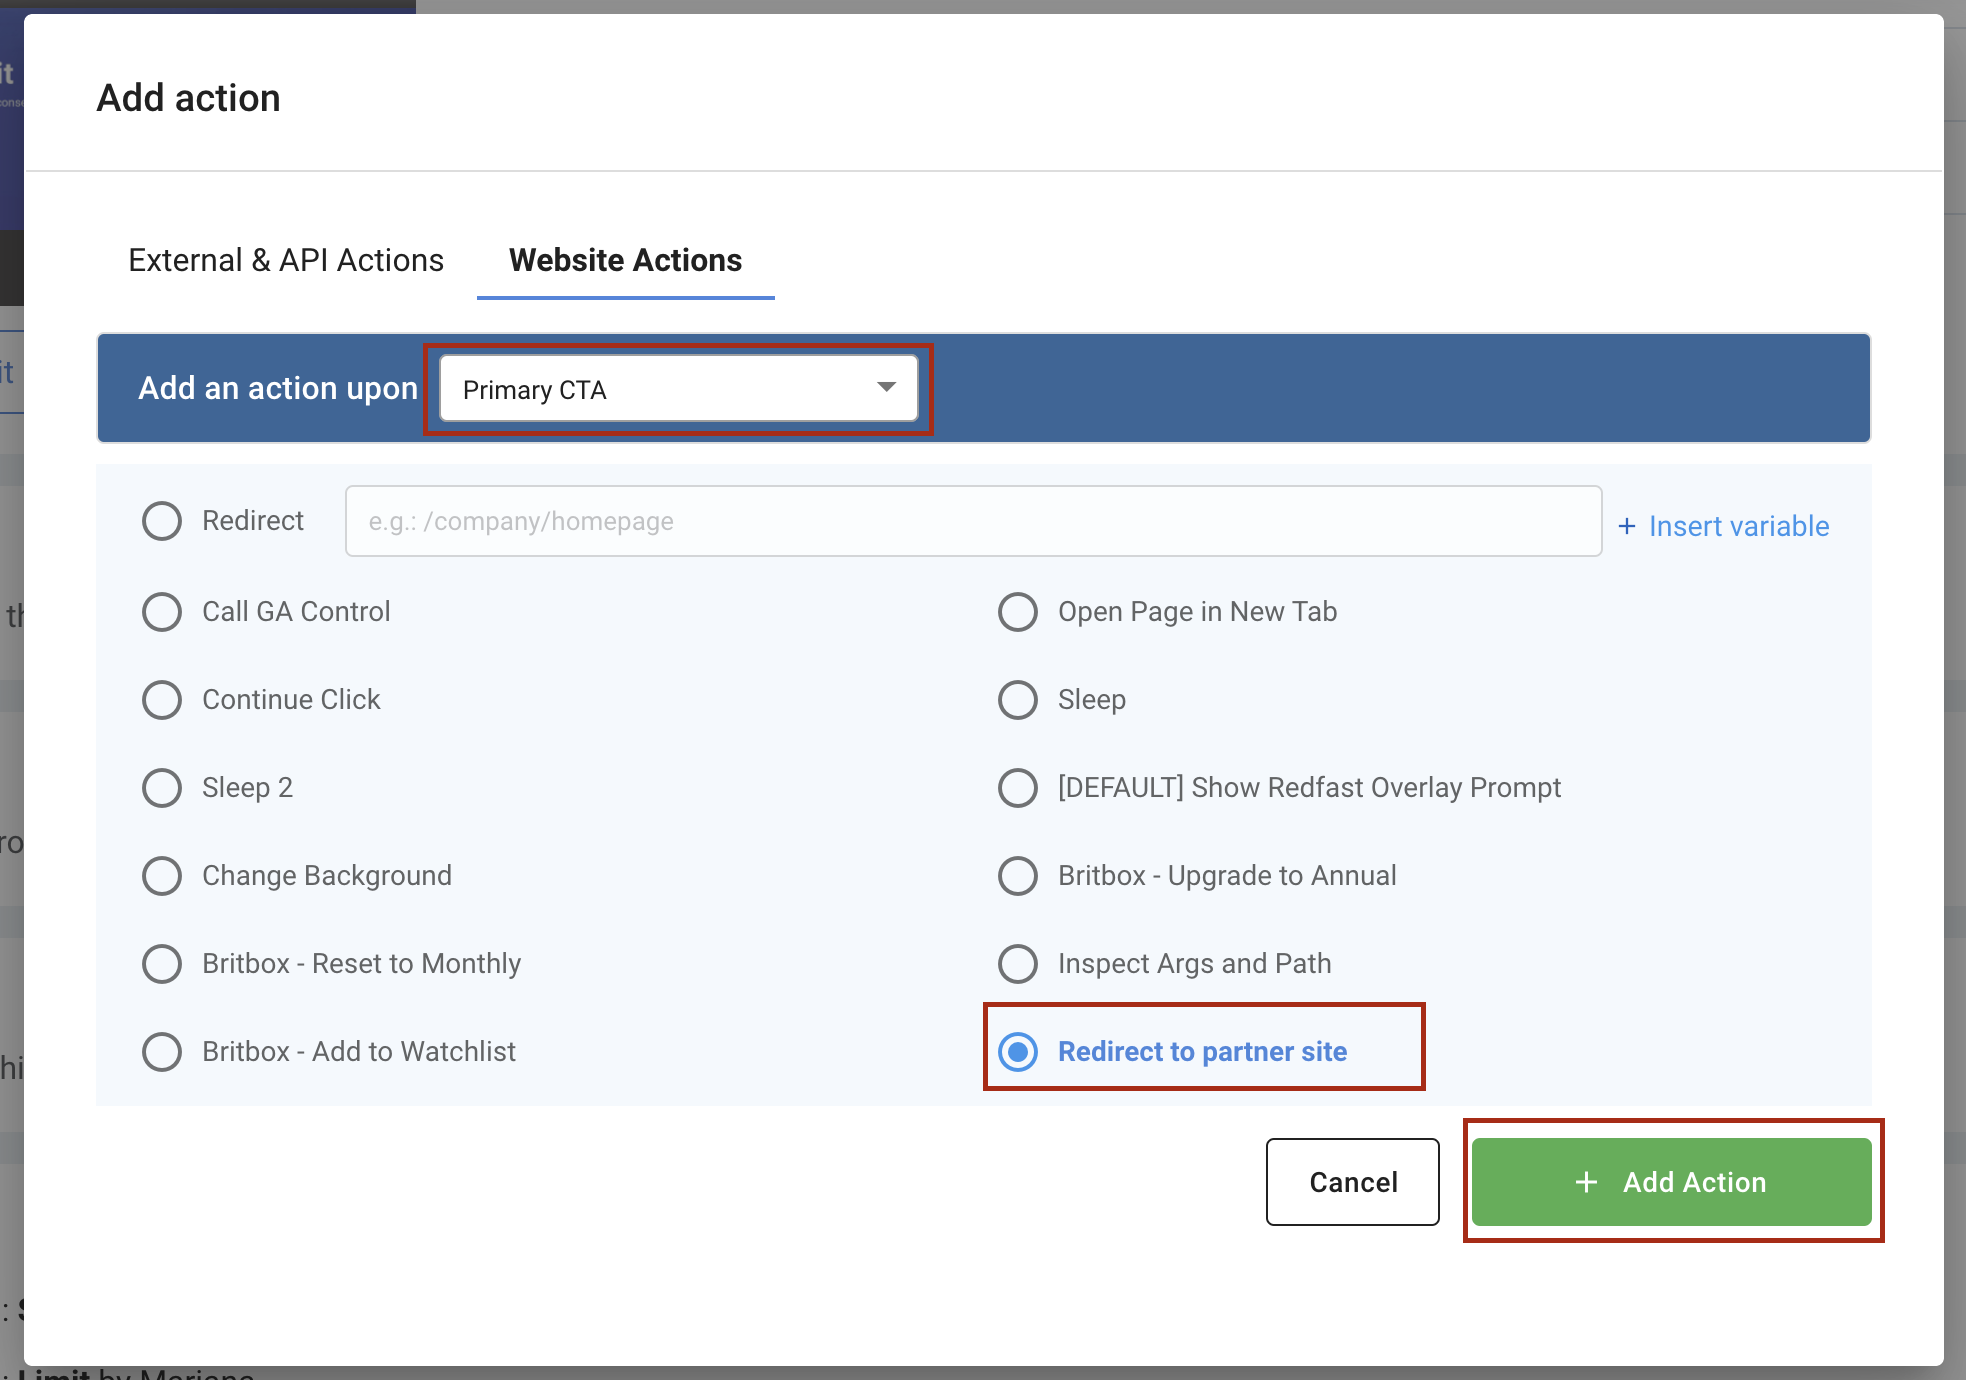
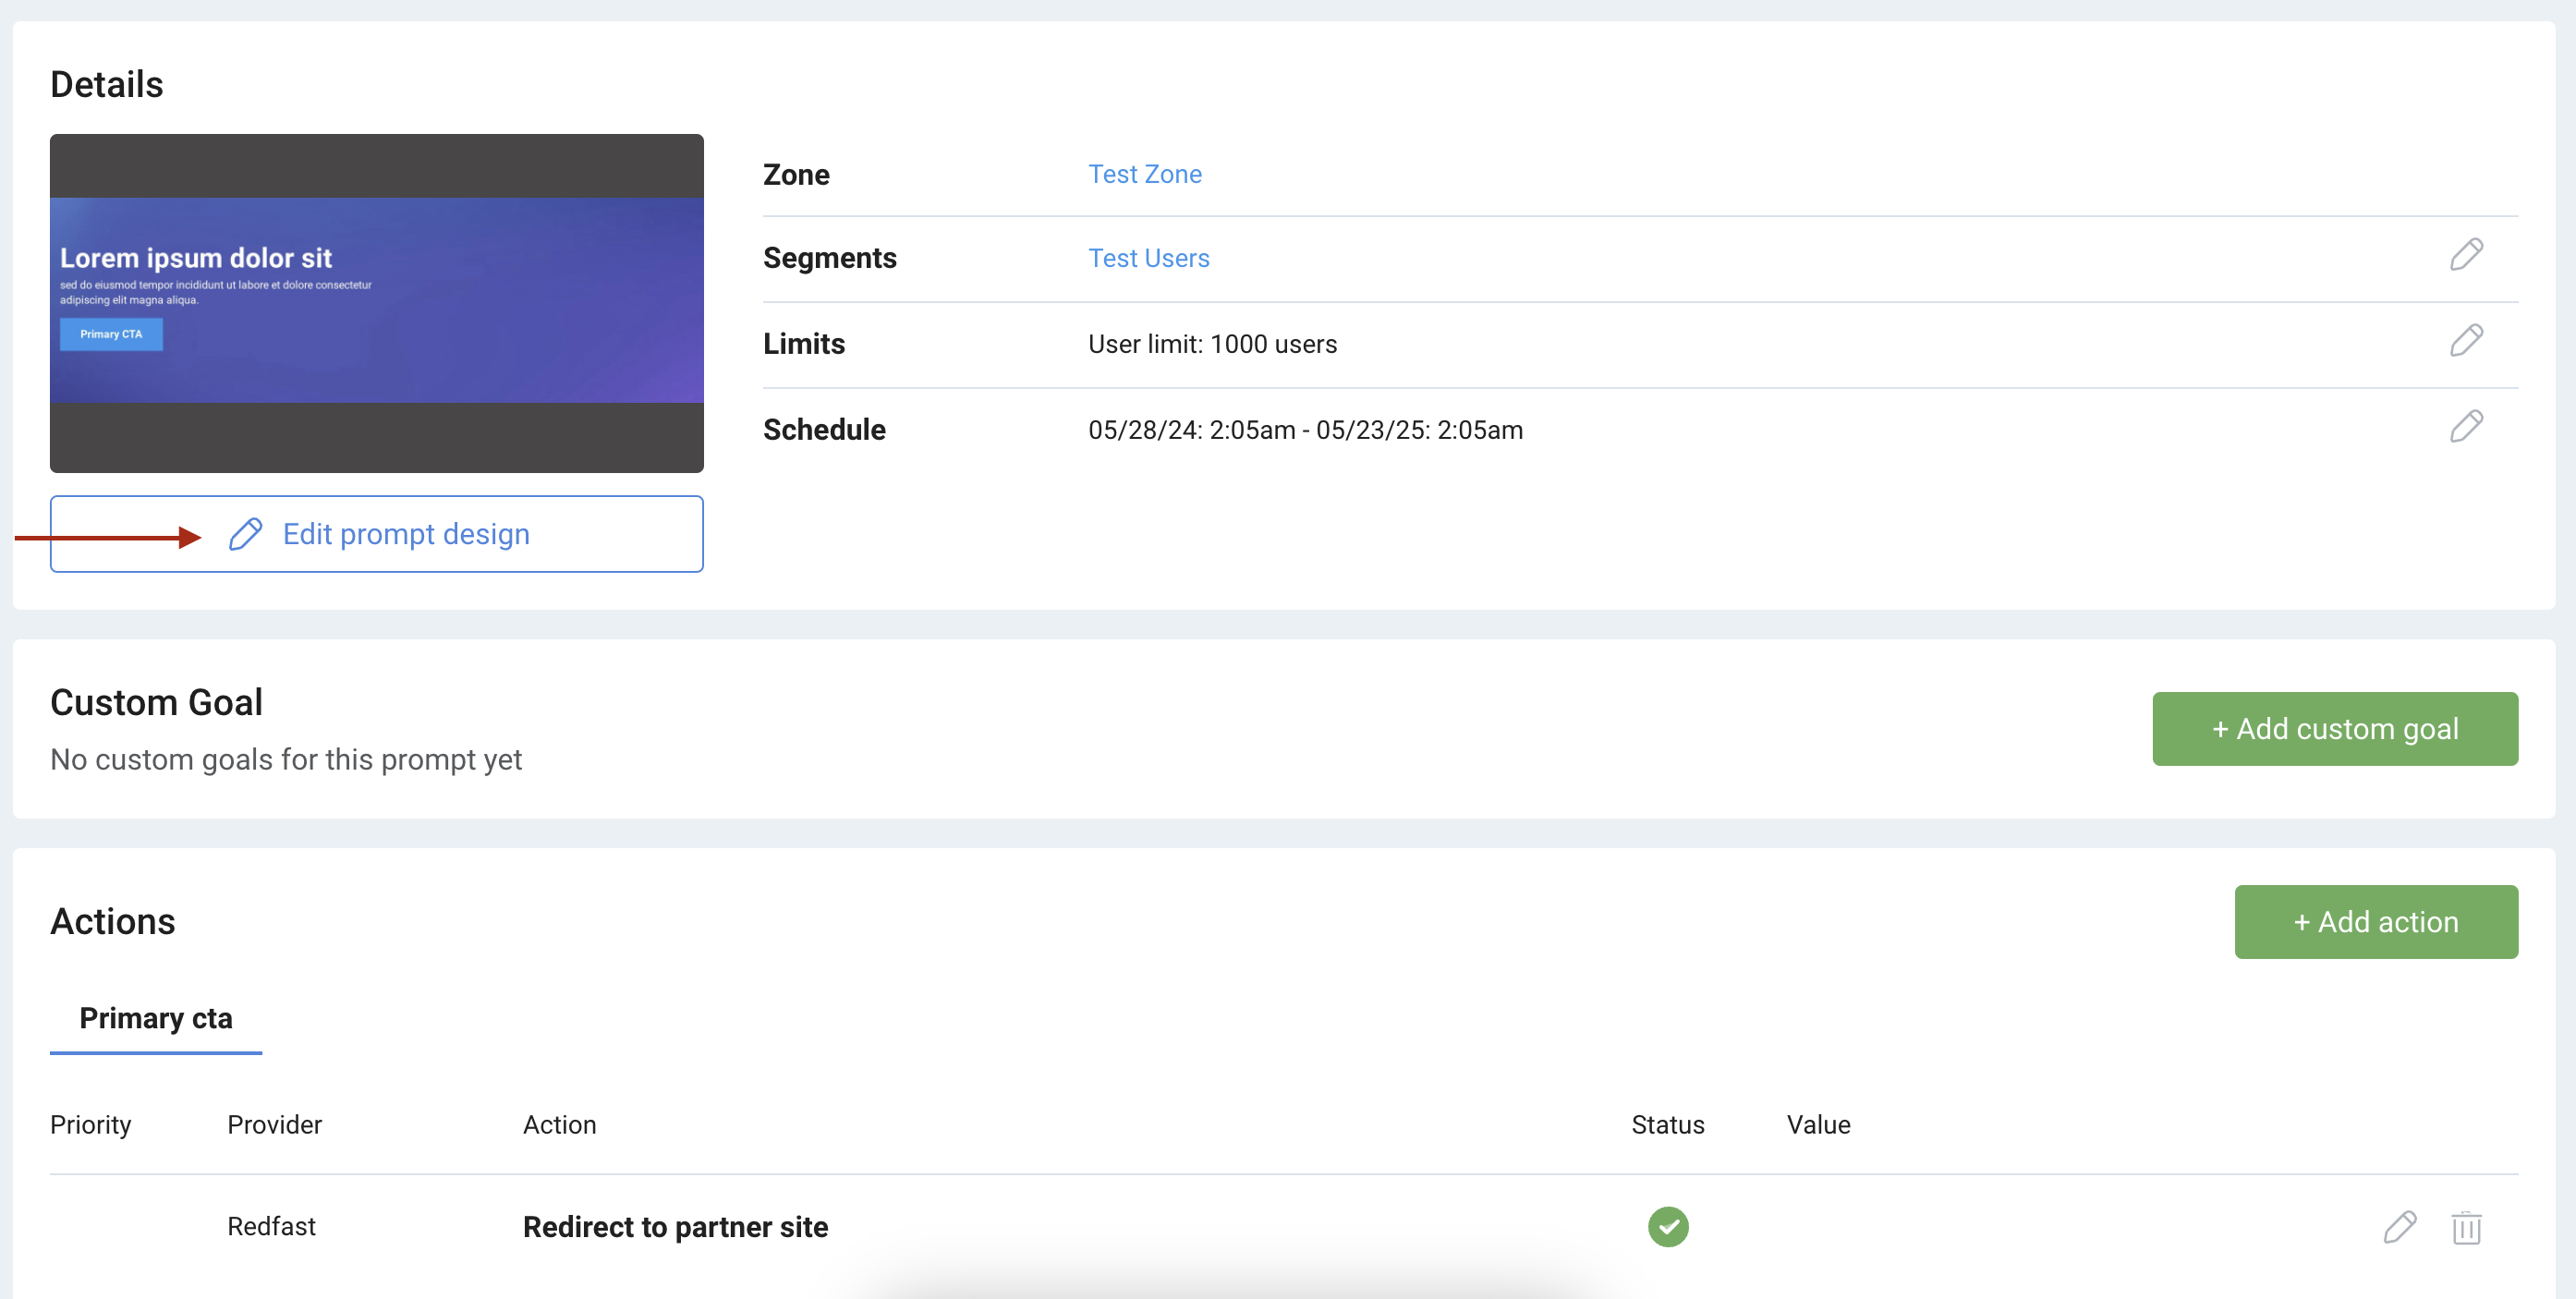
10
Design the prompt
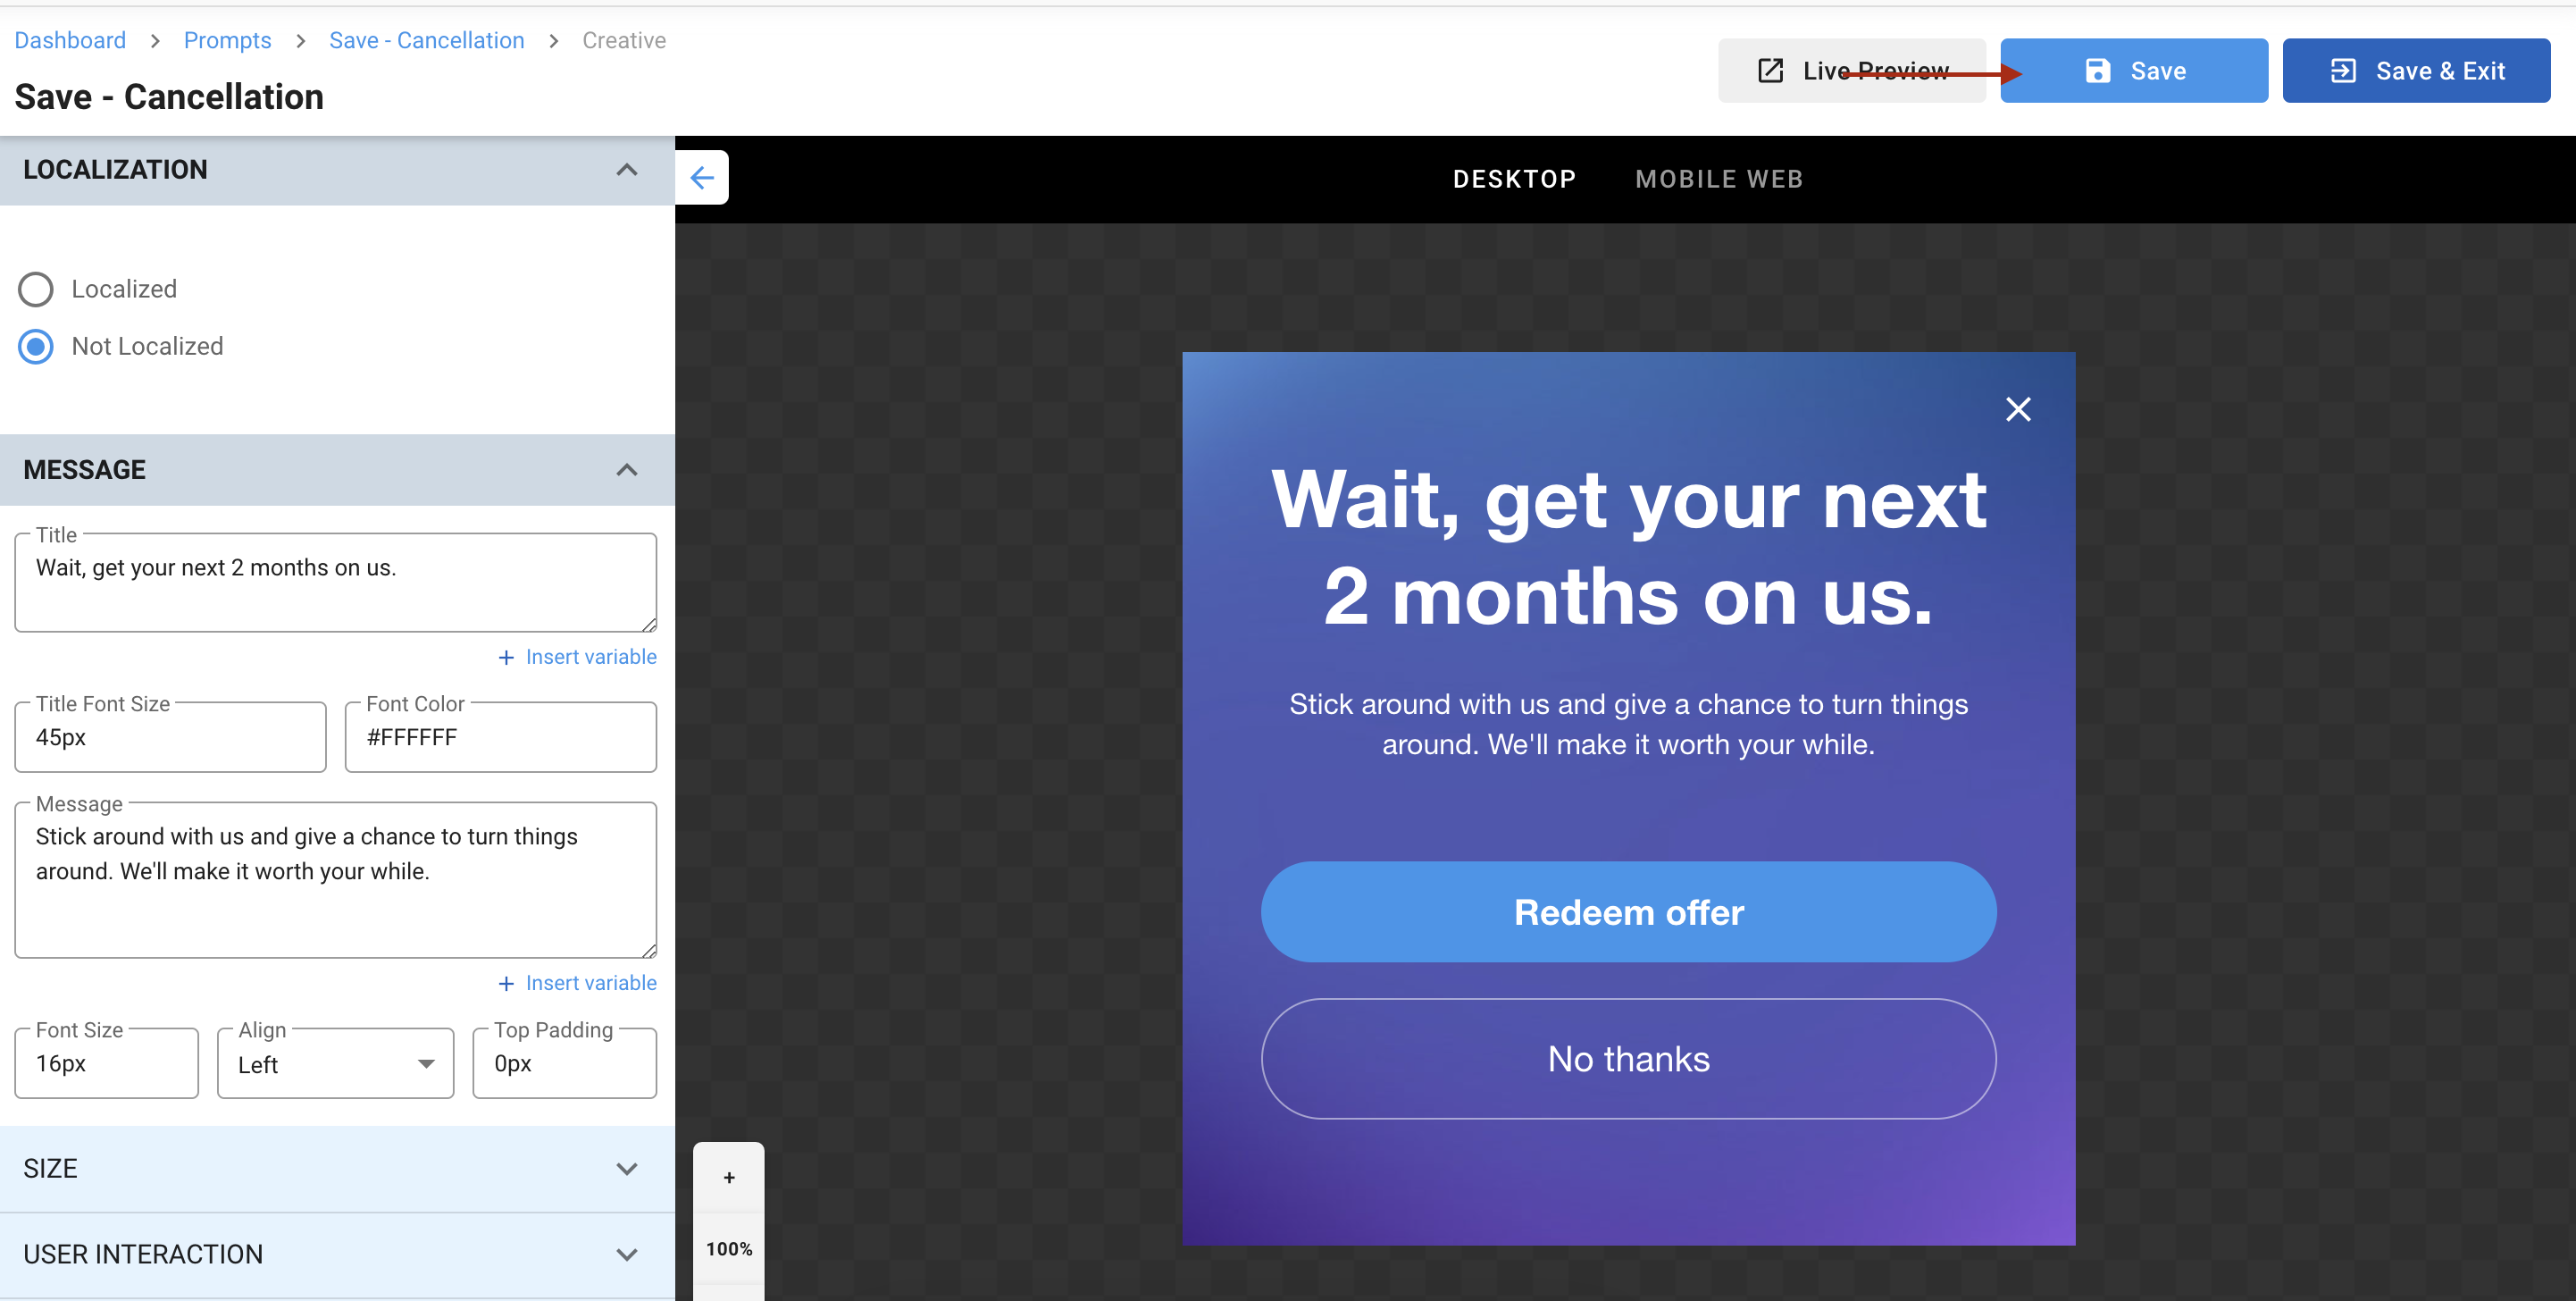
Customize colors, text, buttons, and images — previews update live. For sample background images, download this ZIP file.
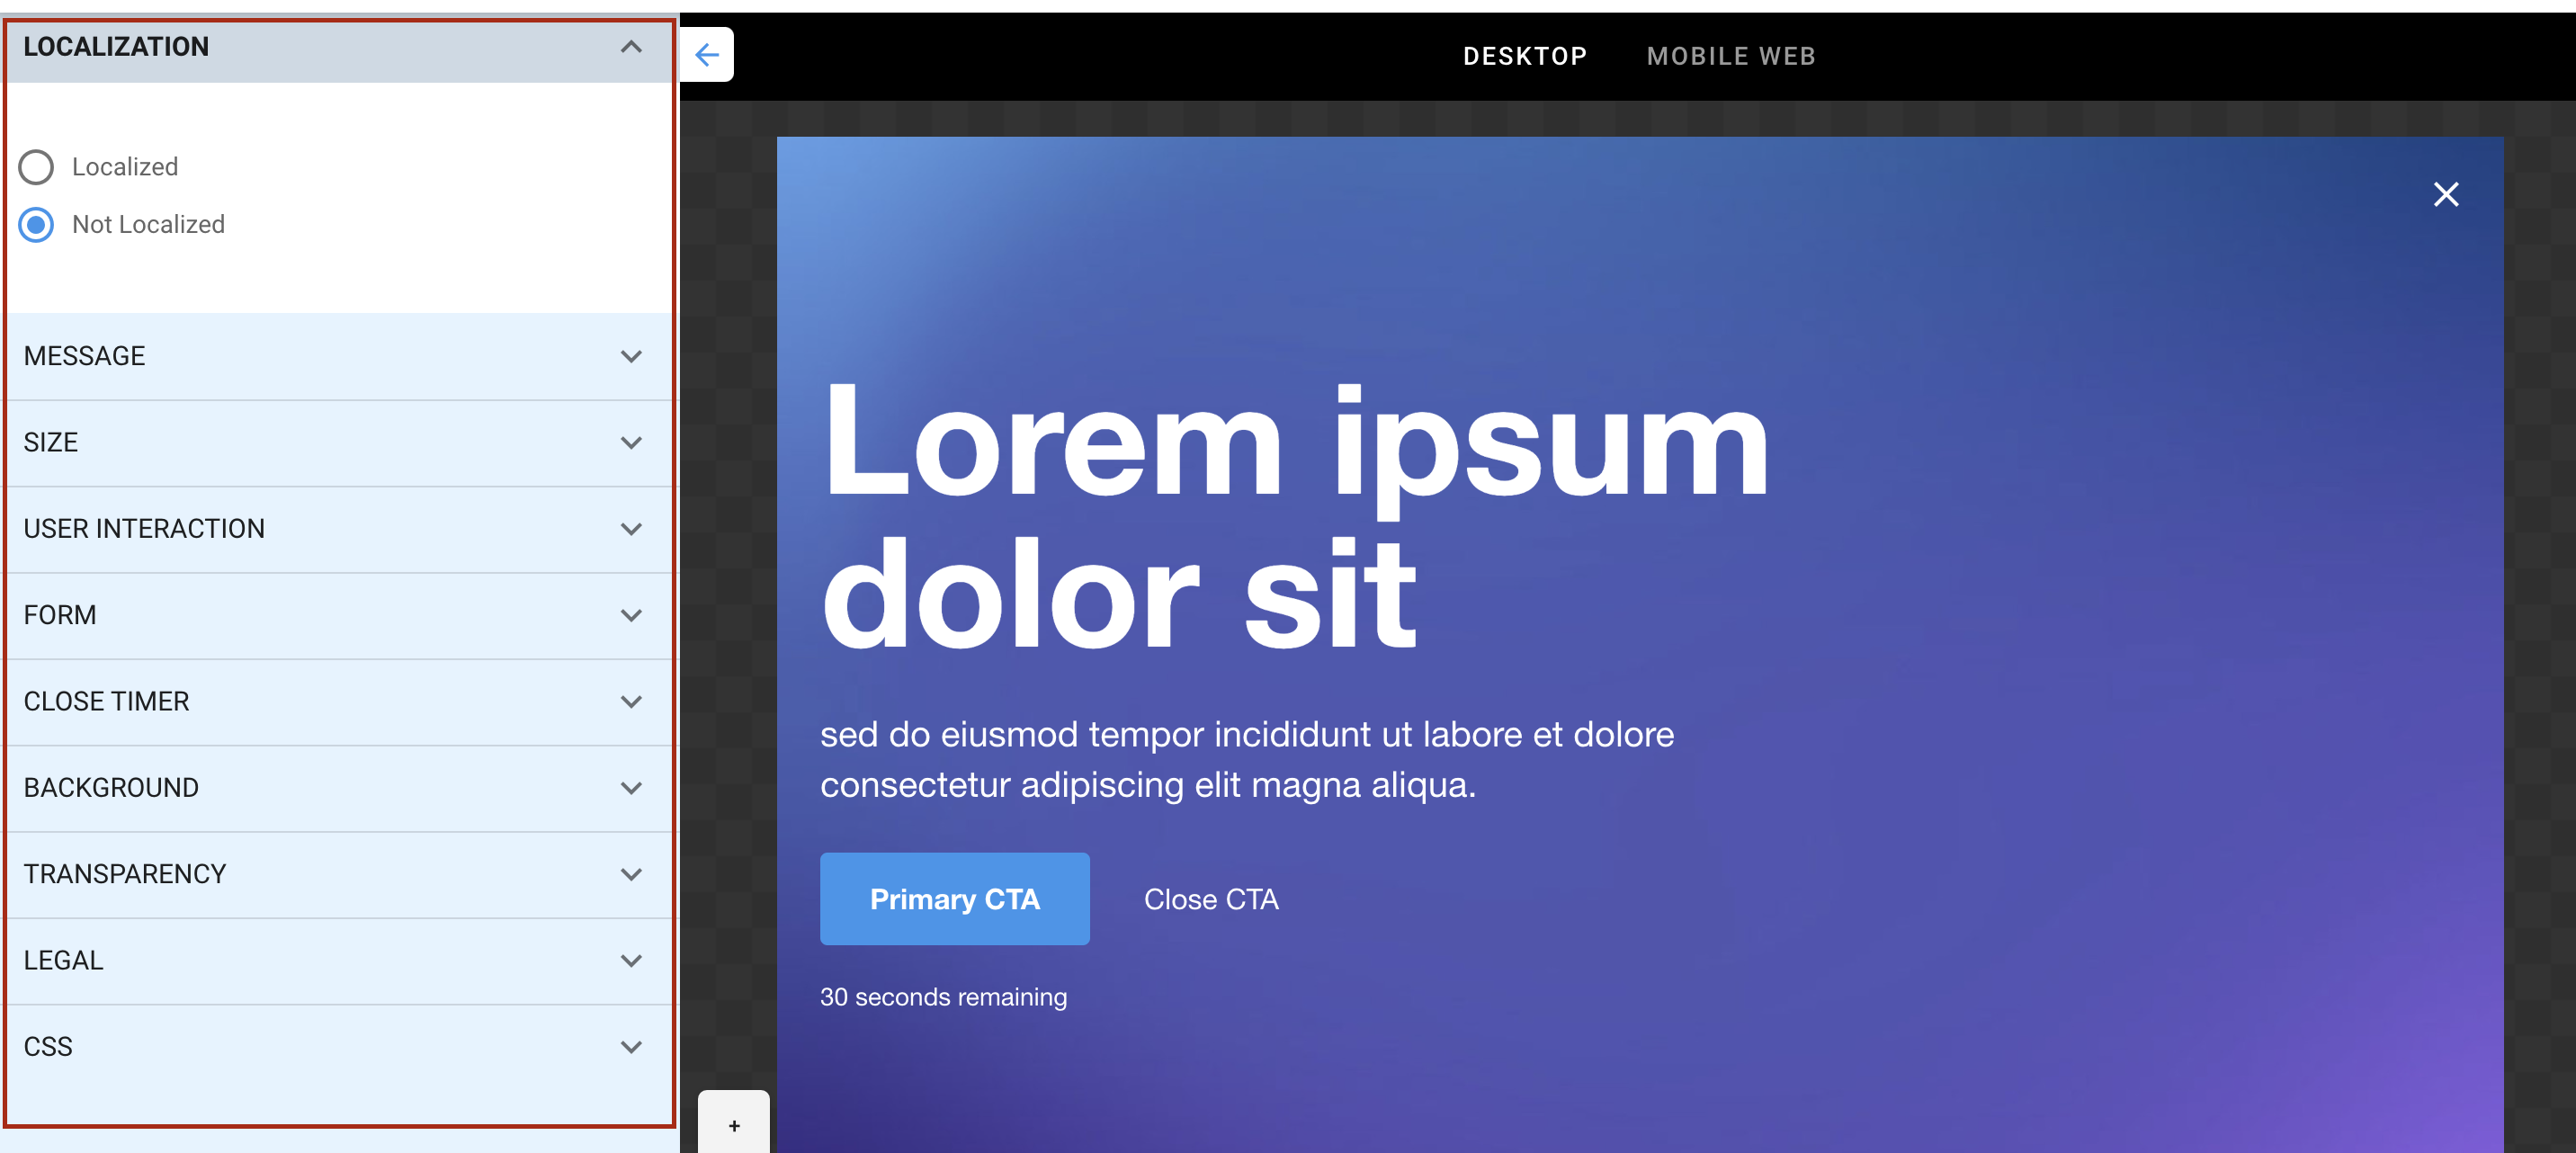
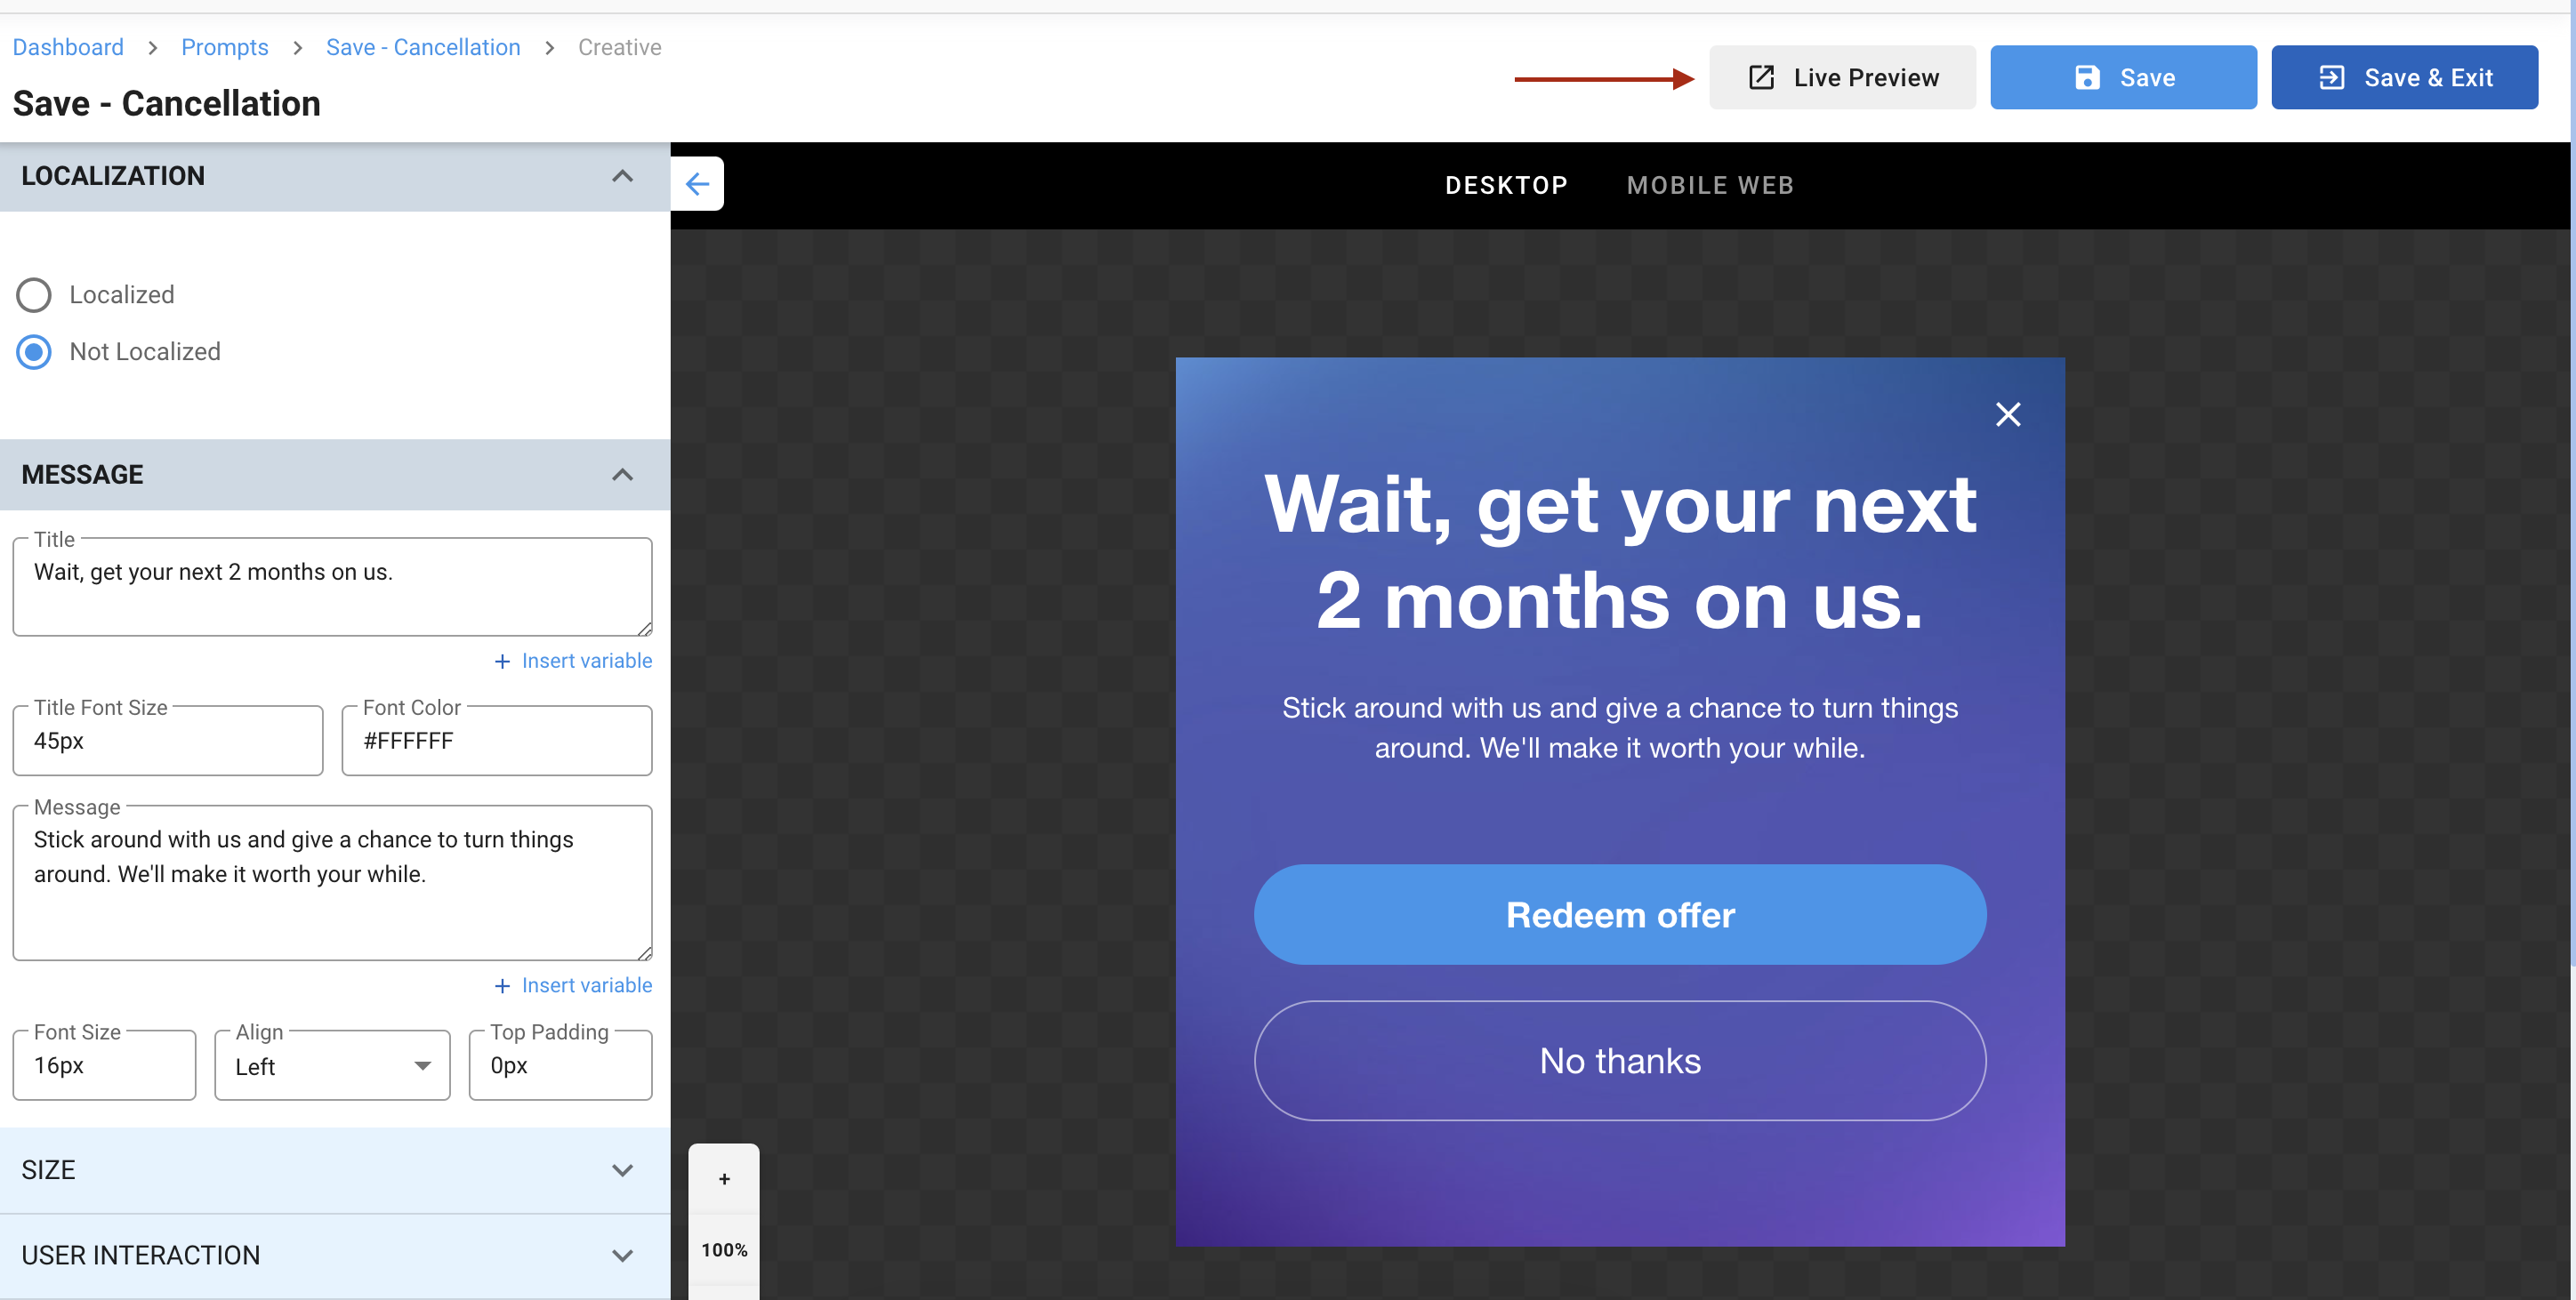
13
Test the prompt
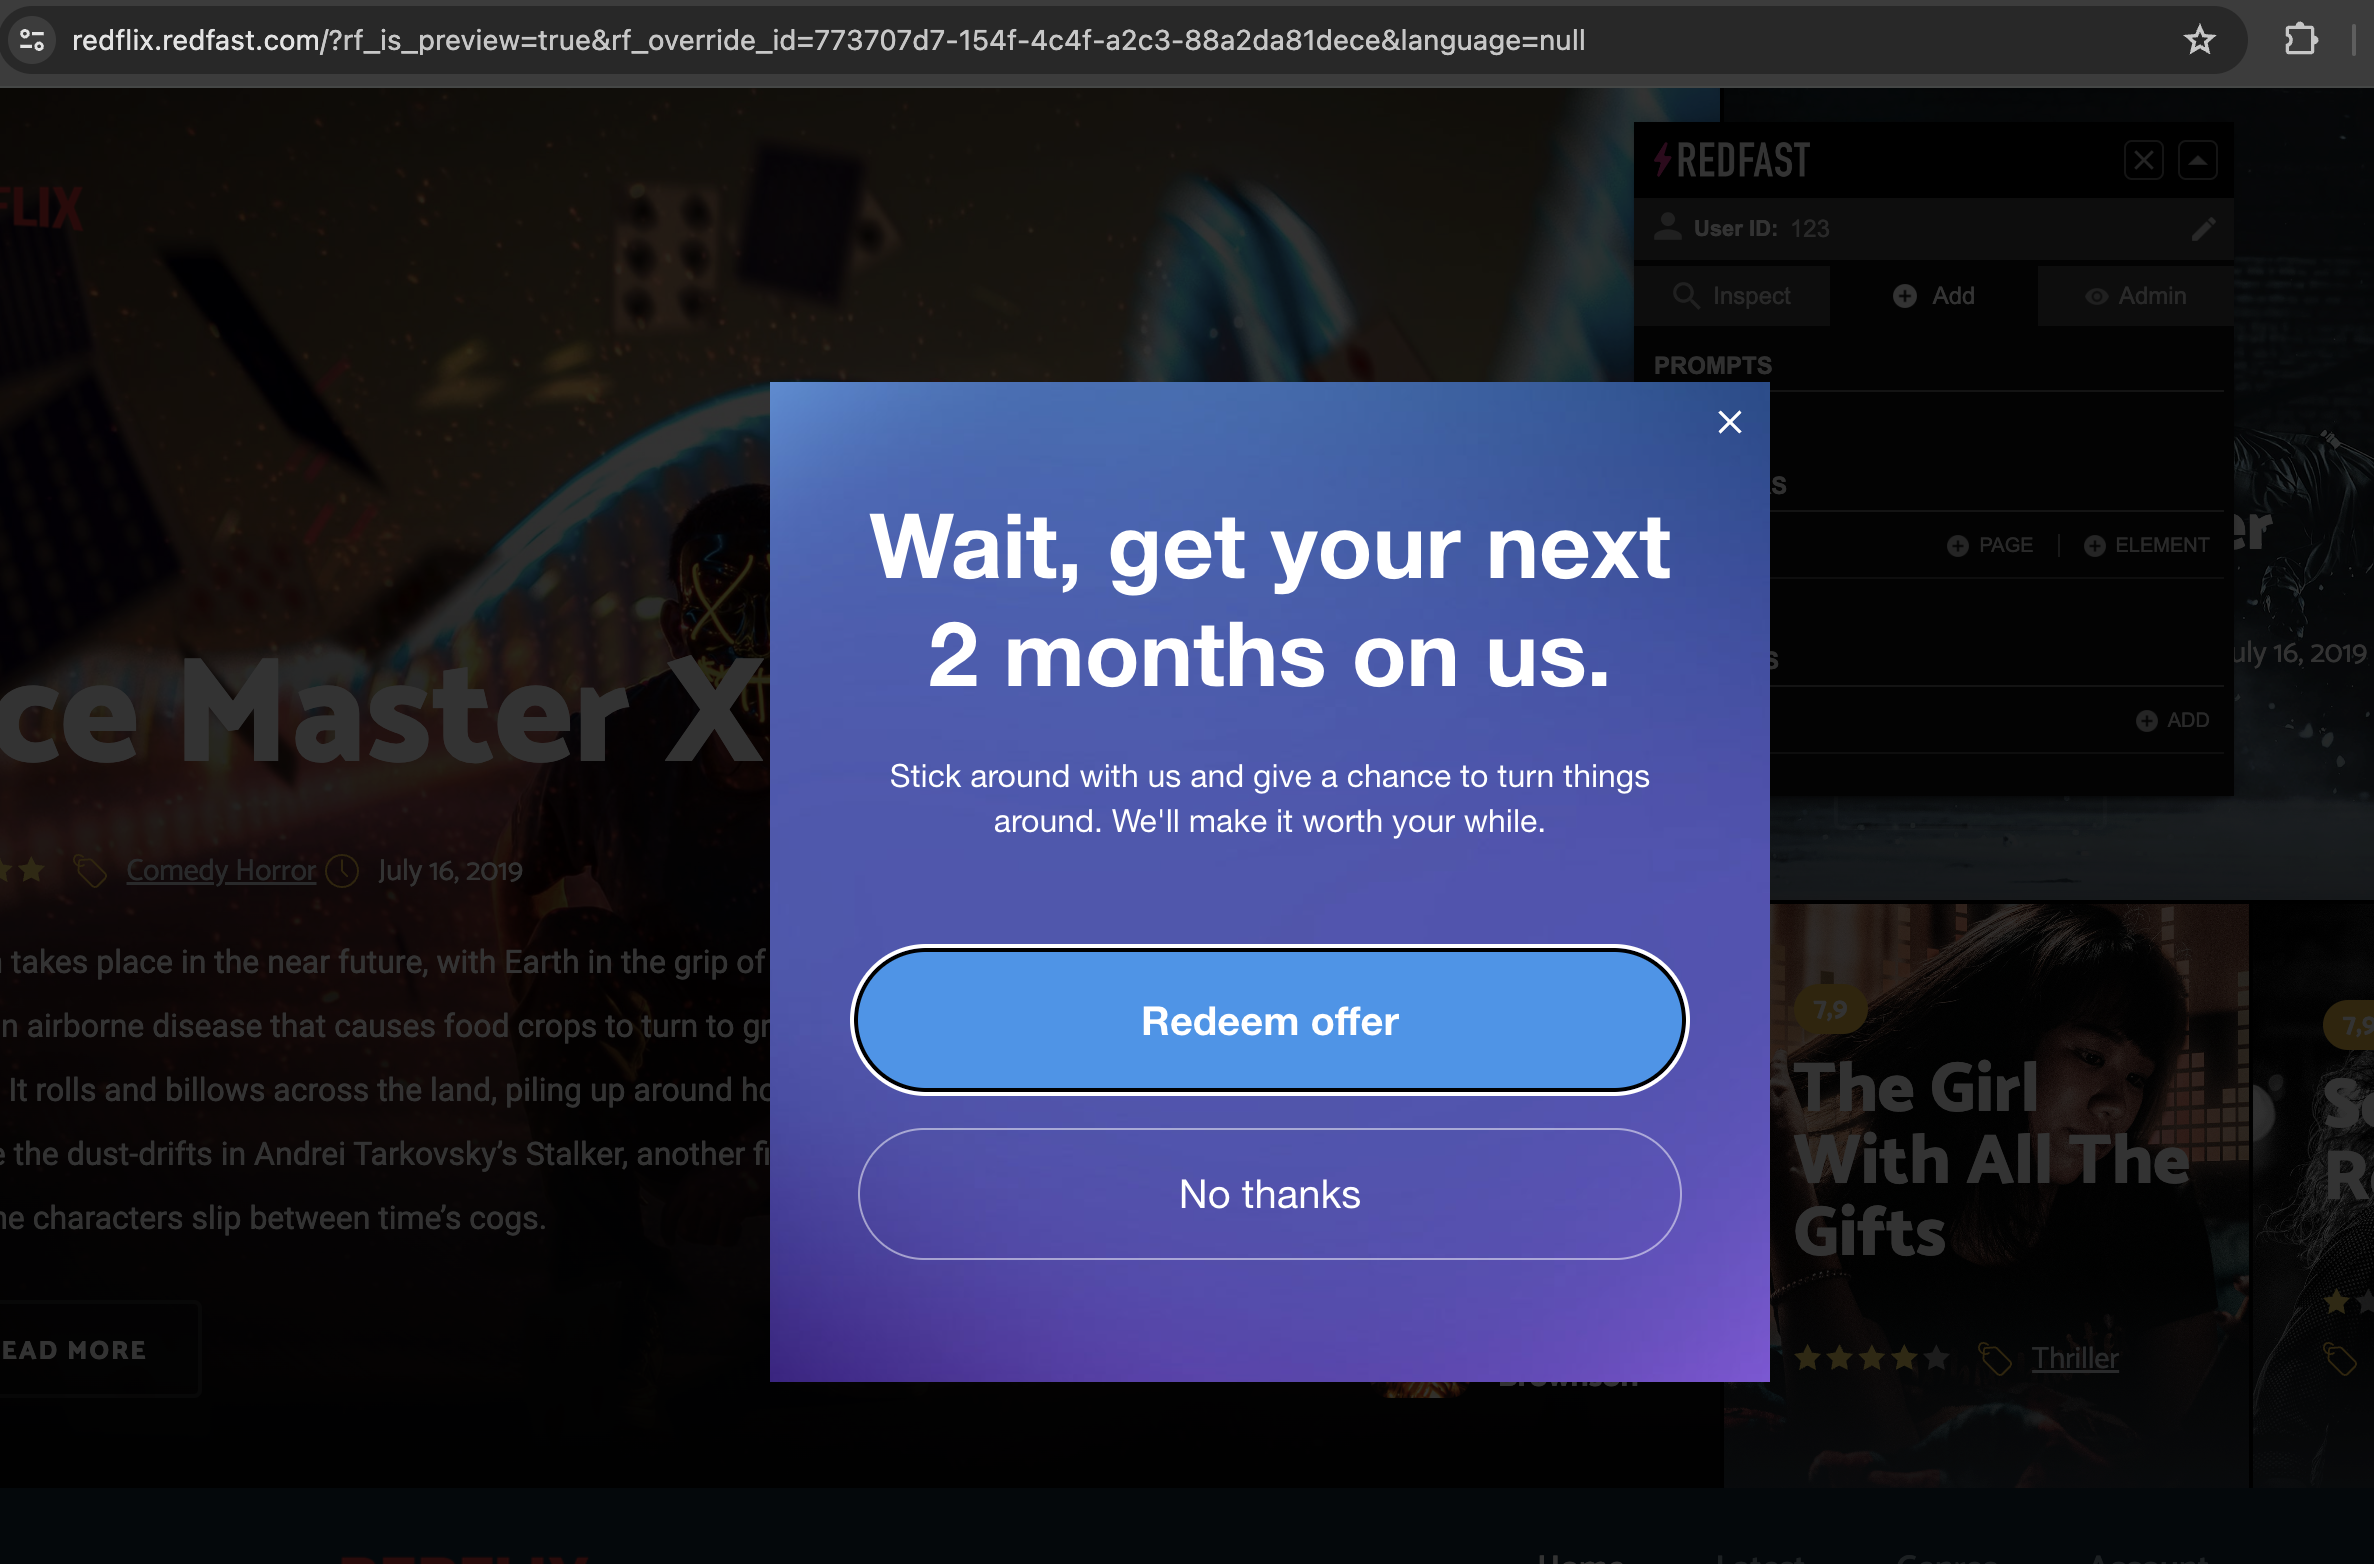
Before full rollout, validate your pop-up using test users. See the test users guide for step-by-step instructions.
Updated 30 days ago
Did this page help you?