Personalized onboarding
A guide to setting up a personalized onboarding experience. It explains how to create multi-visit, contextual prompts that guide new users without using disruptive, traditional tours.
Overview
Prerequisites & limitations
You must have Company, App Administrator, or App Member permissions in Recurly Engage.
Definition
A well-designed onboarding experience is crucial for user retention and engagement. This guide will show you how to set up a personalized, multi-visit onboarding journey that educates users contextually, without disrupting their flow. Unlike traditional tours, this approach delivers prompts only for features the user hasn’t yet seen.
Traditional approaches to onboarding new users include a step-by-step homepage tour with highlighted callouts to various features. This method may work for B2B, but B2C users often find it disruptive.
Recurly Engage’s Journey guide lets you predefine a sequence of prompts linked to key site elements. Each prompt fires only if the user hasn’t completed the associated action, and you can schedule them over multiple visits—resulting in a more user-friendly onboarding flow.
Key benefits
- Contextual guidance: Prompts appear only when a user interacts with a new feature, providing relevant guidance at the right moment.
- Multi-visit flexibility: Onboarding steps are spread across multiple sessions, preventing user overload and respecting their learning pace.
- Higher engagement: A streamlined, non-disruptive experience leads to higher engagement with your key features.
Key details
ImportantCreate usage trackers for your key features and content, then reference those trackers in your onboarding guide to target only first-time interactions.
Guide
-
Make sure you are an active user of Recurly Engage with Company, App Administrator or App Member permissions.
-
Login to Recurly Engage
Access the Recurly Engage Management console, known as Pulse, via Login. This console serves as a central interface for configuring applications, user traits, segments, prompts, guides, and integrations.
-
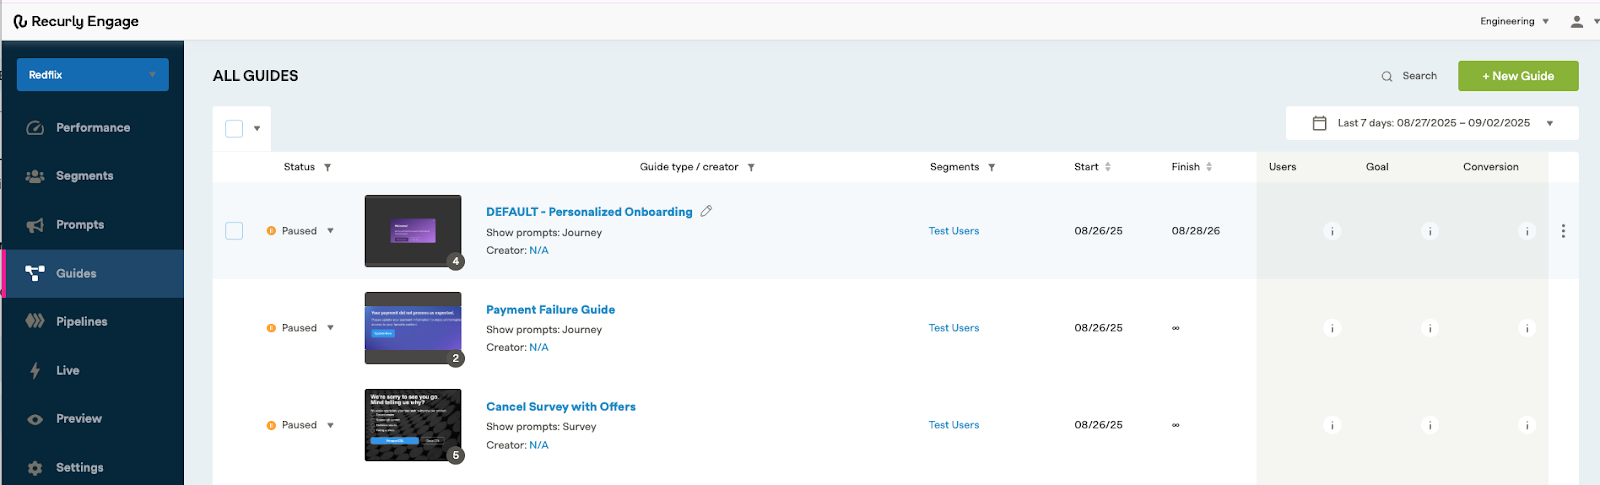
Create a New Default Personalized Onboarding Guide
- Go to Guides in the main navigation.
- Select the pre-configured Default Personalized Onboarding Guide
-
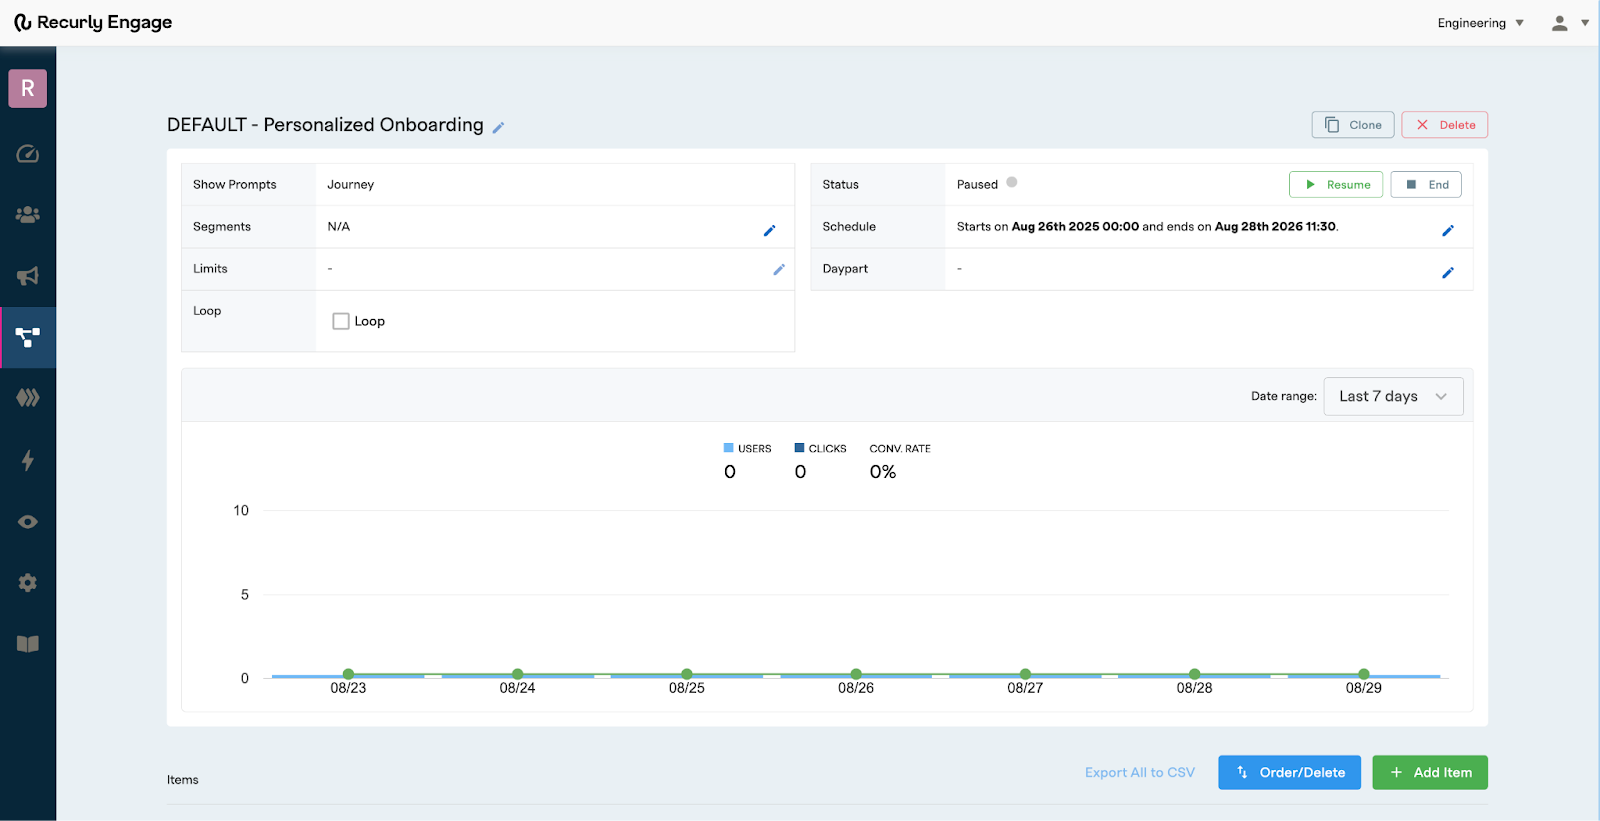
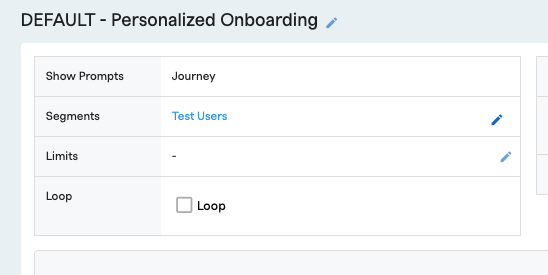
Default Personalized Onboarding Guide Data
When you open up the pre-configured Guide, you’ll see a dashboard showing key data including, Segments, Limits, the Status of the guide, Schedule information and any Daypart settings. Edit this data based on the needs of your customized Guide.
You’ll also see a chart displaying important Users, Clicks and Conversion Rate data.
-
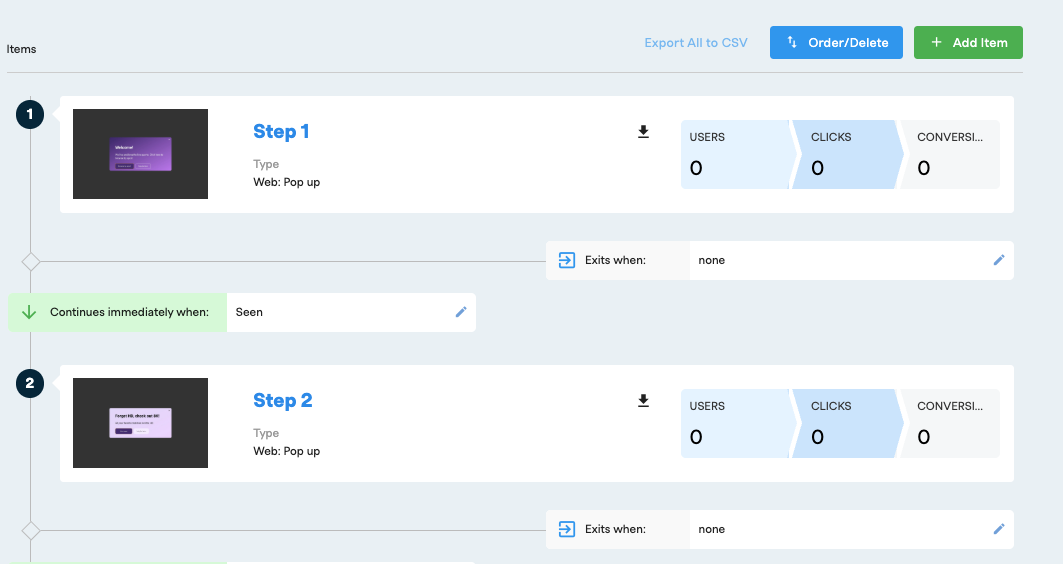
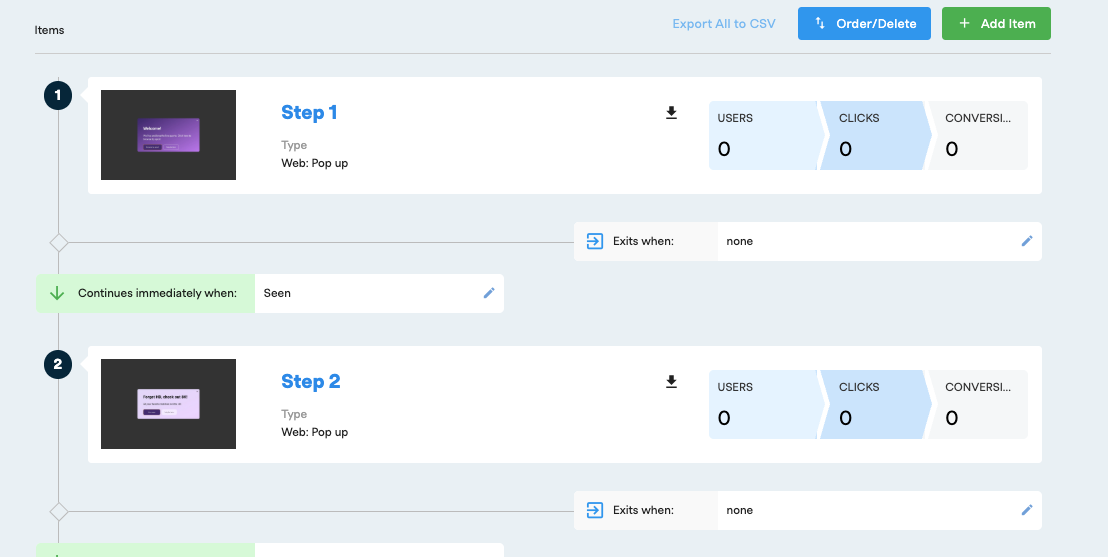
Set up your prompt
Select an Item, or Prompt from the Guide.
-
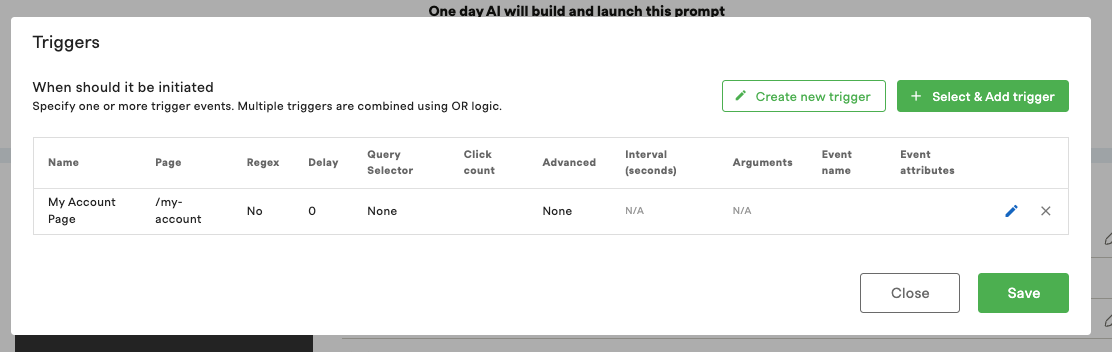
Add your trigger
In the Details section, edit your trigger information. The trigger is the page on your website that when visited, triggers the prompt to fire.
For Example: Step 1 would fire if the user clicks a button on your website.
-
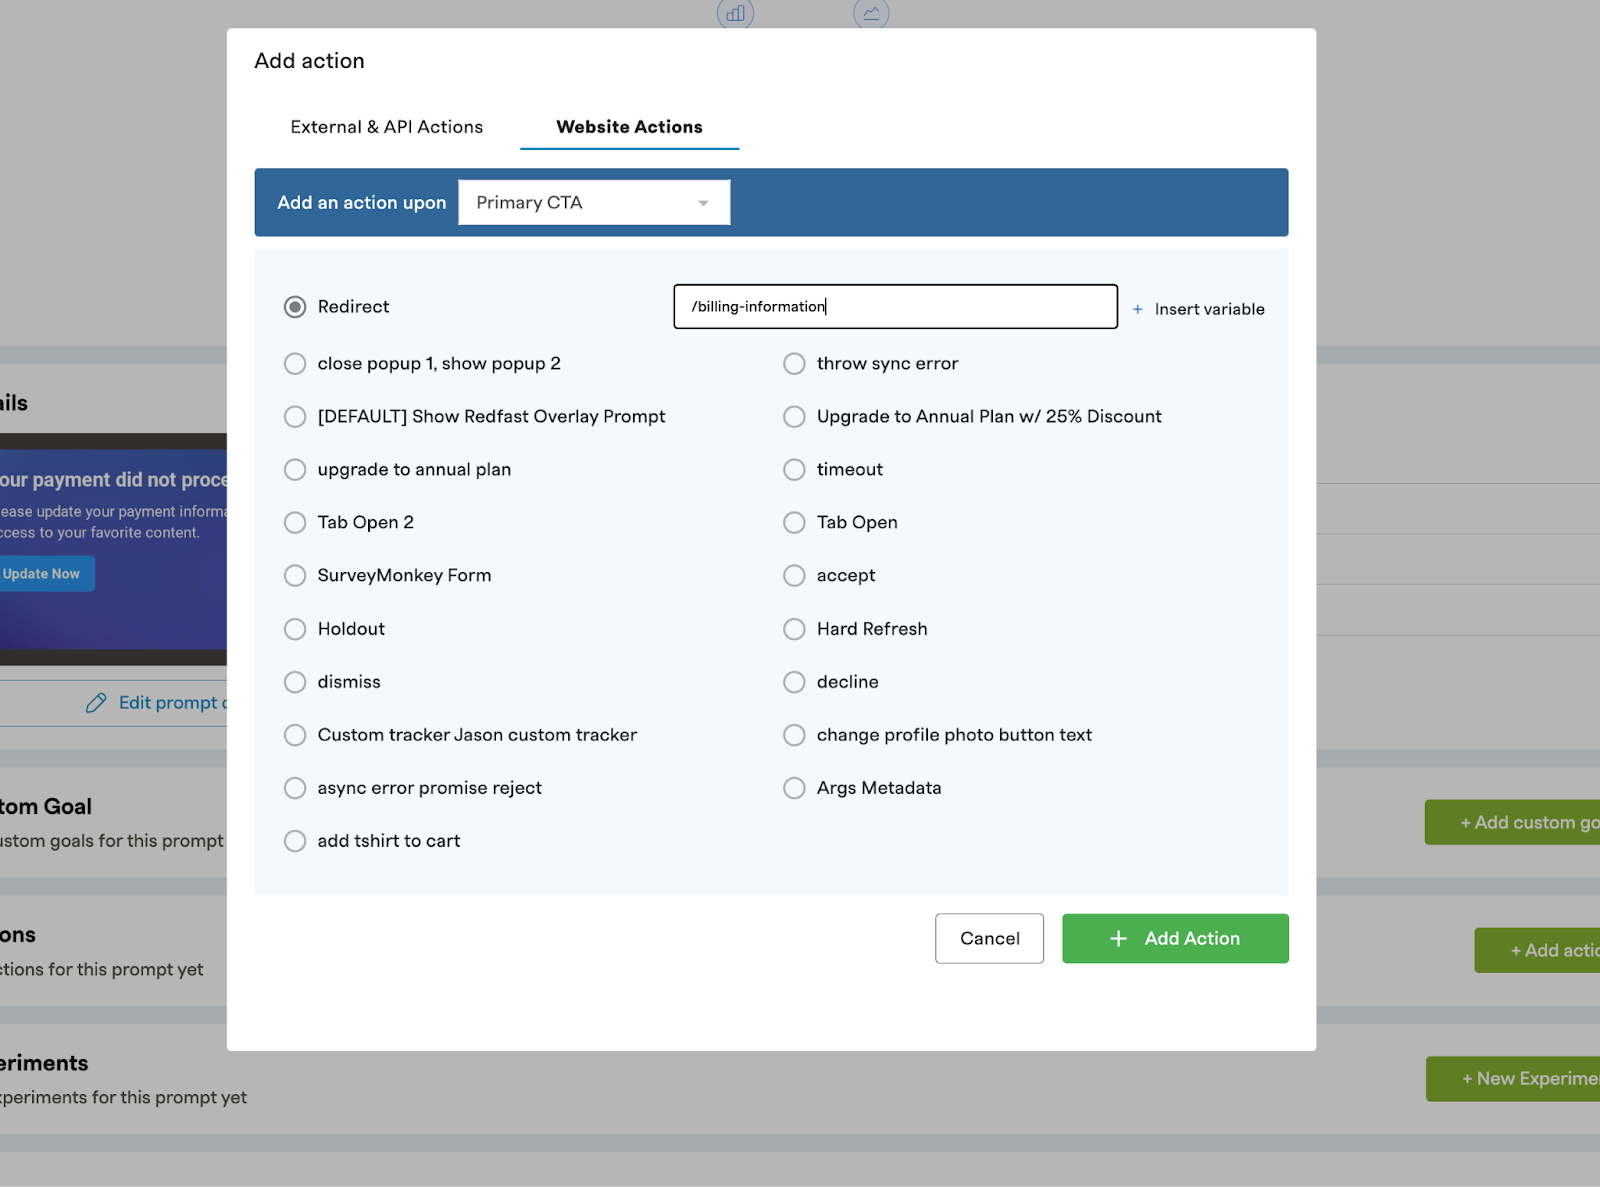
Set your actions
In the Actions section, set your Action and Values to trigger customized flows based on the user inputs.
For Example: If the user clicks the primary button on the Prompt, direct them to a specific page or serve then another customized Save prompt.
-
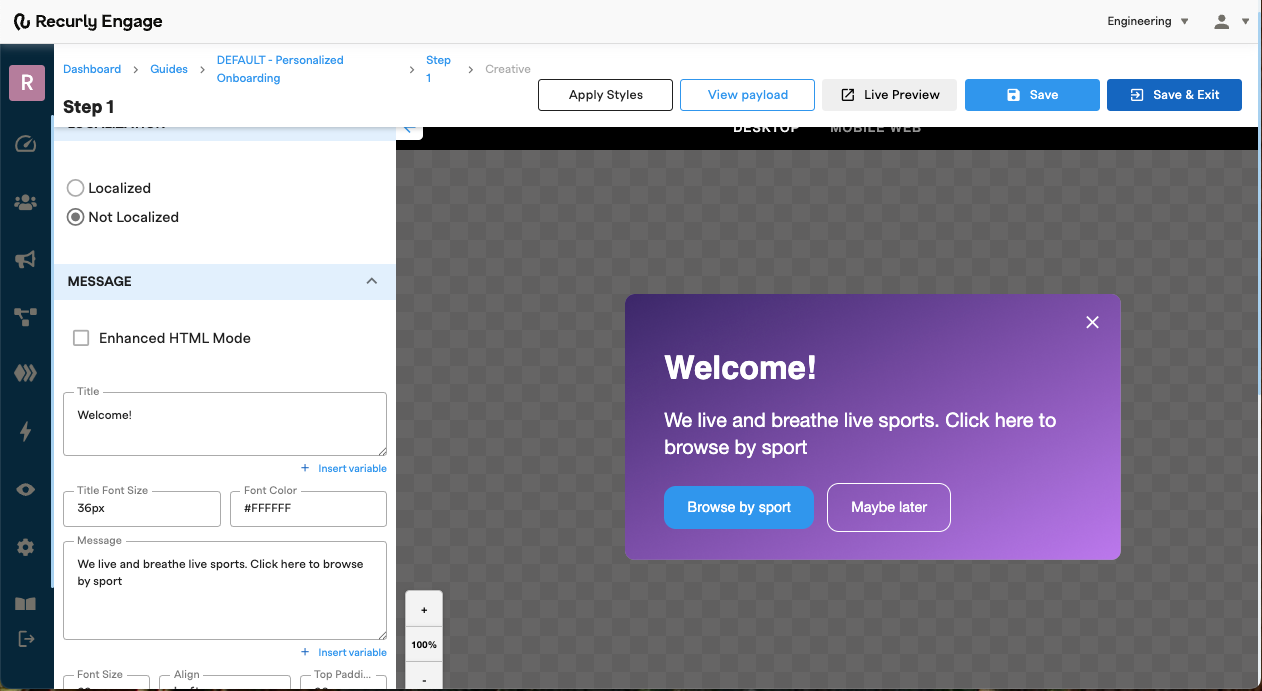
Edit your design
From the Details section, click “Edit prompt design” to open the prompt customization window.
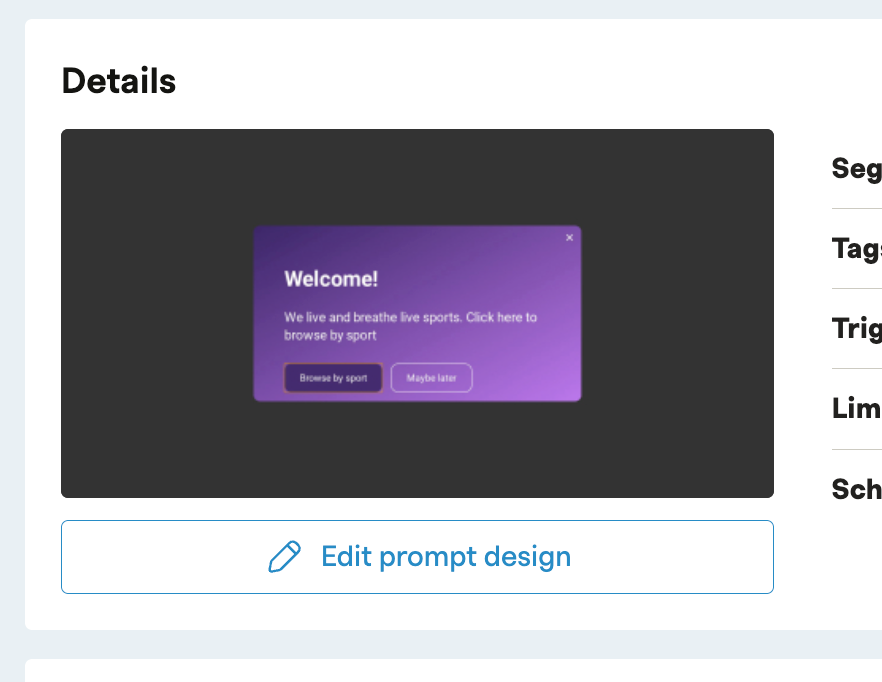
Edit the prompt to customize the title, message, size, and styling to fit your messaging and styles. Make sure the message is clear and compelling. Be sure to configure your prompt on Desktop & Mobile.
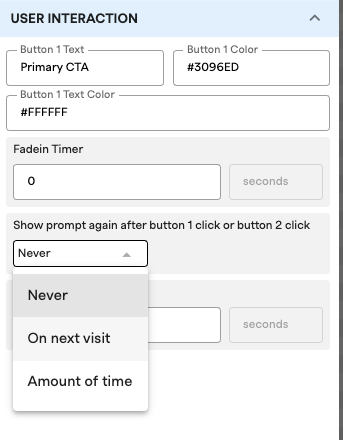
If desired, adjust the prompt visibility settings in the User Interaction section to display the prompt again after specific button clicks within your guide.
- Repeat steps 5 - 8 for all additional Prompts that are part of the Guide.
Additional prompts may include the Actions that will appear based on a users survey results.
For Example: If they select “Too Expensive” They would receive another prompt “Price - Save Offer” that would also need to be customized and configured.
Be sure to include criteria for when the guide should continue or exit.
For involuntary churn scenarios, a custom goal can be implemented where users are required to perform an additional action, such as updating their payment method, to recover their account. While the primary button click is recorded, the conversion event, which is the redirect, is the key metric tracked. An exit event can be configured to occur upon the achievement of this custom goal.
- Live Preview, Testing and Launch
- After customizing your prompt, click "Live Preview" to see how the design will appear on your website. Please note that Live Preview does not test the actual flows.
- You can test the flows on Live by adding your own user ID to the Test Users segment under Settings > Users > Test Users.
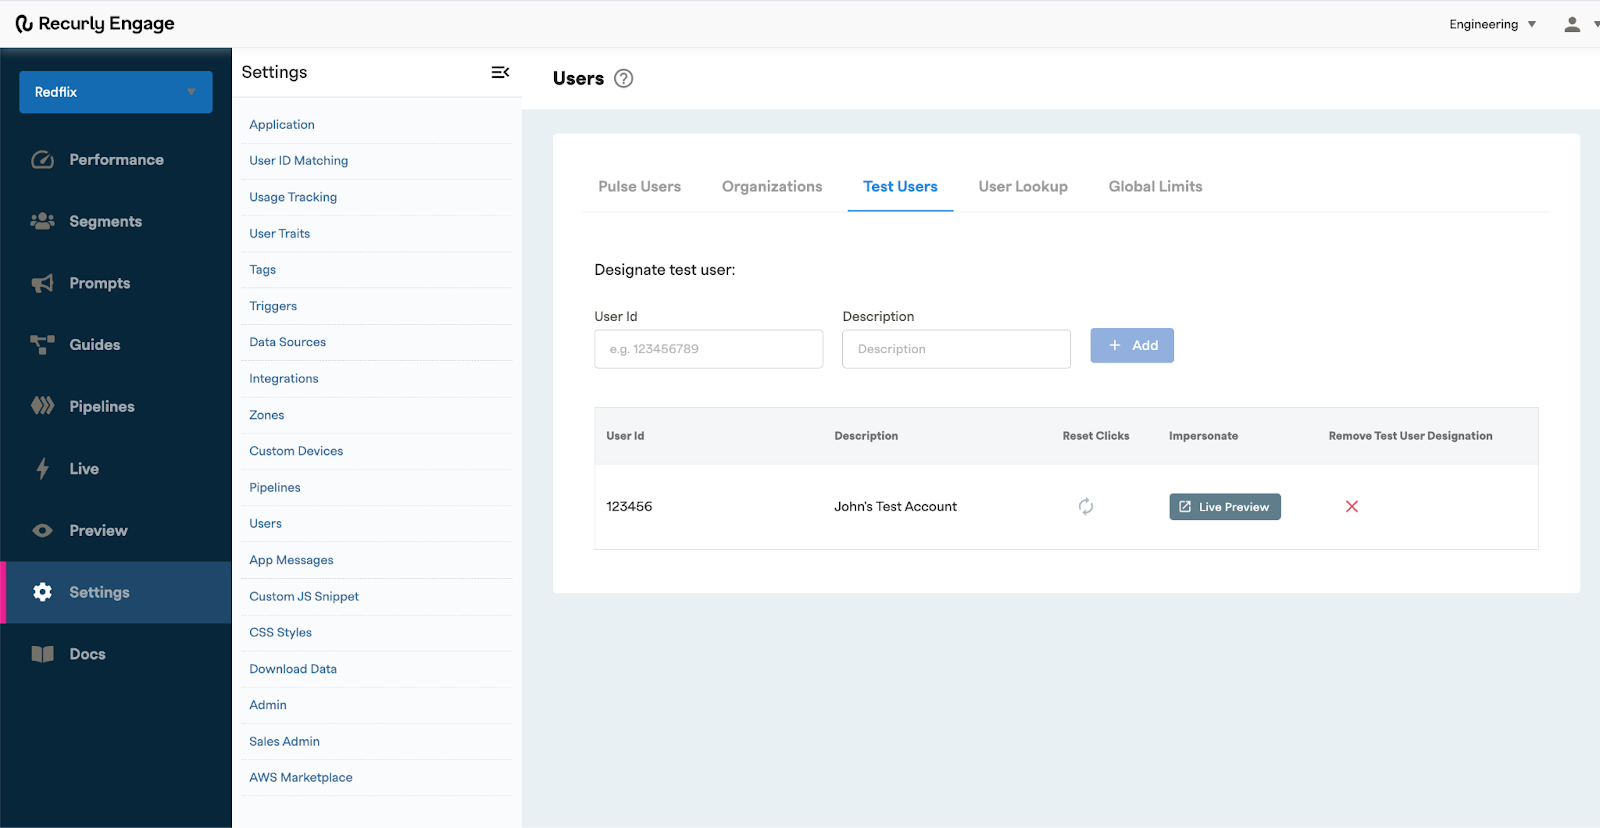
- In the Cancel Survey guide, add the Test Users as the segment. This ensures that only test users will see the prompt.
- During testing, if needed, you can reset the user clicks to relaunch the guide for testing. This can be done under Settings > Users > Test Users > Reset Clicks.
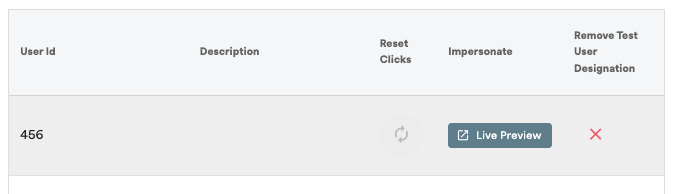
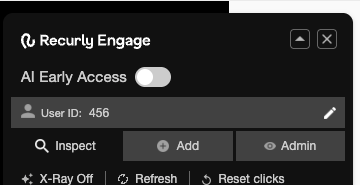
- Alternatively, you can use the built in Preview Tool in the Live Preview section and set the userID to match the UserId you’re wanting to test.
- Once you’re satisfied with your flow, remember to update your segments to target live users instead of test users.
- Set your Guide Live in the Status section!
Estimate your savings
Every Churn is Lost Revenue. We Can Help You Get It Back.
Losing users isn't just a number- it's a direct hit to your bottom line. If you're losing 1,000 users a month, each worth $10, that’s $10,000 in lost revenue every single month.
Imagine what recovering even a fraction of that could do for your business. By proactively re-engaging users, you can recover significant revenue and build a more sustainable future.
Want to see how we can turn your churned users into recovered revenue?
Updated 10 months ago