
Overlay prompts

Details on creating and managing overlay prompts—interstitials, pop-ups, video overlays, notifications, and bottom banners—in Recurly Engage.

Overlay prompts float above your site or app's content to grab attention at the moments that matter most. Some—interstitials, pop-ups, and video overlays—block interaction until a user responds, while others, like notifications and bottom banners, let people keep browsing. Build one from any of five formats, then launch, test, and manage it entirely from your Recurly Engage dashboard.
Available on all Recurly Engage plans

Prerequisites

  • Company, App Administrator, or App Member permissions in Recurly Engage.

Definition

An overlay prompt is a message that renders on top of your interface, with varying levels of interruption depending on the format you choose.

Key benefits

Maximum visibilityCommand user focus at critical moments.
Format flexibilityChoose from full-screen interstitials to subtle notifications.
Custom behaviorControl size, timing, and dismissal for the best user experience.

Key details

Overlay prompts render above your content and can either fully block interaction—interstitial, pop-up, and video formats—or sit unobtrusively alongside it, like notification and bottom banner formats.
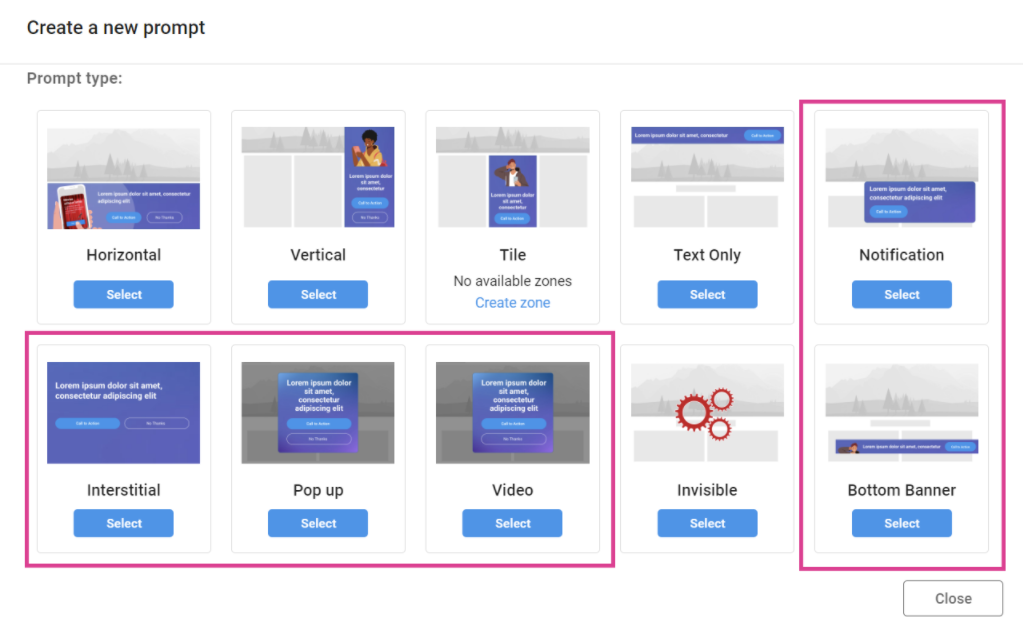
Interstitial

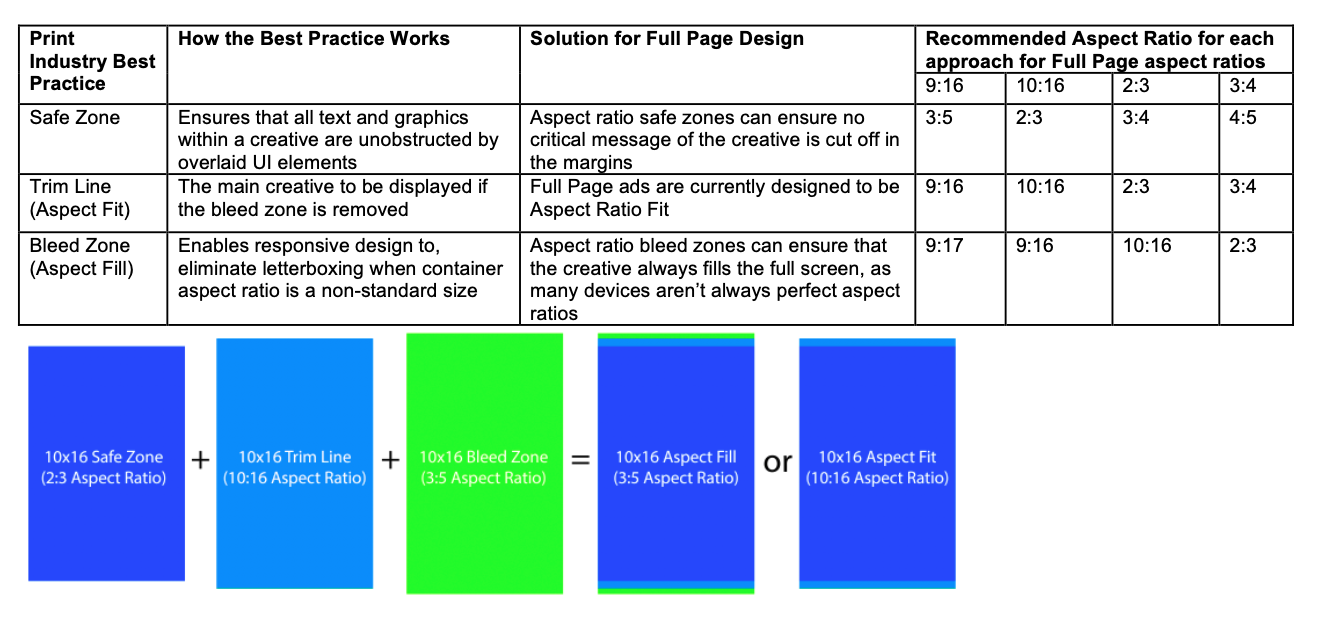
Full-screen or near-full-screen prompts shown before or after page load. They respect device aspect ratios and safe-area margins to keep key content visible.
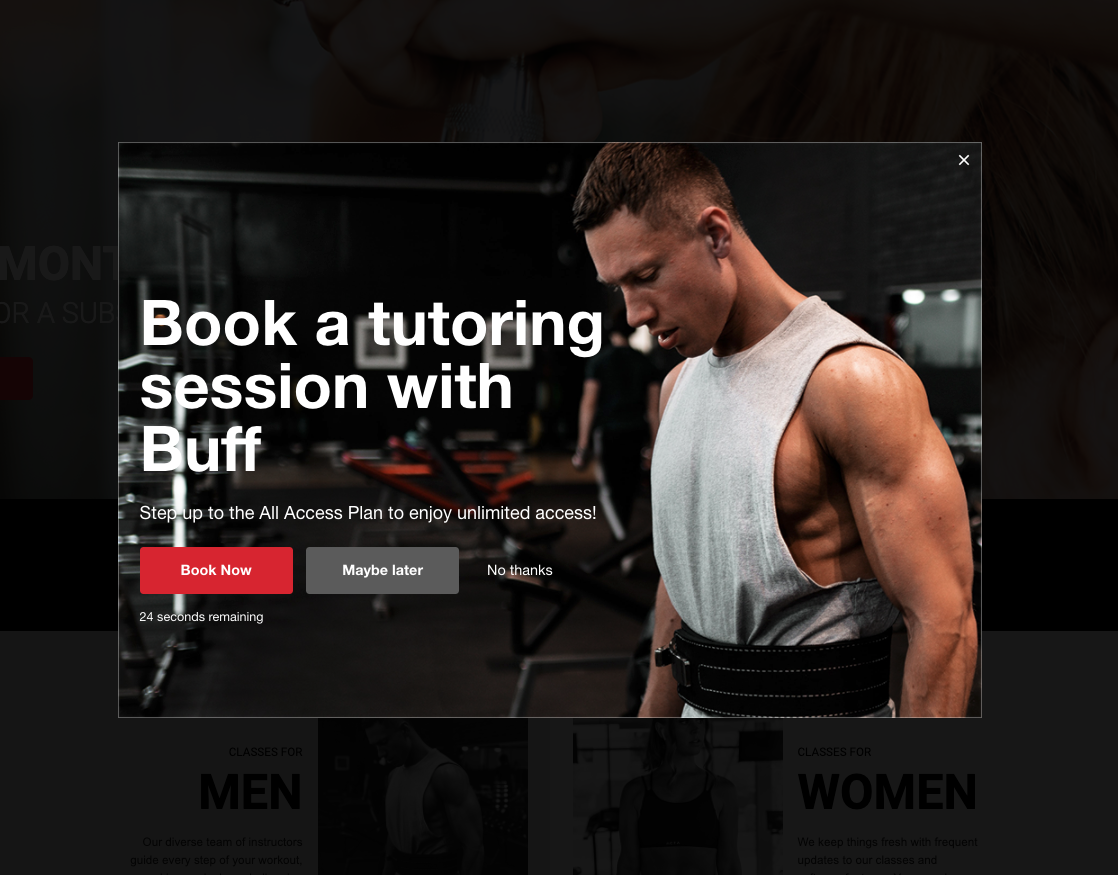
Pop-up

Overlay windows featuring an image, text, and one or more calls to action. Users can dismiss them if you configure them to allow it.

Sizes: 1200×800, 960×640, or 750×500 (configurable).
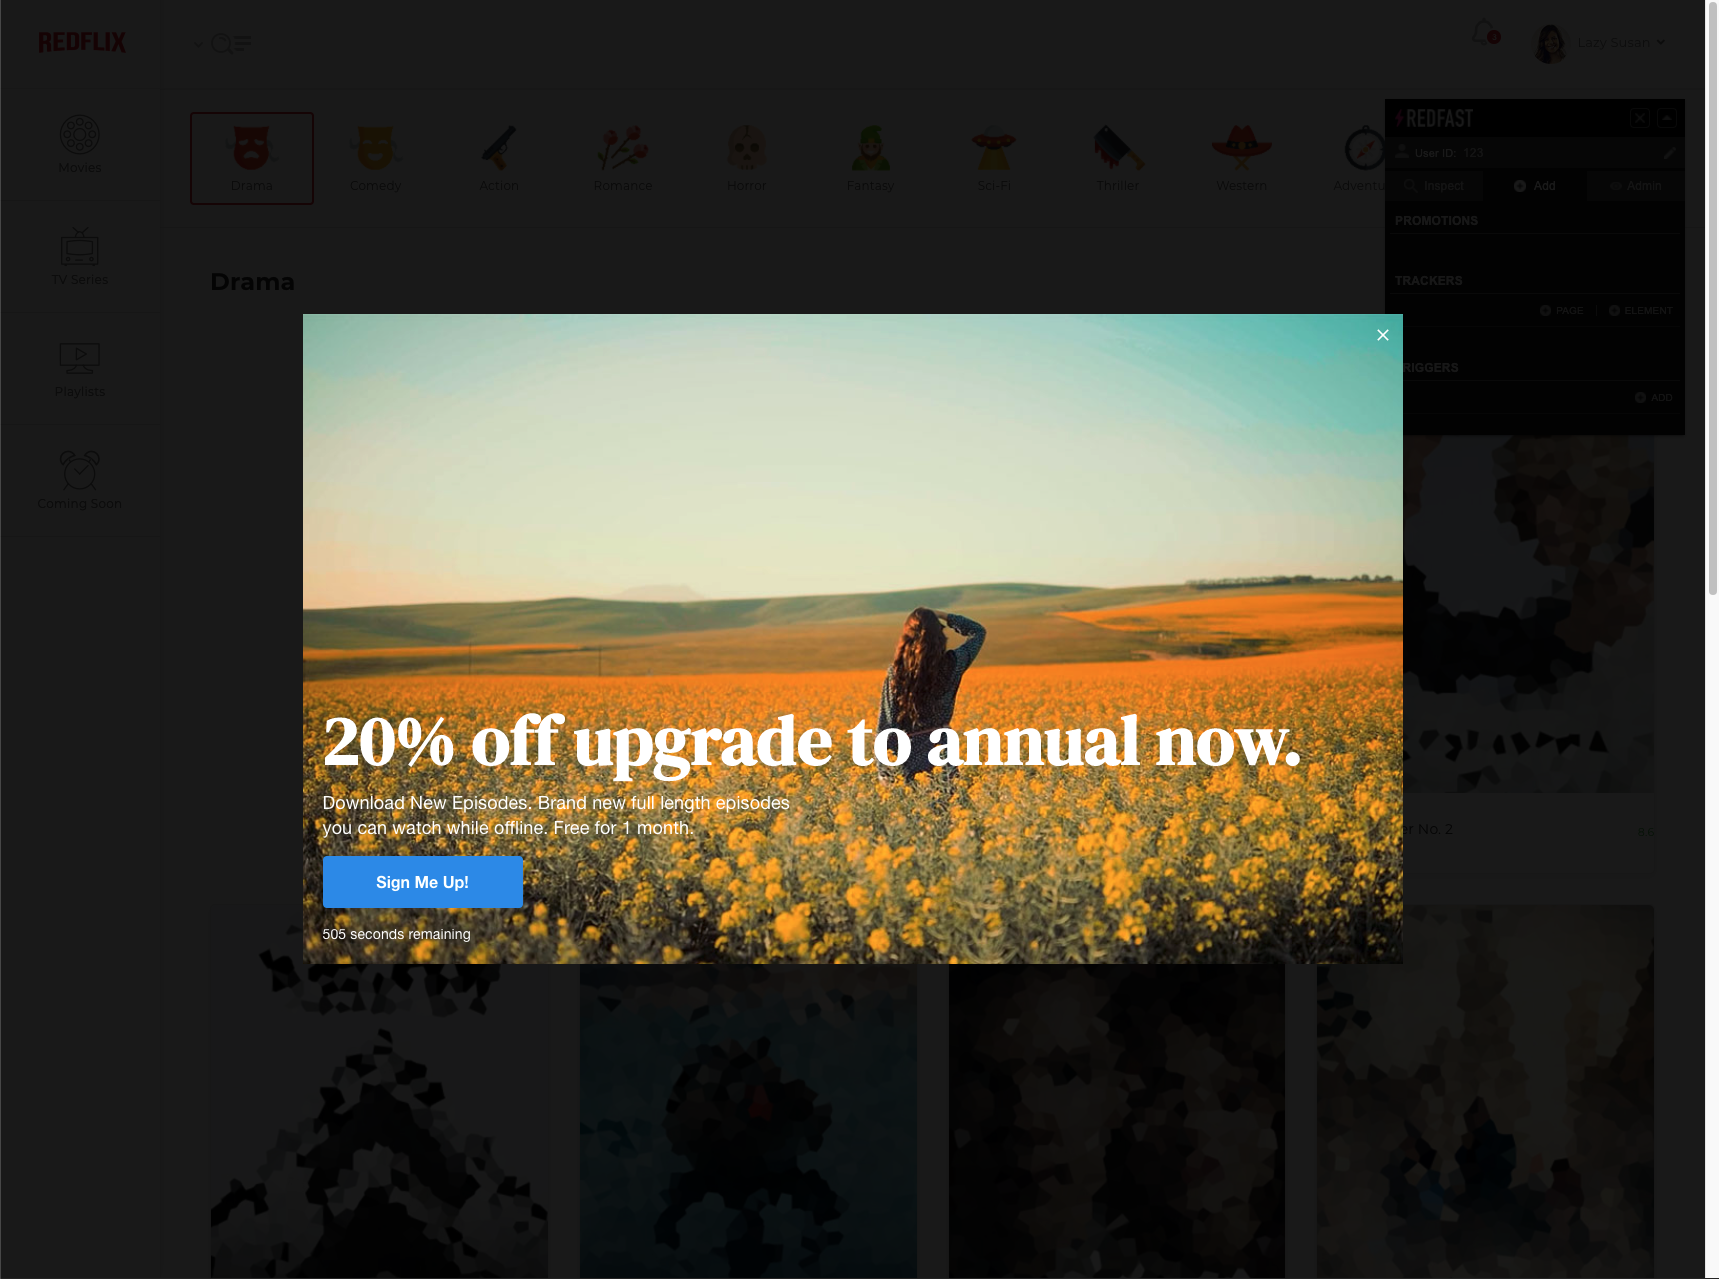
Video

Media-rich overlays that combine video playback with text and actionable buttons.

Size: 1100×619 (configurable).
Notification

Subtle corner prompts with a brief headline, background image, and a single call to action—ideal for low-impact messaging.

Bottom banner

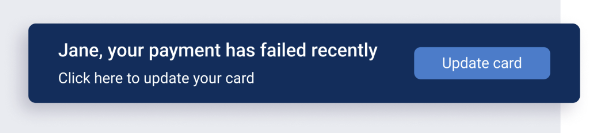
Banner prompts that span the bottom of the viewport, displaying text and imagery without fully blocking content.
Step-by-step guide

Follow these steps to build, publish, and activate an overlay prompt.

1

Start a new prompt

Go to Prompts > +New Prompt.

2

Choose your overlay type

Select Desktop and Mobile, then choose your overlay type—for example, Pop-up.

3

Name it

Add a name and an optional description.

4

Add segments

Add one or more segments.

Adding the Test Users segment lets you view the prompt as if you were a targeted user.

5

Add a trigger

Choose when the prompt fires.

Learn more about triggers here.

6

Set a limit (optional)

Cap how often the prompt can appear.

There are multiple types of limits; see limits.

7

Set a schedule (optional)

Select Schedule to configure timing.

8

Set an action (optional)

Define what happens after a click via Actions.

9

Design the prompt

Select Edit prompt design to design the prompt.

10

Preview and continue

Adjust the settings in the preview, then select Continue when you're done.

11

Preview on your live site

Preview the prompt on your live site.

12

Save and start

When you're satisfied, select Save and set the status to Start.

13

Test the prompt

Validate your setup with the Test Users segment.

See the test user guide for details.

Activate the prompt

Activation happens in two phases.

1

Review phase

Launch to the Test Users segment for final QA.

2

Active phase

Attach all target segments for full-scale deployment.

NoteYou can pause, restart, or end a prompt at any time—just end any active experiment first.

Did this page help you?