Looker
The Looker integration lets you schedule daily exports of CSV user trait data directly from Looker into your Recurly Engage AWS S3 bucket for seamless ingestion.
Overview
Required plan
This feature or setting is available to all customers on any Recurly Engage subscription plan.
Prerequisites & limitations
You must have Company or App Administrator permissions in Recurly Engage.
A Looker account with access to the dashboard containing your user traits.
AWS S3 credentials retrieved from Recurly Engage (pulse) for secure uploads.
Definition
Configures a scheduled Looker data export to push CSV files of user traits into the Recurly Engage S3 bucket.
Key benefits
- Automated workflows: Eliminate manual CSV downloads by scheduling daily Looker exports directly into S3.
- Consistent data: Ensure your trait imports always use the latest data without human intervention.
- Secure transfer: Credentials are managed by Recurly Engage and only grant access to the designated S3 bucket.
Key details
Below is a step-by-step guide to configure your Looker schedules and connect them to your Recurly Engage S3 bucket.
-
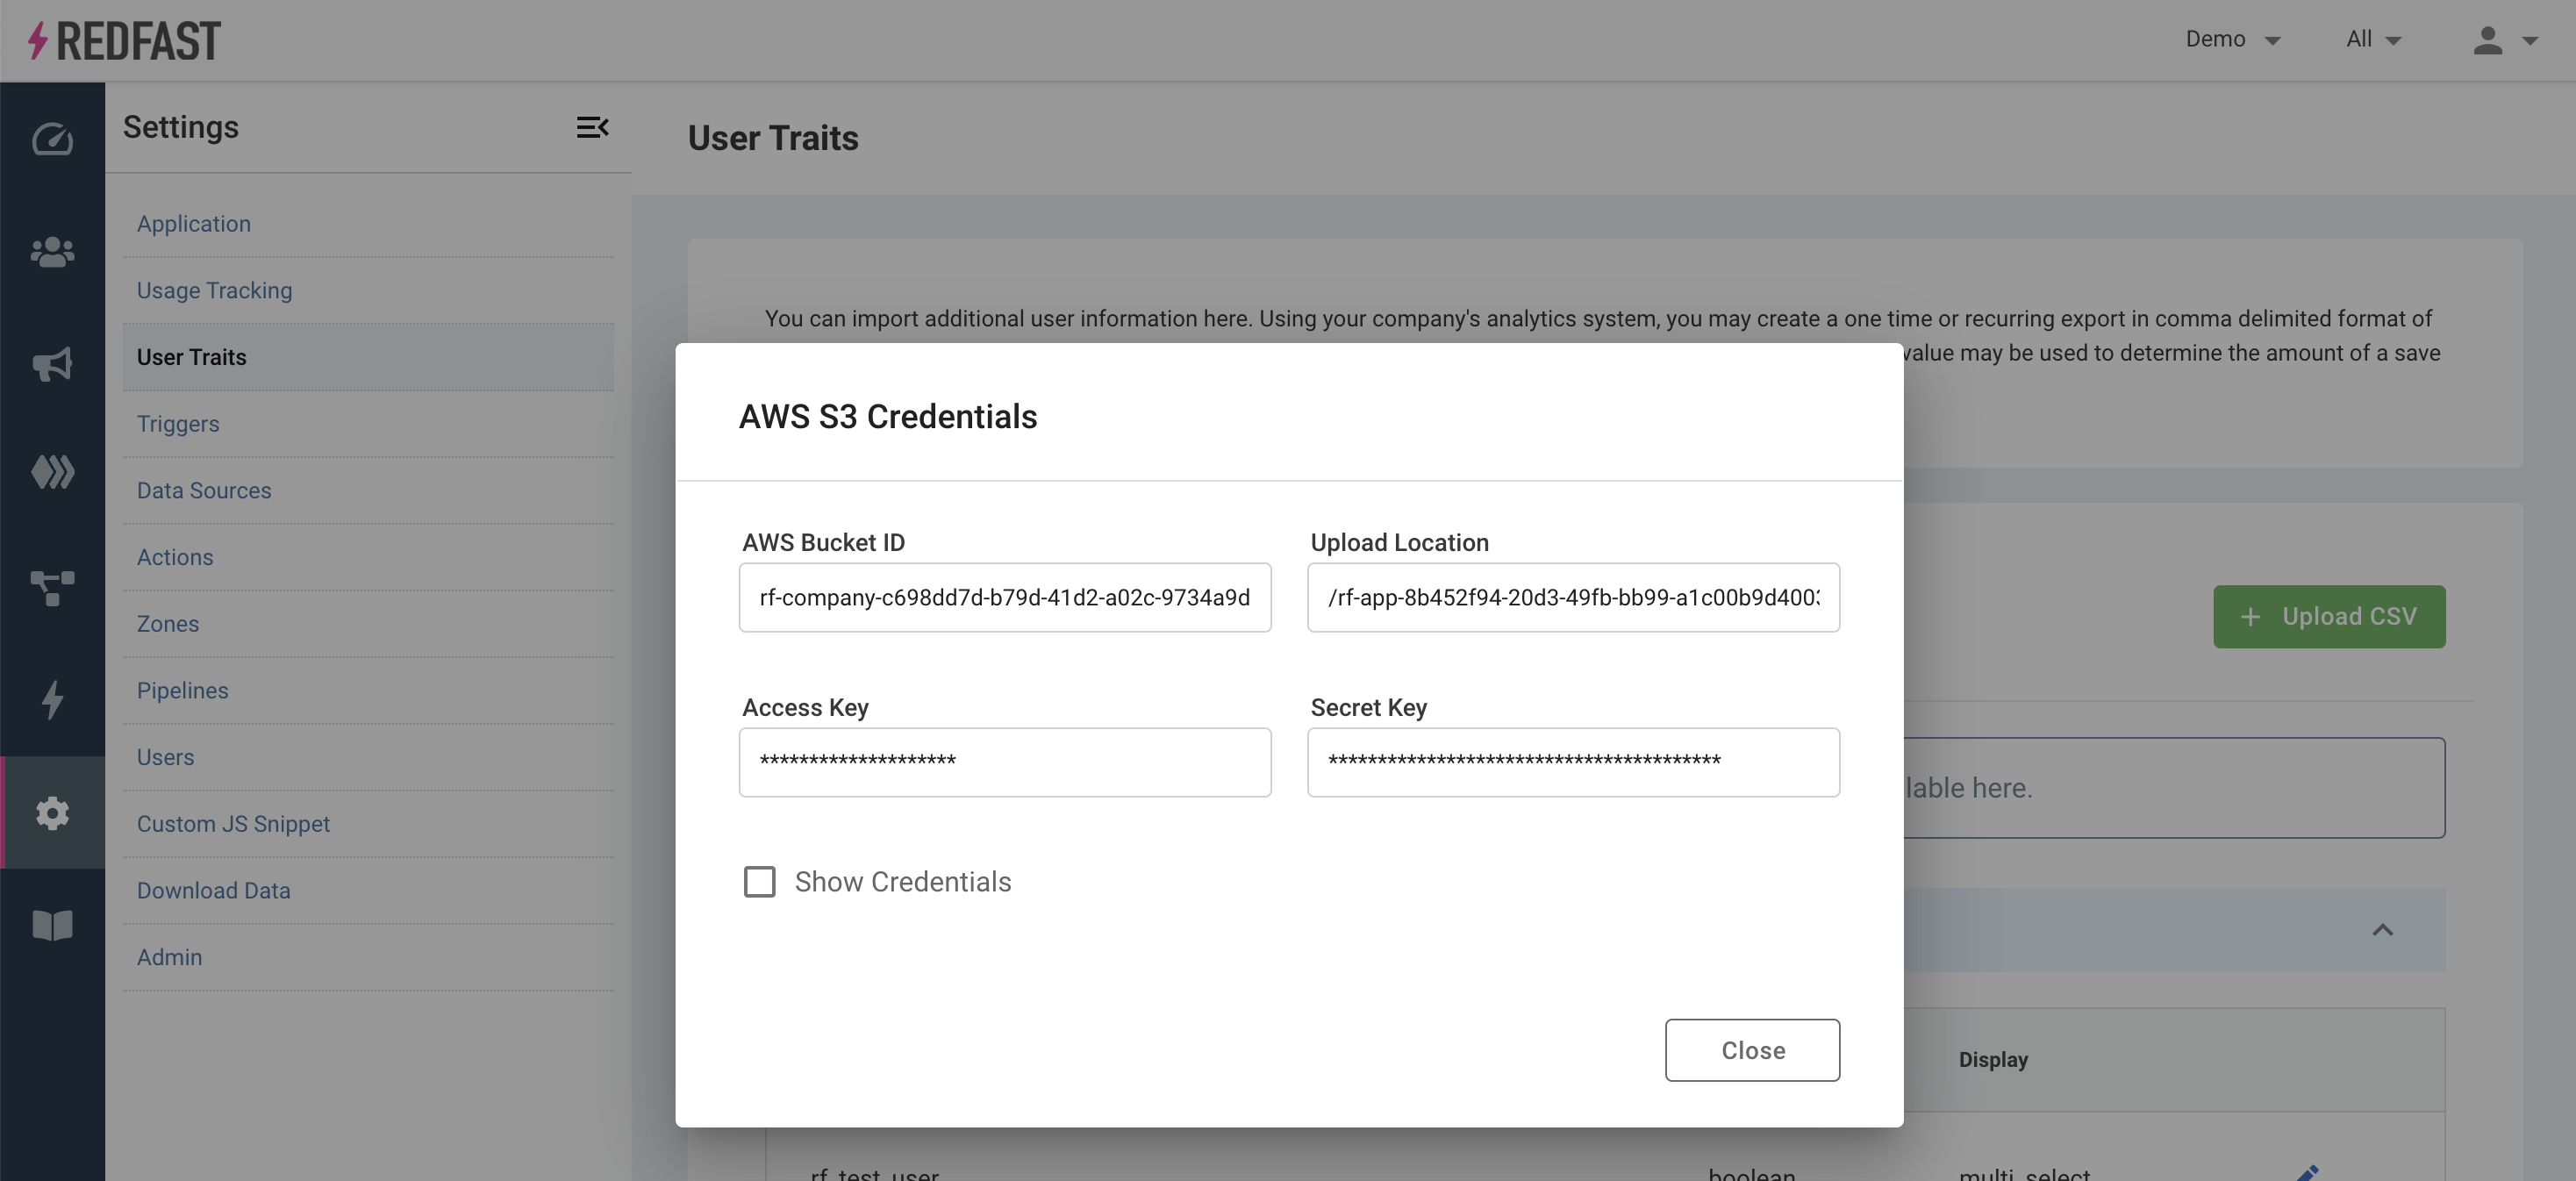
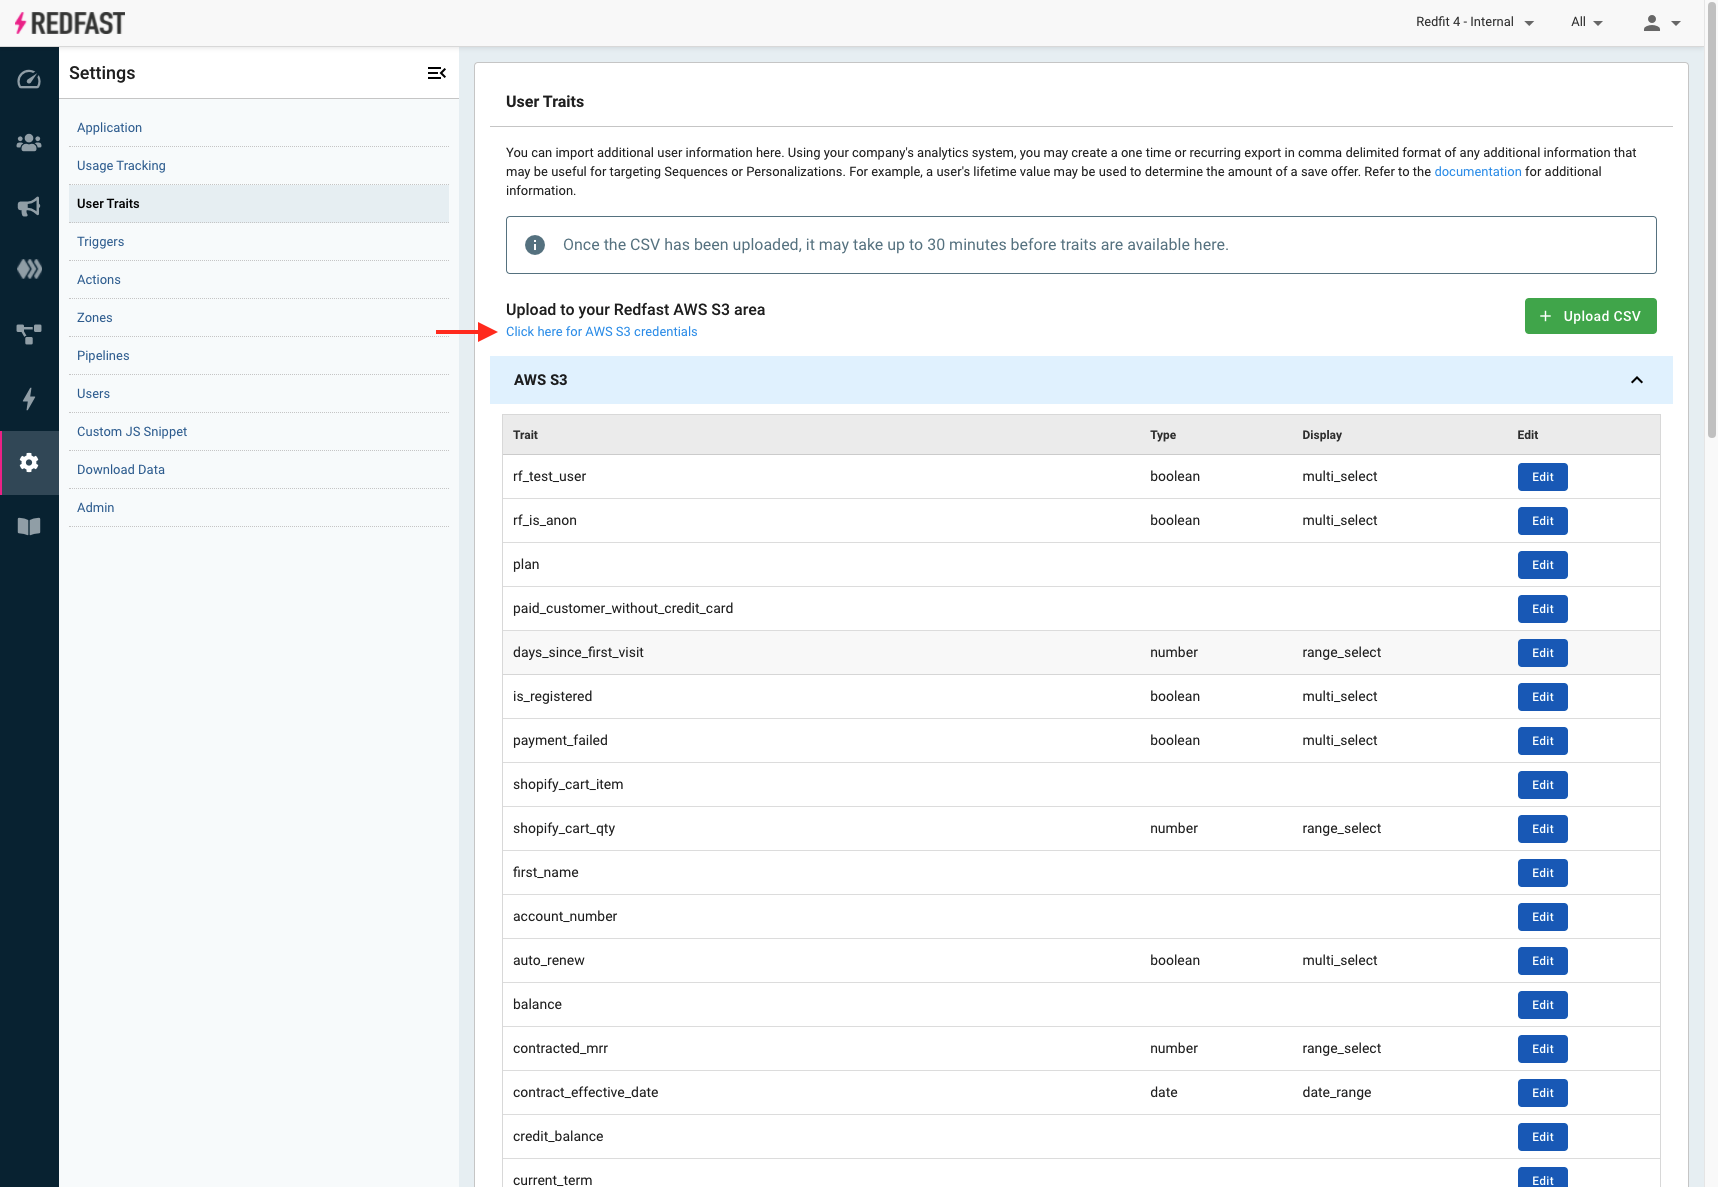
Retrieve S3 credentials in Pulse
- Go to Settings > Custom Traits in your Recurly Engage console.

- Click Click here for AWS S3 credentials and check Show Credentials to reveal your Bucket name, Access Key, and Secret Key.
-
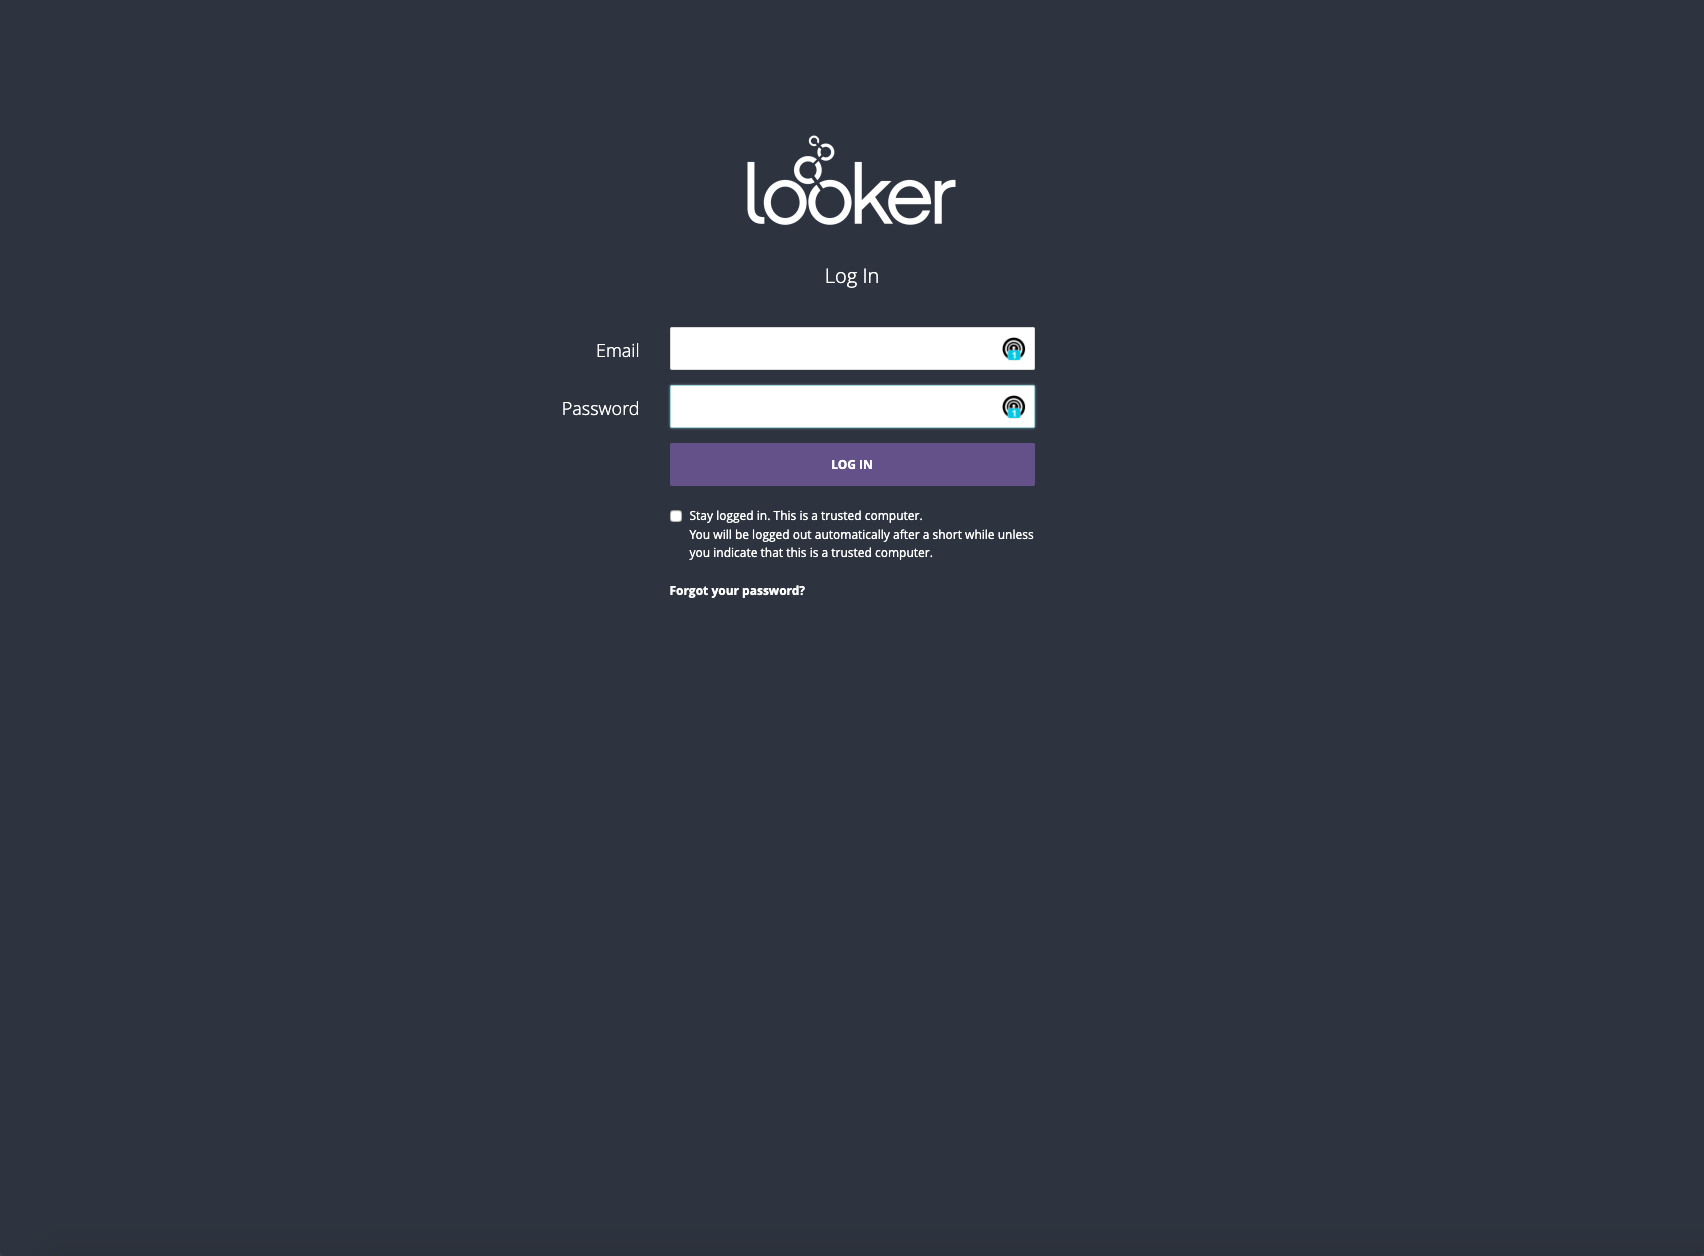
Log in to Looker
- Open a new browser tab and navigate to Looker.
-
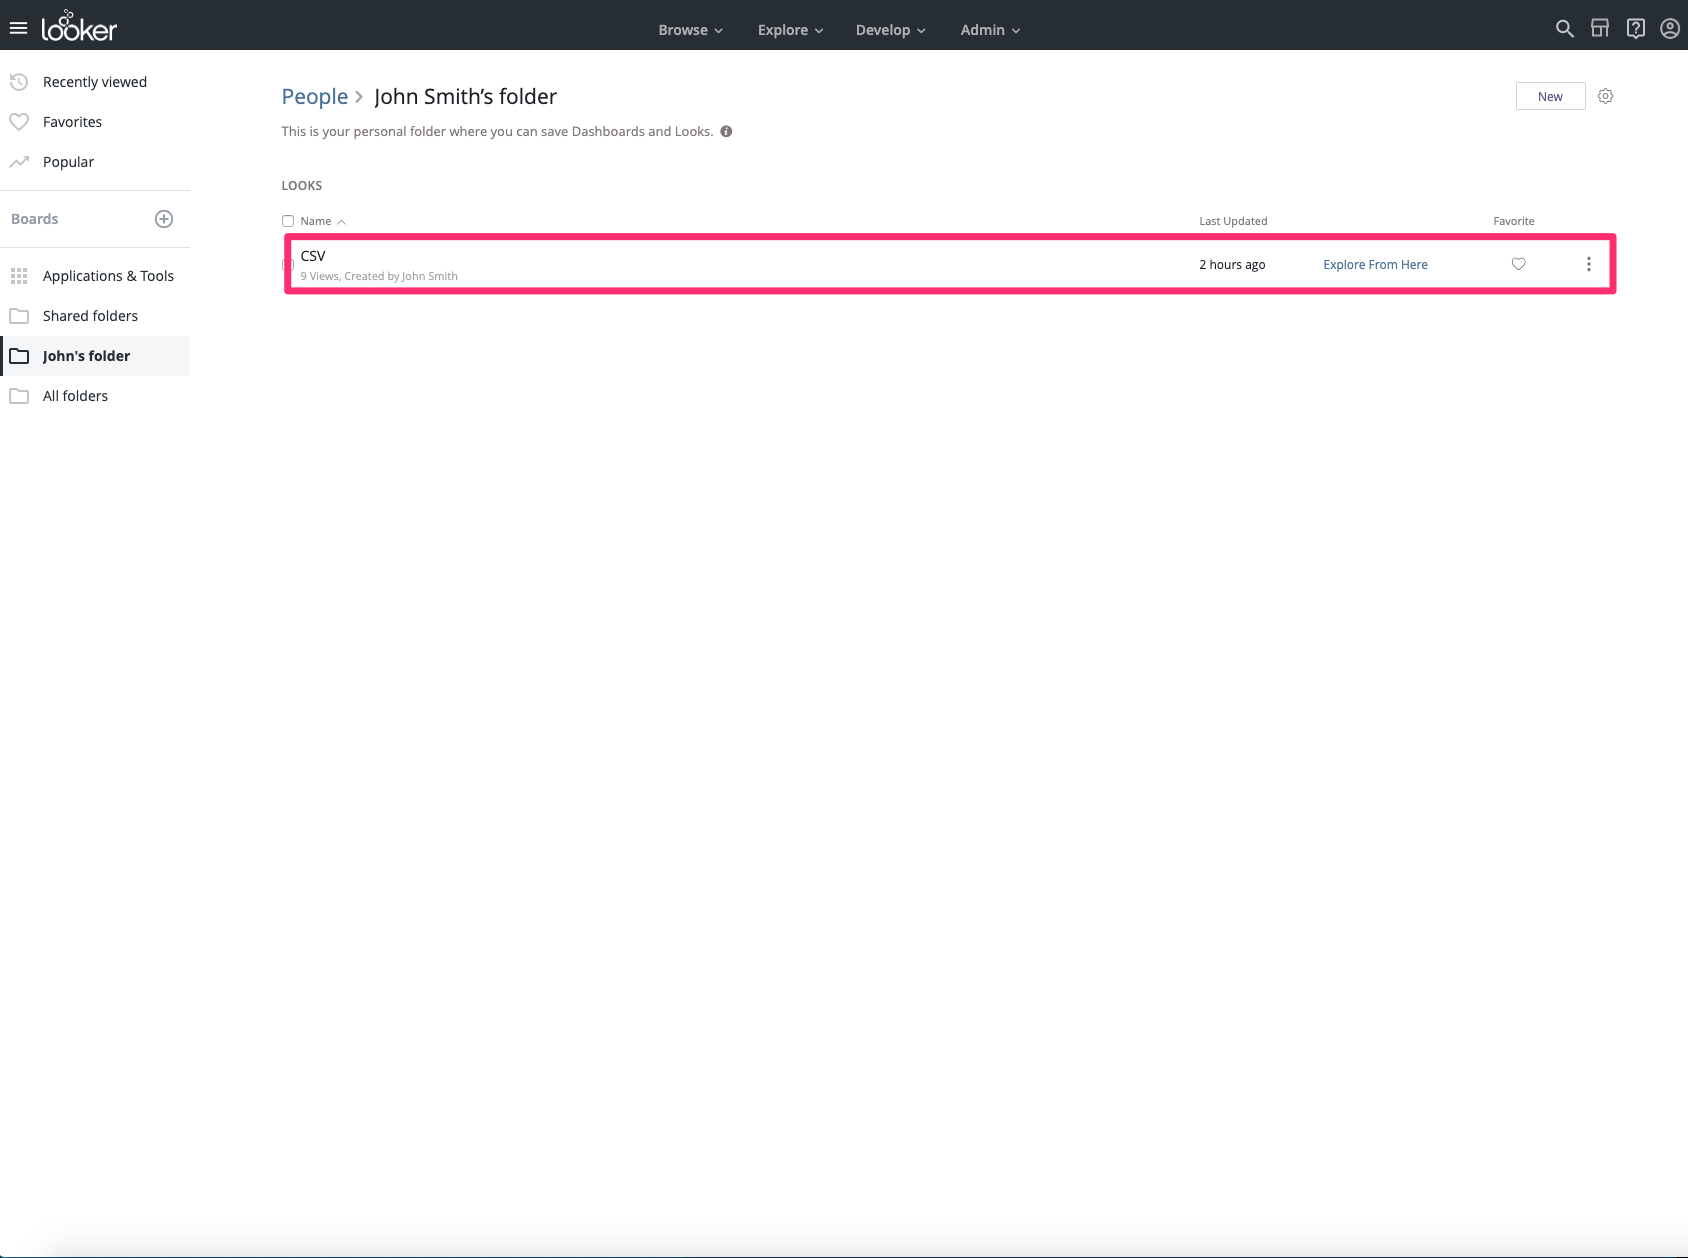
Locate your user data Look
- Select the folder containing your user trait data.
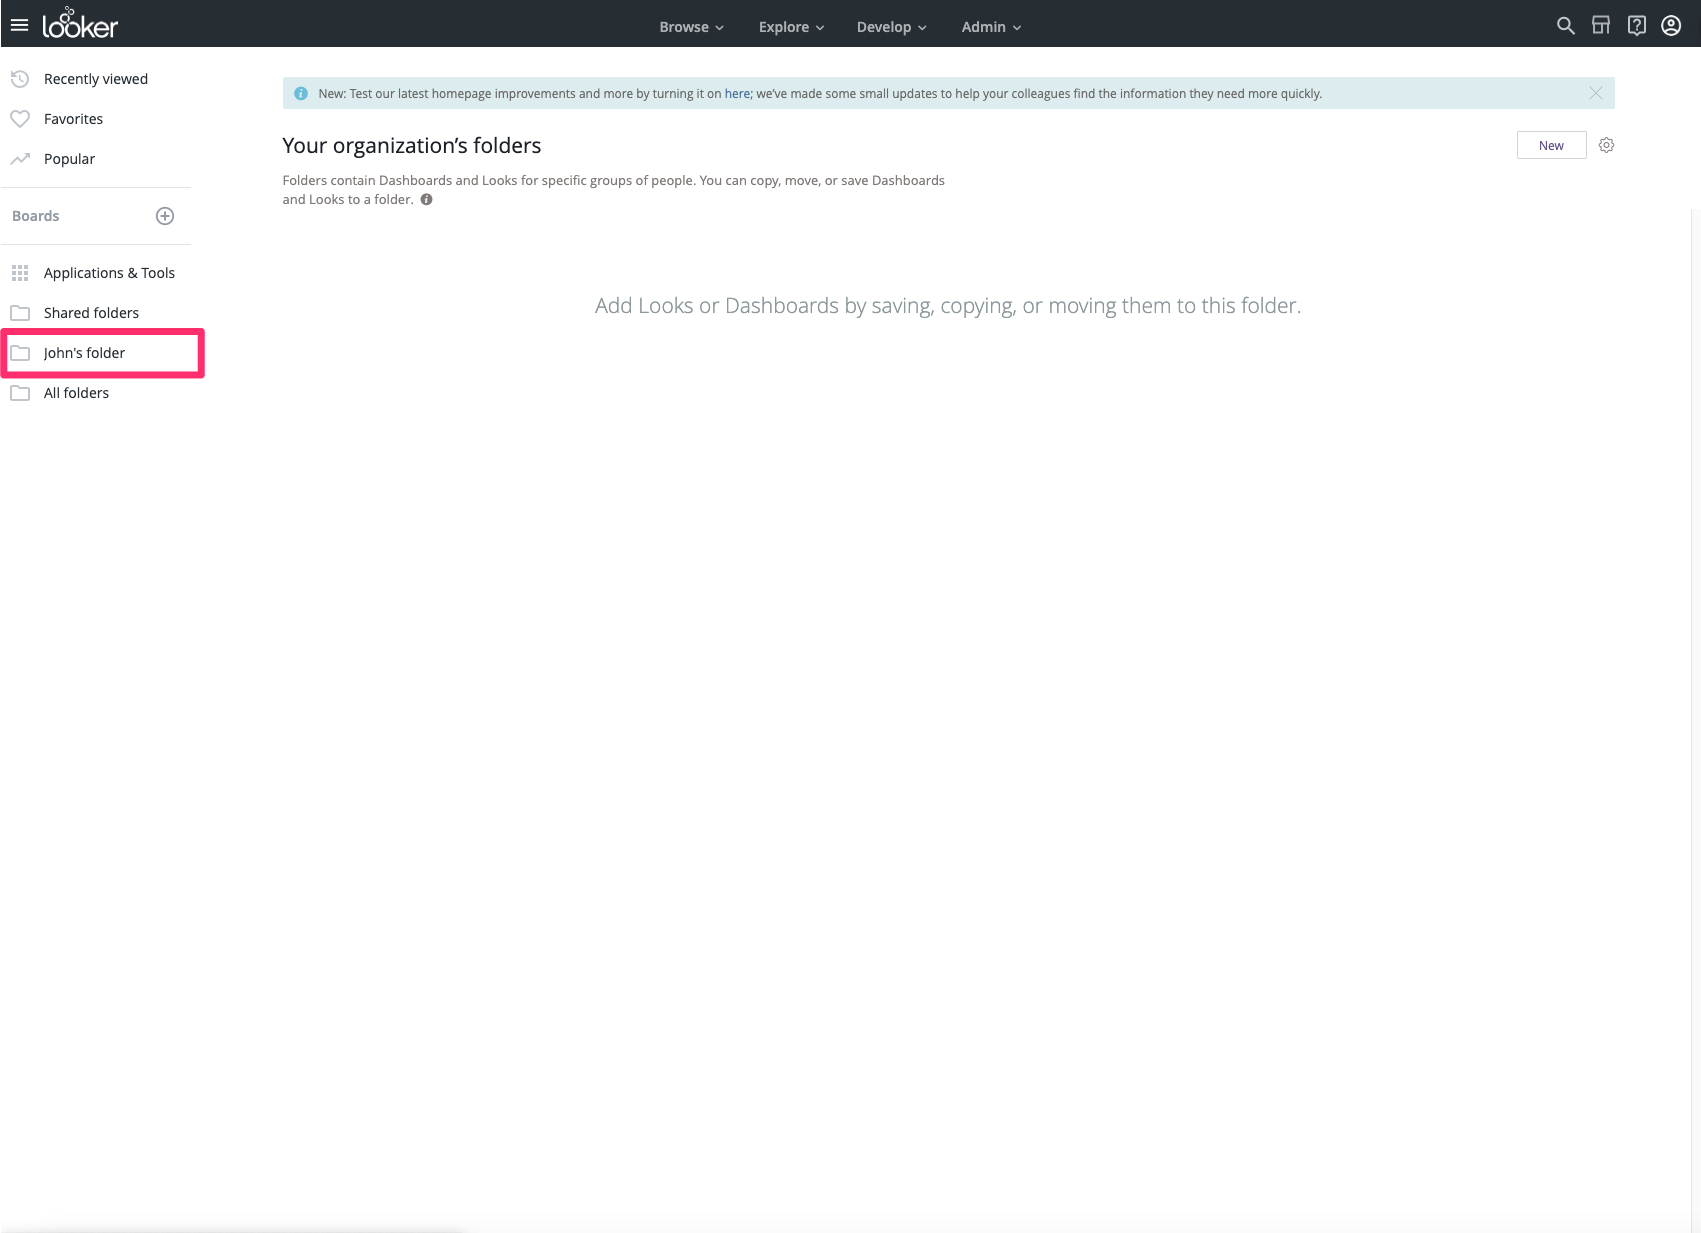
- Choose an existing Look that outputs all required trait columns.
-
Ensure correct column ordering
- Make sure the first column is your customer ID (e.g.,
user_id). If not, edit the Look to reposition it.
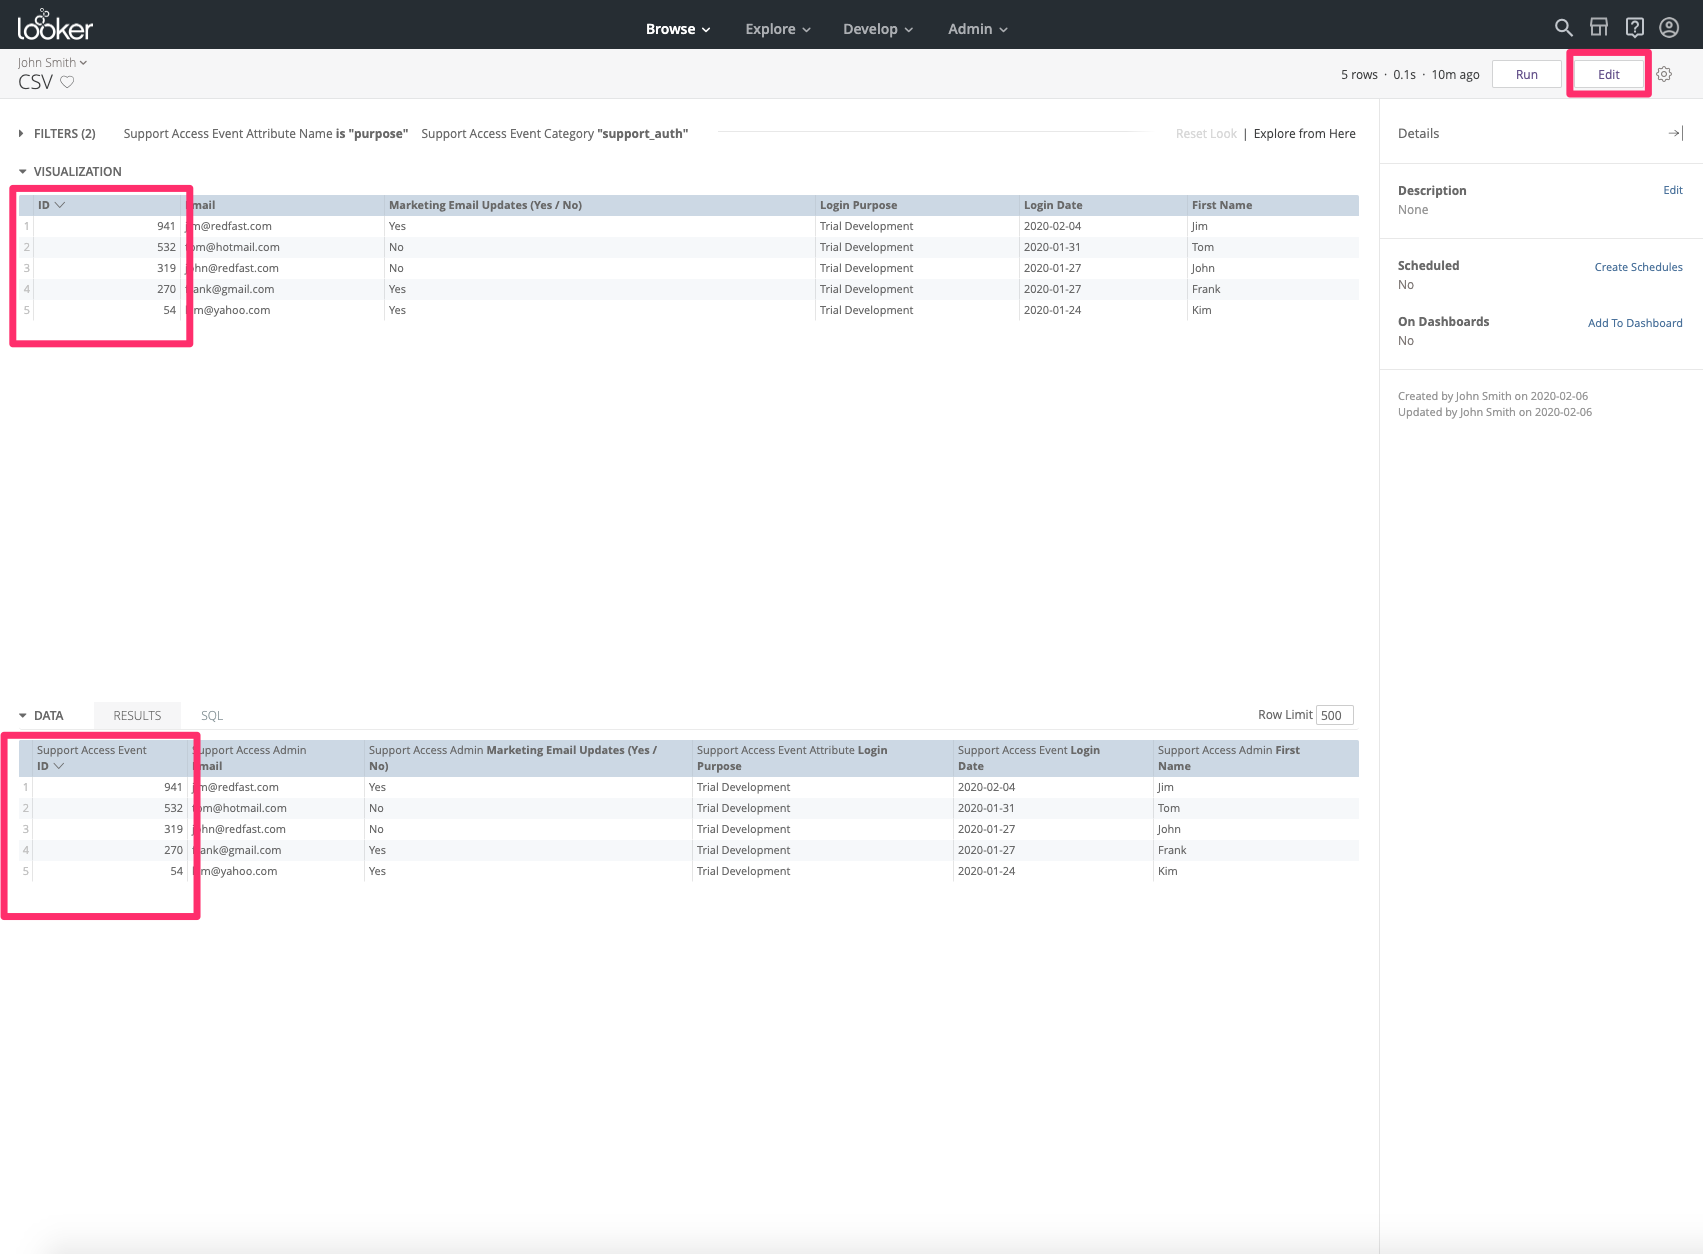
- Make sure the first column is your customer ID (e.g.,
-
Create a schedule
- Click Create Schedules on the Look.
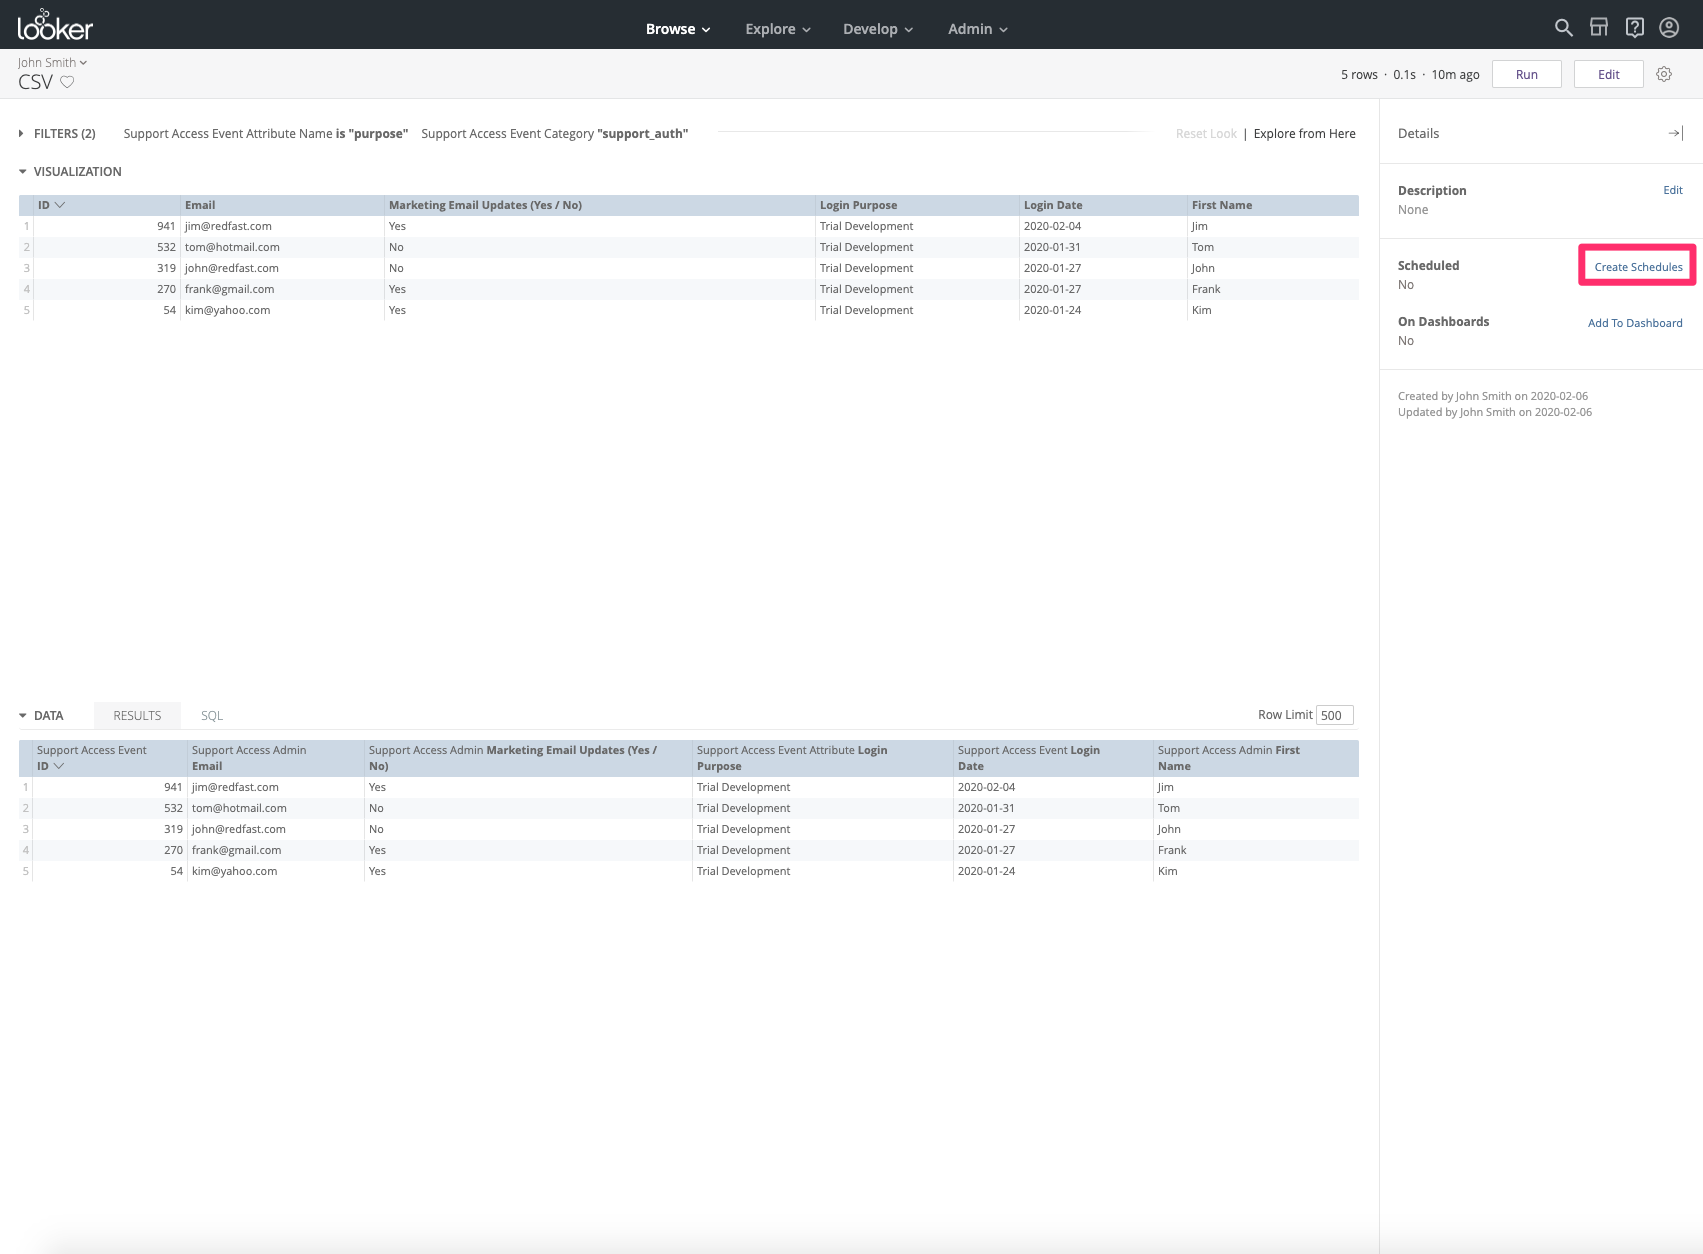
- In the schedule modal, choose Amazon S3, then paste your Recurly Engage Bucket, Access Key, and Secret Key into the fields. Adjust the delivery time if needed.

-
Save and verify
- Save the schedule. Looker will now push a CSV of your user traits to the S3 bucket each day at the scheduled time.
Once set up, your Recurly Engage instance will automatically ingest the daily CSV upload within a few hours, keeping your user traits up to date for segmentation and targeting purposes.
Updated 12 months ago