Push prompts
Details on creating and managing push notifications (Push Prompts) in Recurly Engage.
Overview
Required plan
This feature may not be included in the all plans. If you are interested, please contact Recurly Sales to discuss upgrade options.
Prerequisites & limitations
You must have Company, App Administrator, or App Member permissions in Recurly Engage.
Definition
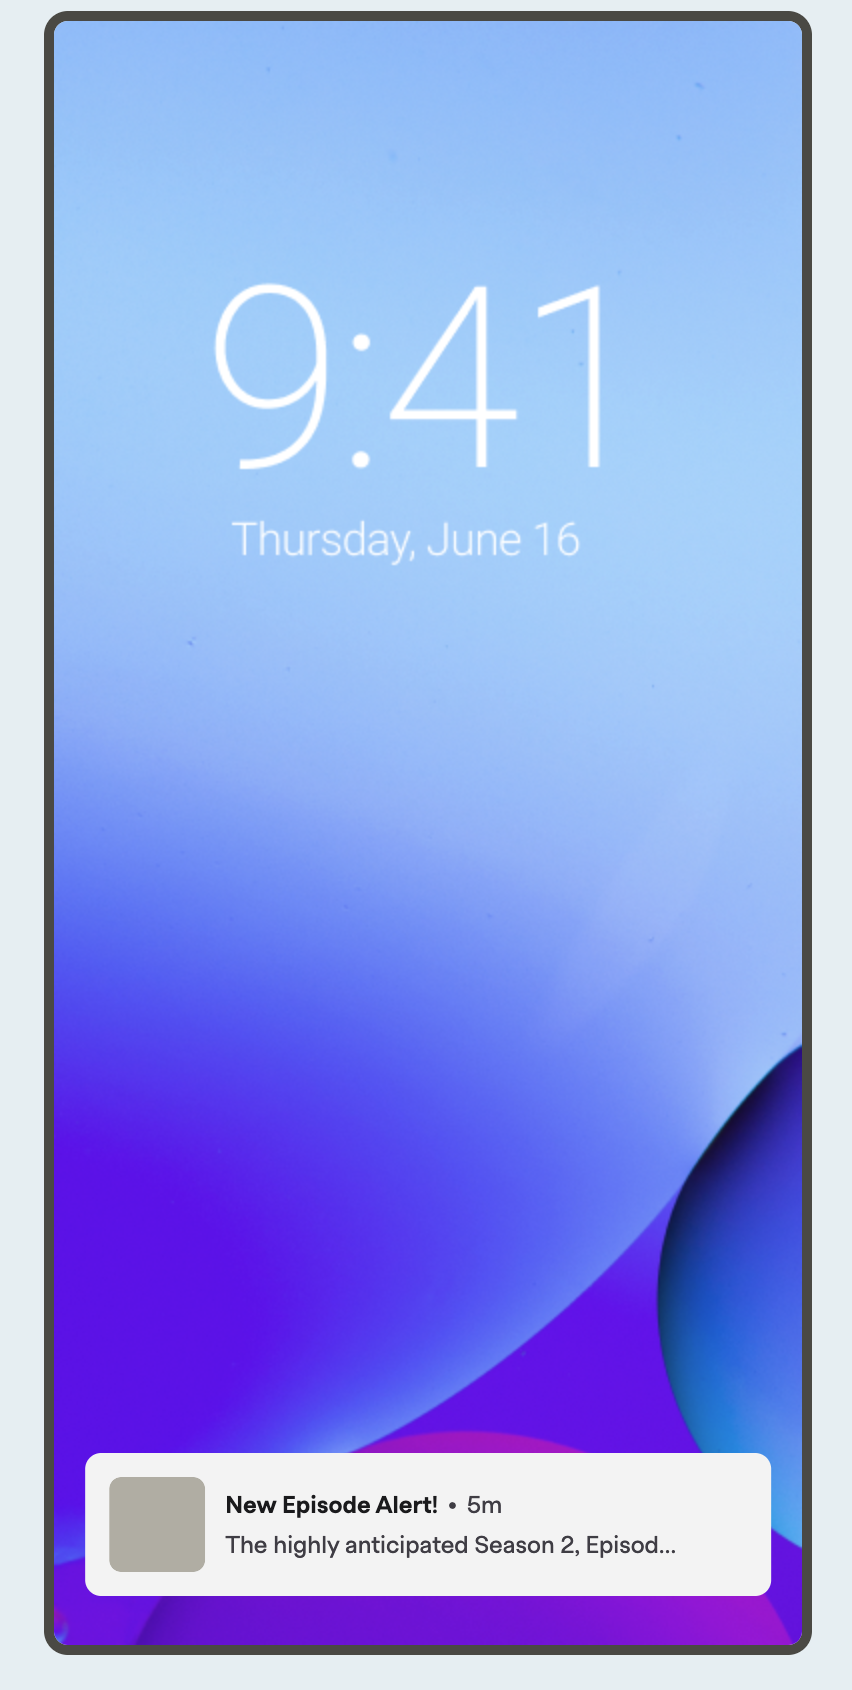
Push Prompts send scheduled notifications directly to your users' devices, even when they aren't actively using your app. These messages are delivered via supported channels like Amazon Device Messaging (ADM), Apple Push Notifications service (APNs), and Firebase Cloud Messaging (FCM).
Key benefits
- Direct engagement: Reach users on their devices with timely messages, increasing re‑engagement.
- Scheduled delivery: Plan notifications in advance to hit optimal send times.
- Multi‑channel support: Send via Amazon Device Messaging, Apple Push Notifications service, or Firebase Cloud Messaging.
Key details
Follow these steps to configure and send push prompts:
Steps to enable push notifications
-
Ensure you are an active member of Recurly Engage with a plan that includes Push Prompts. If not, book a demo today !
-
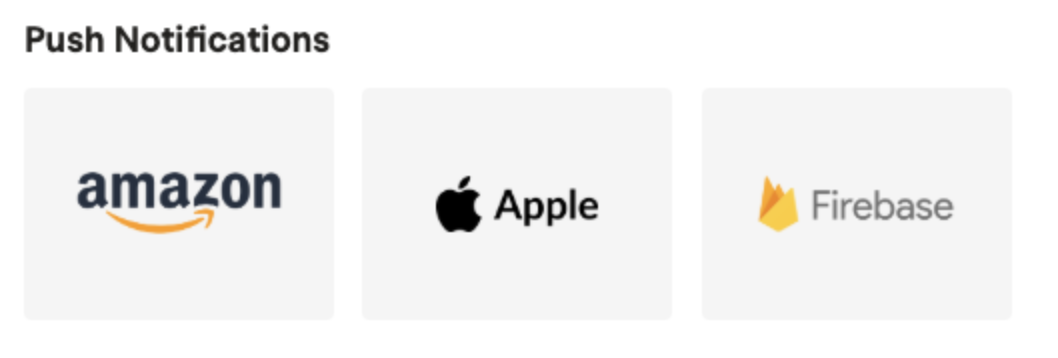
Setup credentials:
- In the Recurly Engage management console, Pulse, navigate to Settings → Integrations → Push Notifications
- Enter credentials for the desired Push channels.
-
Sync device tokens:
- Configure and upload device tokens to allow Recurly Engage to target your users' registered devices.
-
Create a custom device :
- In Pulse, navigate to Settings → Custom Devices
- Select a + New Custom Device profile for push targeting.
-
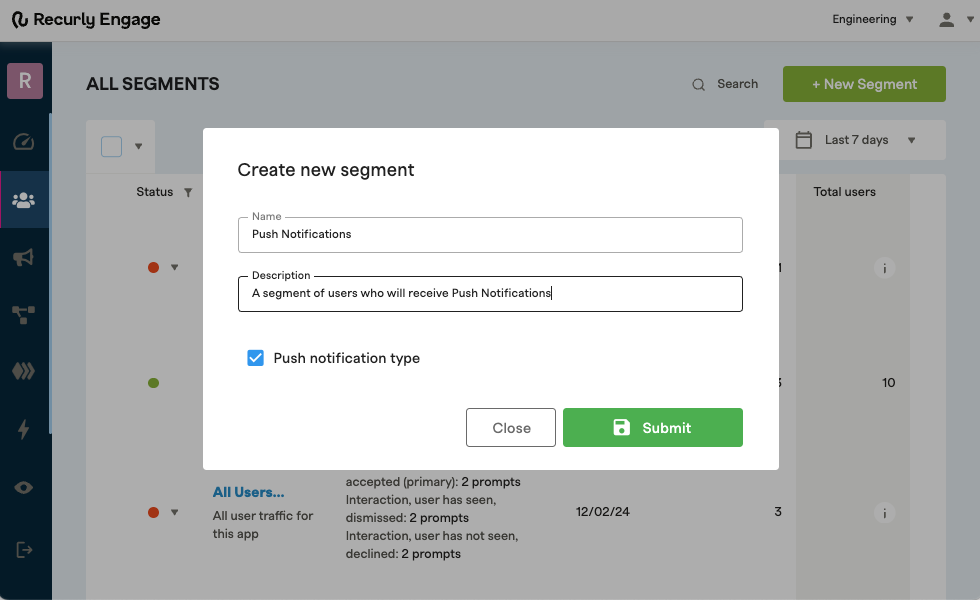
Create a Push Segment :
- In Pulse navigate to the Segments section and create a + New Segment.
- Select Push notification as the device type.
- Configure your Segment with the appropriate settings, be sure to configure channel type.
- Create a Push prompt:
- In Pulse, navigate to the Prompts section.
- Select + New Prompt
- First, select Custom for the Device Type and Push Device for the device type. Then, choose the Push prompt style.
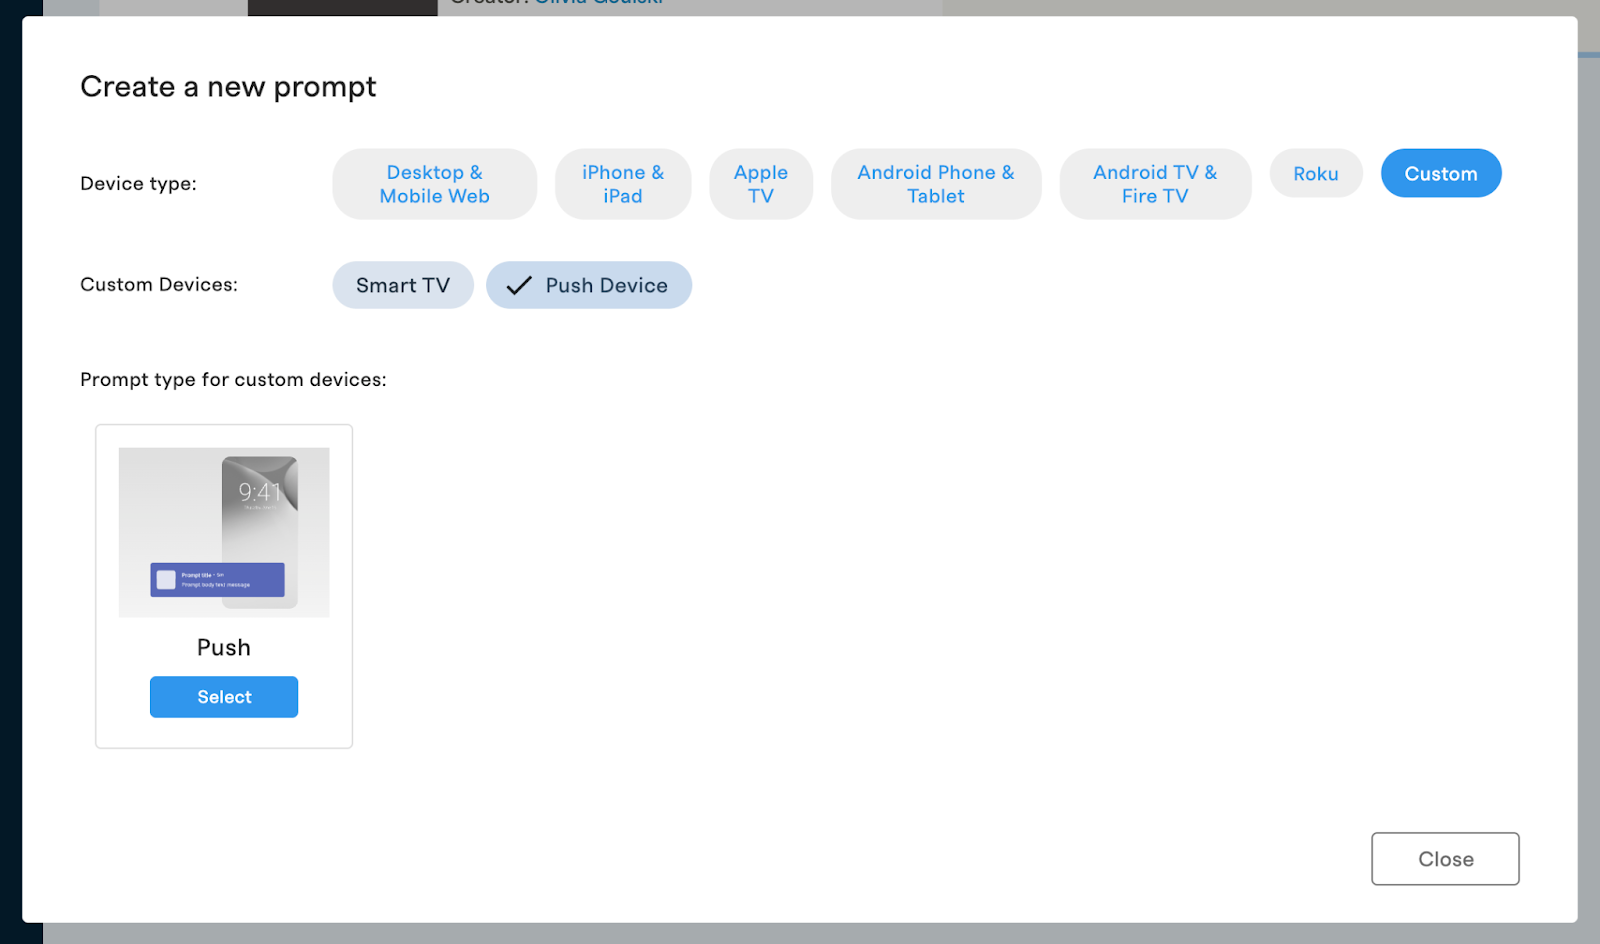
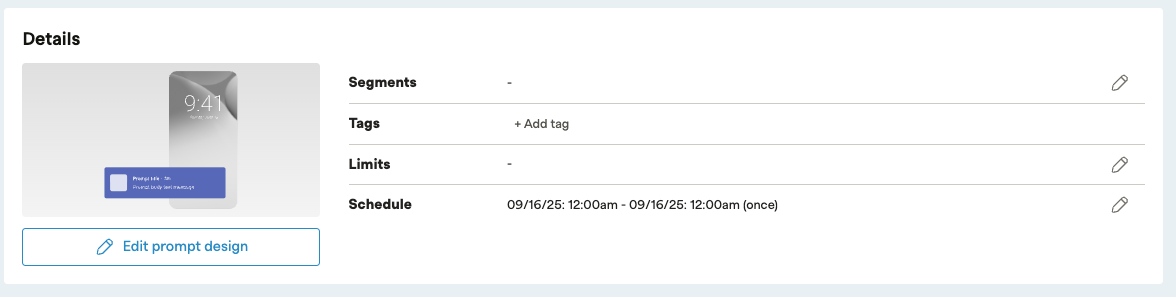
- Configure the prompt:
- Segment: Choose the Push Notification segment to target specific users.
- Schedule the times your prompt will send:
- Customizable Timing: Set specific start and end dates and times for your scheduled push notification.
- Quiet Times: Establish periods during which notifications should not be sent, preventing disruptions.
- Local Time Zones: Configure the task to run according to the users local time zone, ensuring accurate timing regardless of location.
- Design: Edit the prompt design to customize messaging, imagery and actions.
- Once configured, save and schedule to deliver your push notifications to your audience.
Updated 10 months ago