The Import/Export feature in Recurly RevRec provides a structured platform to import and export data types including sales orders, billings, and cost files. Use it to upload transactions, process events, manage unprocessed files in the Stage Area, transfer journal entries, and close periods — keeping your financial data accurate and your month-end process on track. This feature is part of Recurly RevRec.
Learn more.
Available as part of Recurly RevRec
- An active Recurly account with administrative privileges.
- Familiarity with the data types and structures used in your business operations.
- Access to the source files intended for import or the destination directories for exports.
- The import/export tool may have file size restrictions to keep uploads and downloads efficient.
- Any changes you make apply to future transactions only.
- The system may require specific file formats for a successful data import.
- Real-time synchronization may not be available — data sync may occur at scheduled intervals.
Data consistency
Keep your Recurly data consistent with other platforms or databases you use.
Time efficiency
Eliminate manual data entry to save time and reduce potential errors.
Enhanced reporting
Import all necessary data to generate comprehensive reports with deeper insights into your operations.
Flexibility
Export your data whenever needed, regardless of platform.
Streamlined operations
Regular data synchronization keeps all departments working with the latest data.
In Recurly RevRec, you can upload sales orders, billings, and cost files. These files are the backbone of revenue recognition and integral to financial reporting.
NoteFor a successful upload, column headings in your file must match the upload names specified in the attribute mapper of Recurly RevRec. Any discrepancies can prevent the file from loading.
1
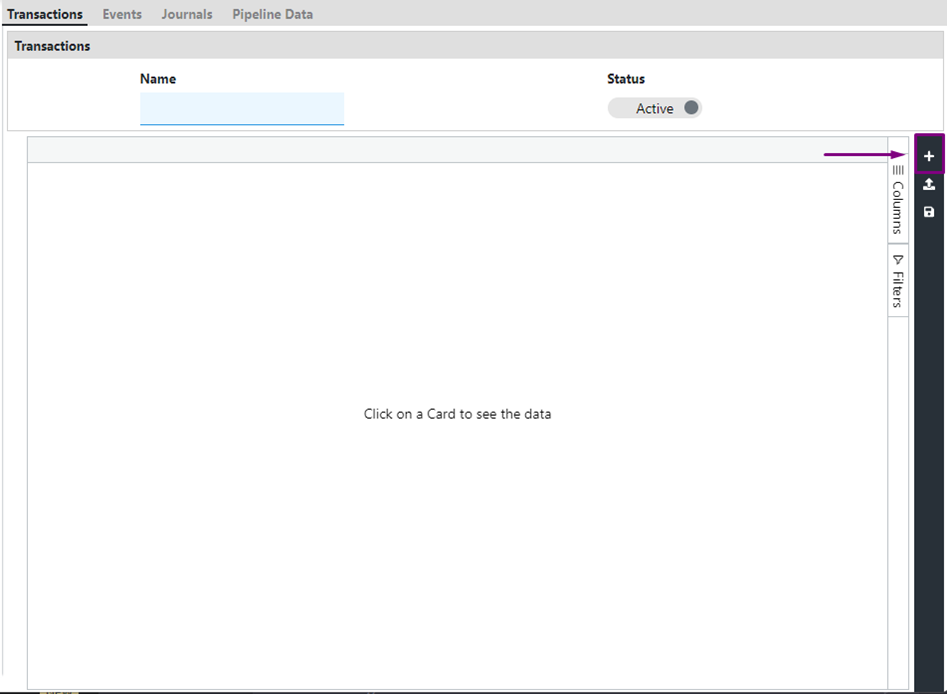
Access the Import/Export section and select "Transactions."
2
Select the "+" icon to add your transaction file. After uploading, save the file.
3
Confirm that the column headings in your file align with the system's attribute labels.
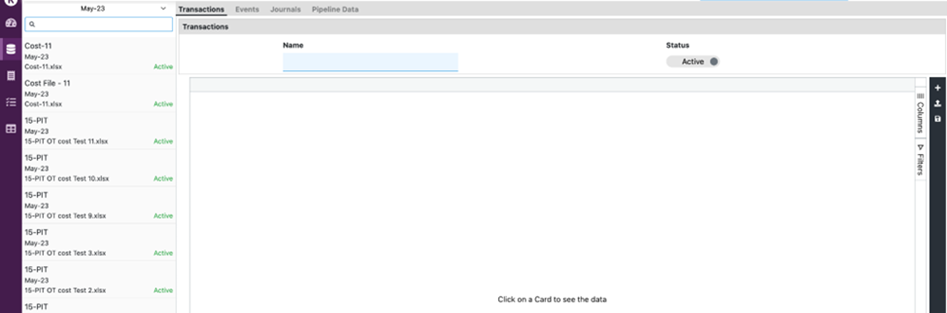
Once saved, transaction files appear as cards on the left side of the transaction import window.
After a successful upload, transaction files can be accessed and reviewed in the Revenue Workbench for a comprehensive overview of your revenue data.
Billing file details
- Supported document types for billing file uploads are INV (invoice), IVC (invoice cancellation), CM (credit memo), and CMC (credit memo cancellation). Partial credit memos are allowed, but partial invoice cancellations are not permitted.
- The system collects transactions belonging to the current open period and previous periods. Transactions for future periods are placed in the Stage Area and processed once the corresponding period is opened.
Before uploading an event file in Recurly RevRec, ensure the file has been linked with a POB (Performance Obligation) template. This linkage is required for proper event mapping and accurate revenue recognition aligned with contractual obligations.
1
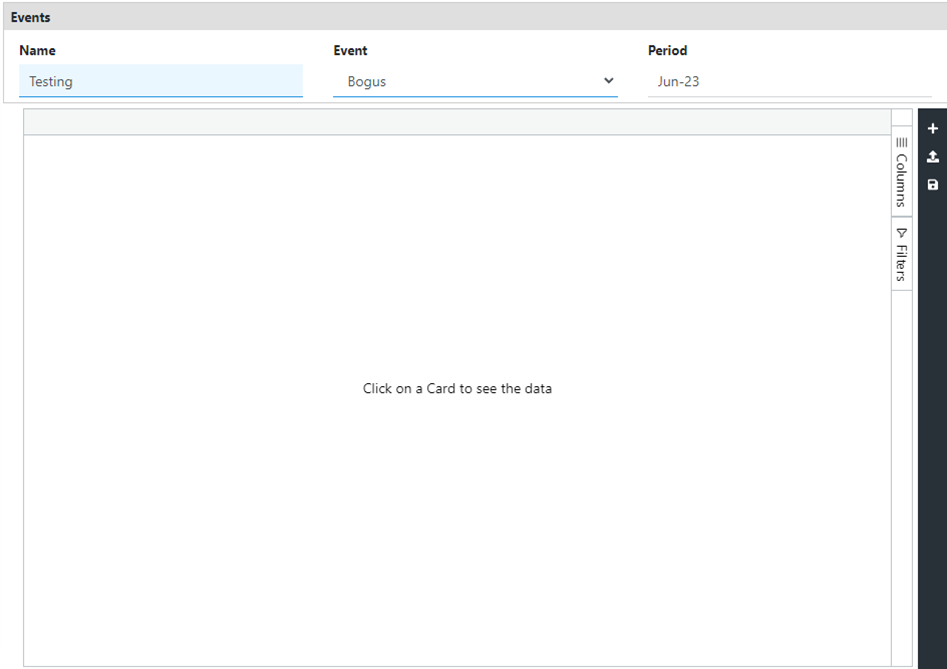
Navigate to the Import/Export section and select "Events."
2
Select the "+" button to initiate the upload process for a new event file.
3
Assign a name to the event file — by default the system uses the uploaded file's name. Then select the relevant event from the dropdown menu. These are predefined event templates established in the system.
4
Once all details are populated, save the file. The system processes the uploaded event file according to the configurations set for that event, ensuring accurate and compliant revenue recognition.
The Stage Area contains four tabs — Contracts, Documents, Cost, and Events. Unprocessed files appear under their respective tabs. Files may remain unprocessed for the following reasons:
- Error in the file: If errors are encountered during upload, those files are placed in the Stage Area. The system displays error messages for each transaction indicating the issue to address.
- Future transactions: Transactions with a future date or period are held in the Stage Area until the applicable period is opened in the system.
- Scheduled processing: If the scheduled jobs for transaction or event import are inactive or not running, transactions may remain stuck in the Stage Area. Ensure scheduled jobs are active and properly configured.
1
Navigate to Import/Export to access the Stage Area.
2
Use the Status tab to filter and view files based on specific criteria.
3
To remove specific data, select the transaction under its respective tab, select the Delete icon, and confirm the deletion. Save your changes to finalize the removal.
NoteThe month-end close process is a structured two-step approach. The first step involves transferring and verifying journal entries — laying the foundation for a confident period closure.
1
Go to Import/Export → Transfer JE.
2
Select the journal card of the primary book to access its journal entries.
Before finalizing the transfer, run the following reports to verify all entries are accurate.
1
Generate the Asset Report for the period. Verify that the total of the scheduled column in the asset account matches the total in the revenue waterfall report.
2
Generate the Liability Report for the period. Confirm that the total of the scheduled column in the liability account matches the total in the revenue waterfall report.
3
Generate the Revenue Waterfall Report for the period. Validate that the total amount in the waterfall matches the combined total of the scheduled columns in both the asset and liability accounts.
4
Generate the Revenue Insight Report. Verify that the scheduled balance matches the total in the revenue waterfall report for the period.
1
Select "Approve for Transfer" for the journal card of the Primary book to indicate the entries have been reviewed and approved.
2
Once approved, select "Mark as Transferred" to confirm the journal entries have been successfully transferred and recorded.
3
Before proceeding, ensure the journal card is summarized. This consolidates the entries for accurate reporting. Don't move to the next step until summarization is complete.
After transferring journal entries, the final step is to close the period.
1
Access the Period Close option via Import/Export.
2
Select "Open New Period."
3
Confirm the action and allow the system to transition to the next period, ensuring continuity in your financial operations.