Setting up Standalone Selling Price (SSP) is a three-step process: create the SSP by defining values, pricing attributes, and any adjustments or discounts; set up SSP Analyzer rules to identify and analyze SSP variances; then prepare and upload your data for processing. Follow these steps and you'll have a robust SSP framework tailored to your products or services.
Available as part of Recurly RevRec
1
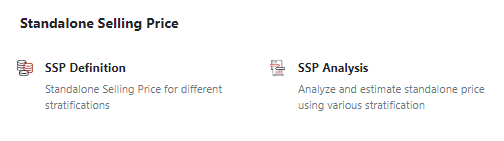
Navigate to the Rules section and select SSP Definition.
2
Select the "+" icon to create a new SSP.
3
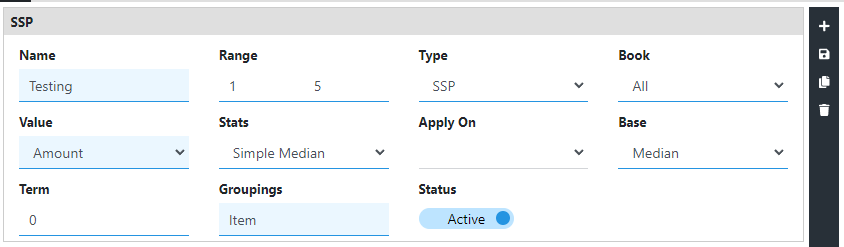
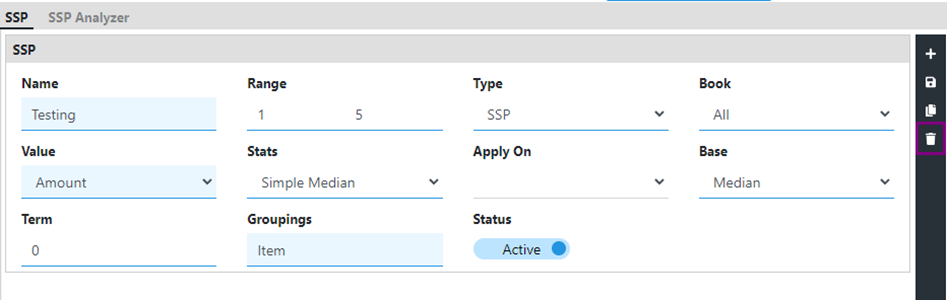
Enter a name for the SSP.
4
Leave the Range tab blank when uploading SSP data.
5
Select SSP or RSSP as the Type.
NoteSelect SSP if you want to define a standalone selling price, or RSSP if you want to define a residual standalone selling price.
6
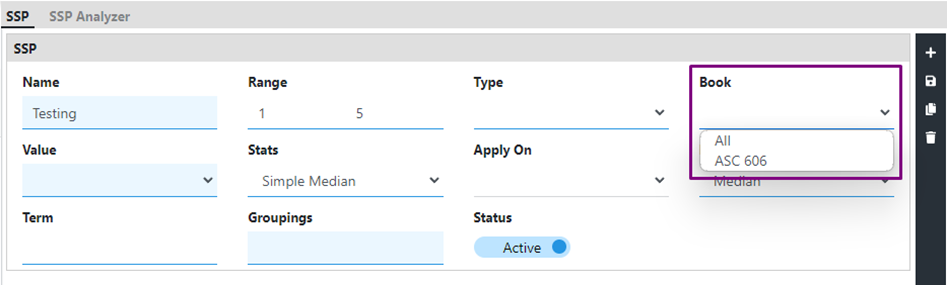
Under the Books tab, choose the relevant book for the SSP.
7
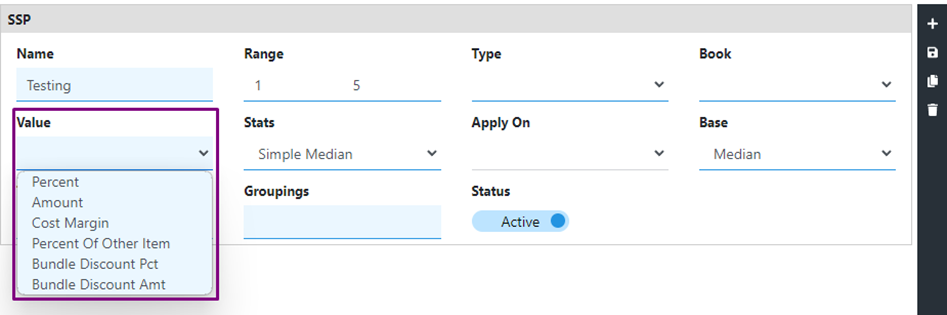
Select the appropriate SSP value from the dropdown menu.
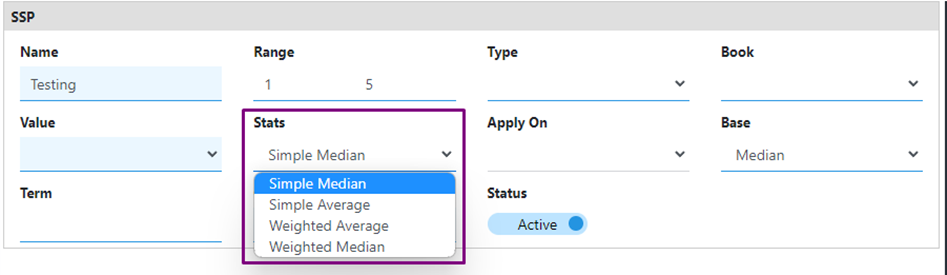
8
Specify the SSP statistic: Simple Median, Simple Average, Weighted Median, or Weighted Average.
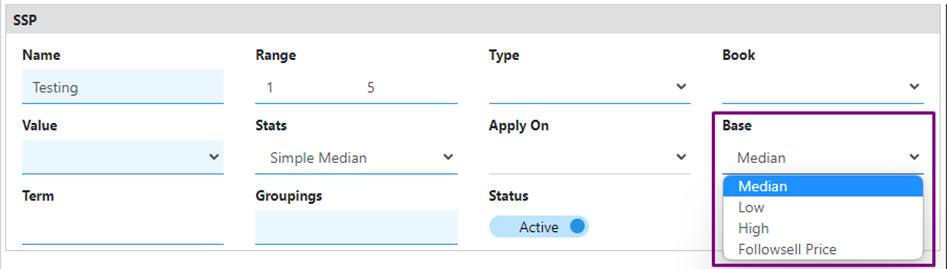
9
Determine the SSP base: Low, Median, High, or Follow SellPrice.
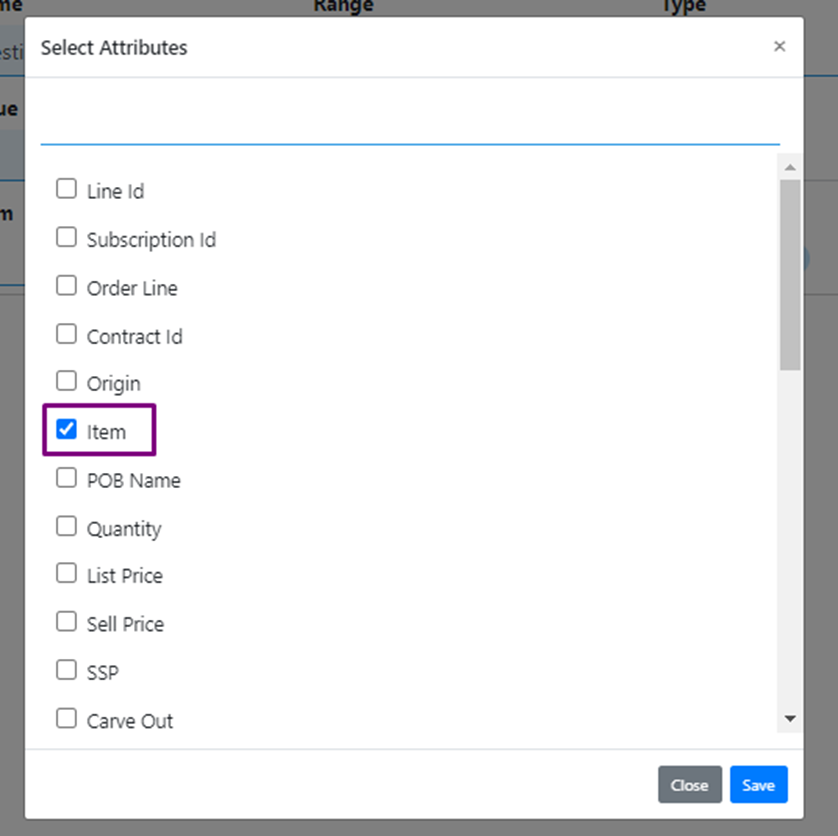
10
Under the Grouping tab, select the attribute that defines the SSP. For example, choosing "Item" bases the SSP on items.
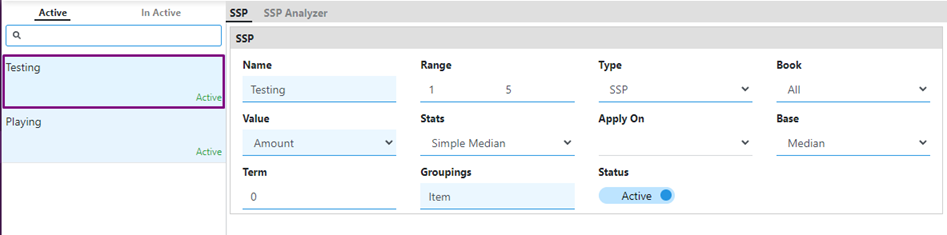
11
Save the SSP configuration. The new SSP card appears on the left side under active SSPs.
12
To delete an SSP configured in Recurly RevRec, select the delete icon on the black menu bar.
1
Navigate to the Rules section and select SSP Analyzer, or select SSP Analyzer at the top of the SSP page. If you have multiple SSP definitions, go to the SSP card you need and select SSP Analyzer from there.
2
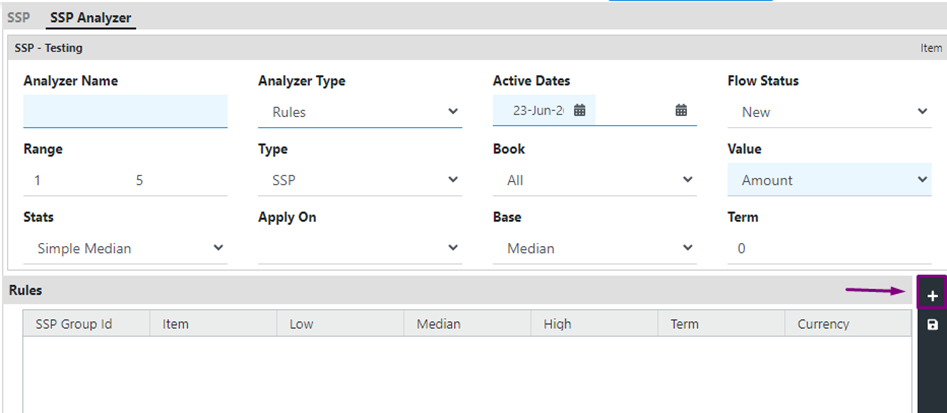
On the SSP Analyzer page, select the "+" icon to create a new SSP Analyzer.
3
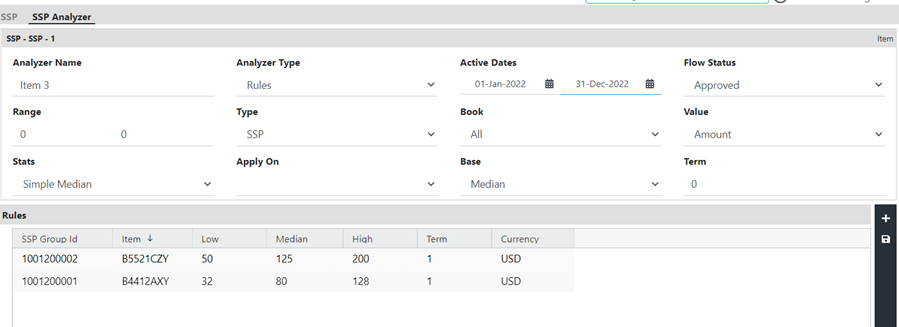
Provide a unique name for the SSP Analyzer.
4
Select Rules as the Analyzer Type if you're uploading SSP data.
5
Define the active dates for the SSP data, including a start date and, if applicable, an end date.
6
Once you've configured the SSP Analyzer, select the Save icon.
After you save, the Flow Status displays as "New."
1
Make sure the information in your table matches the selections you made for the SSP configuration, including the value type (amount or percentage).
2
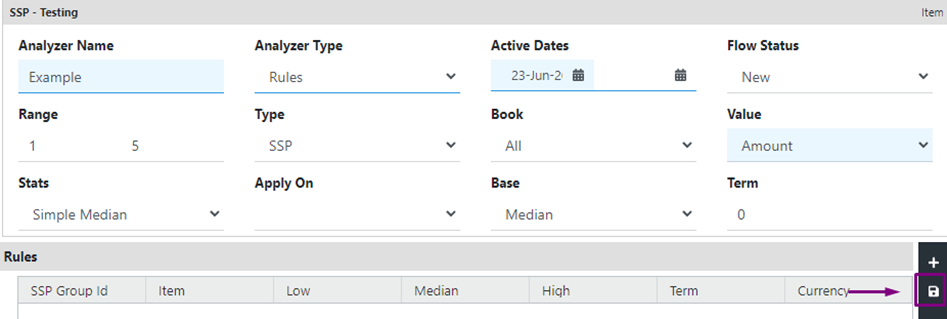
Select the Upload icon, choose the SSP file you want to upload in the SSP upload window, then select Open.
3
Once the SSP file is uploaded, select the Save icon. The uploaded data appears under the Rules section in SSP Analyzer.
4
Select the Approve icon to approve the uploaded SSP data. The Flow Status changes to Approved once approval is complete.
5
Once your SSP data is approved, you can select the Download icon to download it.
WarningYou can only delete SSP data before it's approved — select the Delete icon to remove it. Once approved, the data can't be deleted. If approved data won't be used going forward, specify an end date so it stops being used beyond that date. Recurly RevRec lets you set validity for uploaded SSP data by specifying start and end dates for the approved data.
If you select Analysis as the Analyzer Type for the SSP Analyzer, the system collects data automatically based on your configuration, rather than requiring a manual data upload.
1
Navigate to the Rules section and select SSP Analyzer, or select SSP Analyzer at the top of the SSP page. If you have multiple SSP definitions, go to the SSP card you need and select SSP Analyzer from there.
2
Select the "+" icon to create a new SSP Analyzer.
3
Provide a unique name for the SSP Analyzer.
4
Select Analysis as the Analyzer Type.
5
Define the active dates for the SSP data, including a start date and, if applicable, an end date.
NoteFields like range, type, stats, value, and base appear as configured when you set up the SSP — you can't change them here.
6
Add the criteria that defines the data to include when deriving SSP values — for example, a book date greater than a certain threshold.
7
Select the analysis icon. The system collects all data matching your criteria and returns the SSP breakup based on your grouping.
If your SSP grouping is "Item," the collected data is spread into different rows based on that grouping — completing the data collection process.
8
Approve the SSP to put it into use.