Manual month end close

Follow the ordered steps to verify data, reconcile reports, transfer journal entries, and manually close a period in Recurly RevRec.

Manual month end close gives you full, hands-on control over ending a period in Recurly RevRec. You verify your staged data, clear exception reports, reconcile your balances, transfer journal entries, and then close the period yourself — checking each step before moving on. It's the right fit when you want to catch and resolve discrepancies before the numbers are final.
Part of Recurly RevRec — learn more
Additional cost
This feature requires an additional cost. Contact [email protected] or your Recurly account manager for pricing details.

Definition

Month end close is a formal process that ensures all revenue-related transactions are accurately captured and reconciled before you close one period and open the next. It involves verifying data, checking for exceptions, reconciling reports, and transferring journal entries.

Key benefits

Accurate financial reporting Ensures your data is complete and consistent for each period.
Reduced errors Identifies and resolves exceptions — like holds or missing allocations — before closing.
Streamlined workflows Simplifies reconciling revenue and transferring journal entries.

How to do month end close

To properly close a month in Recurly RevRec, follow these steps in order. Don't open the next period until each step is complete.

Stage data verification

Start by confirming your staged data is clean for the open period.
1

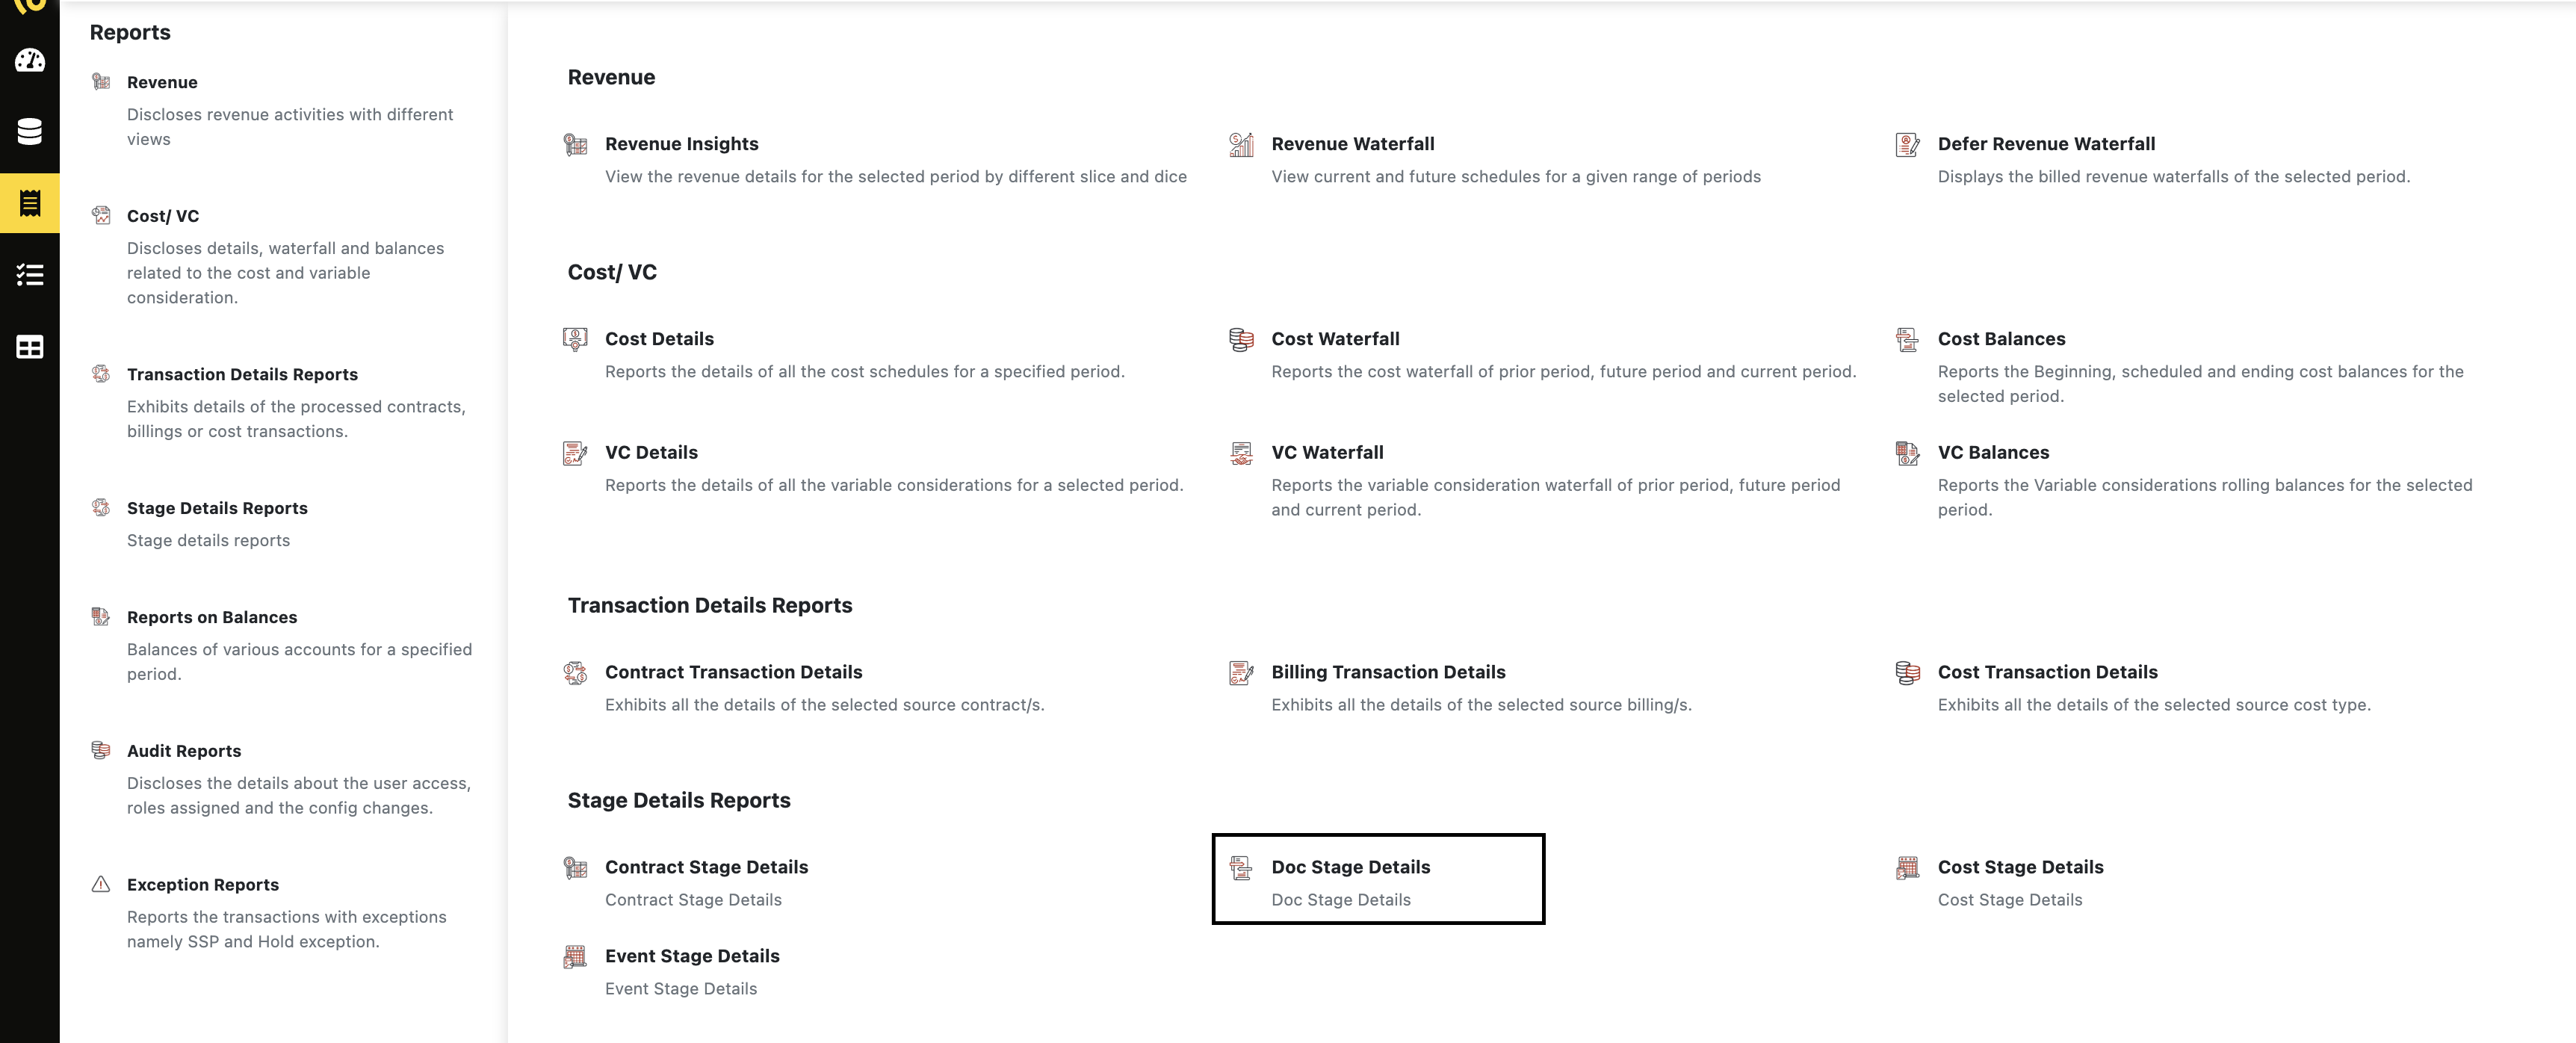
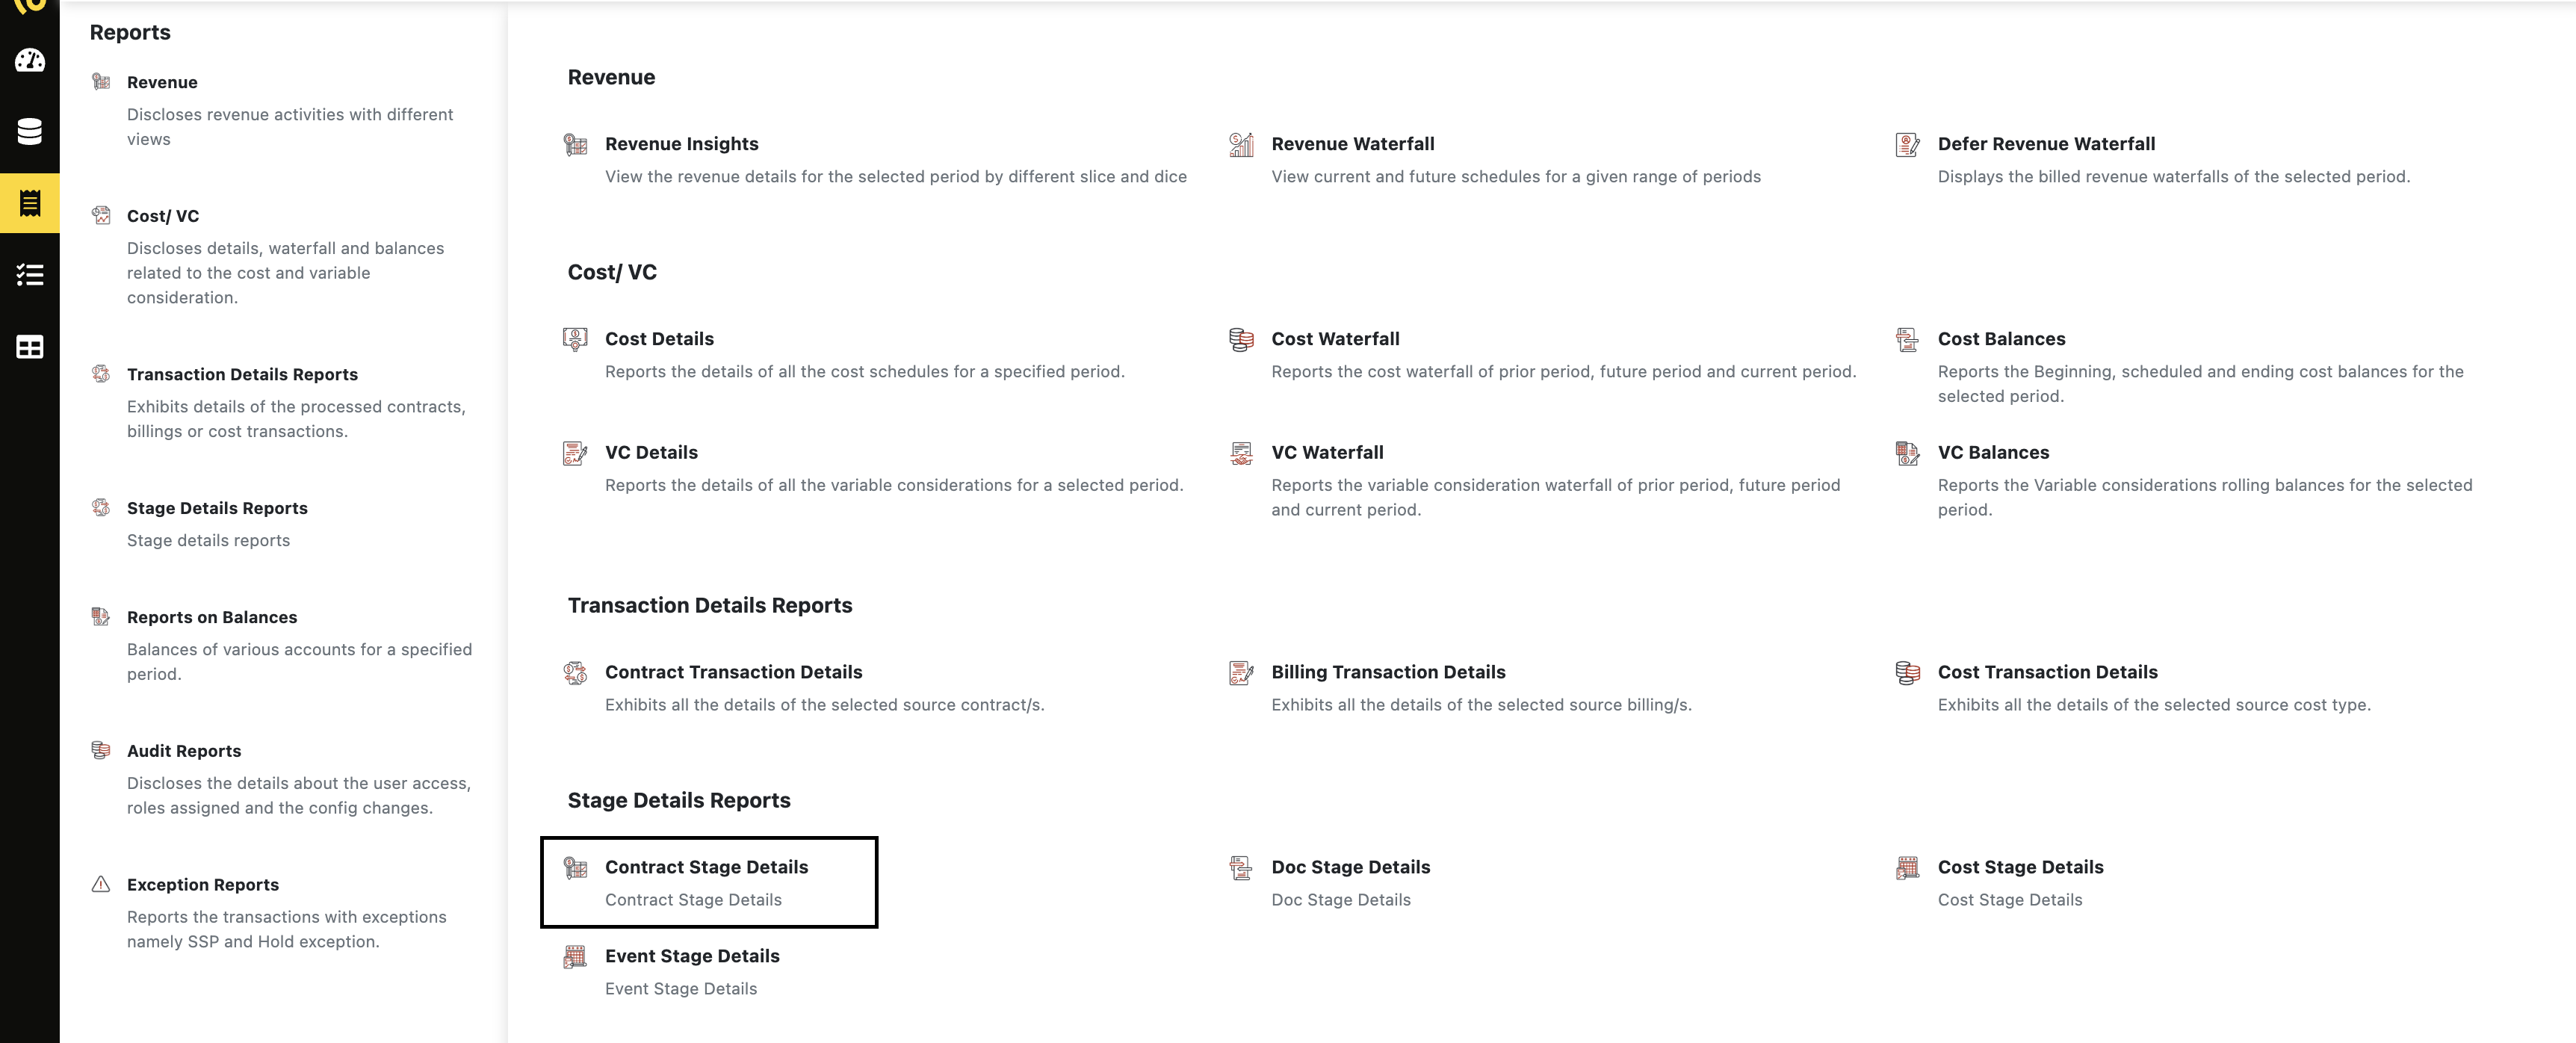
Run the contract stage report

Go to Reports → Contract Stage Report for the open period.

2

Run the documents stage report

Go to Reports → Documents Stage Report for the open period.

3

Resolve any errors

Verify there are no unprocessed transactions or errors for the current period.

Resolve errors before proceeding, or they won't be included in the closed period's numbers. For large datasets, download the reports to assist with troubleshooting.

Verification of exception reports

Next, clear both exception reports so nothing is unintentionally left out or held back.

SSP exception report
1

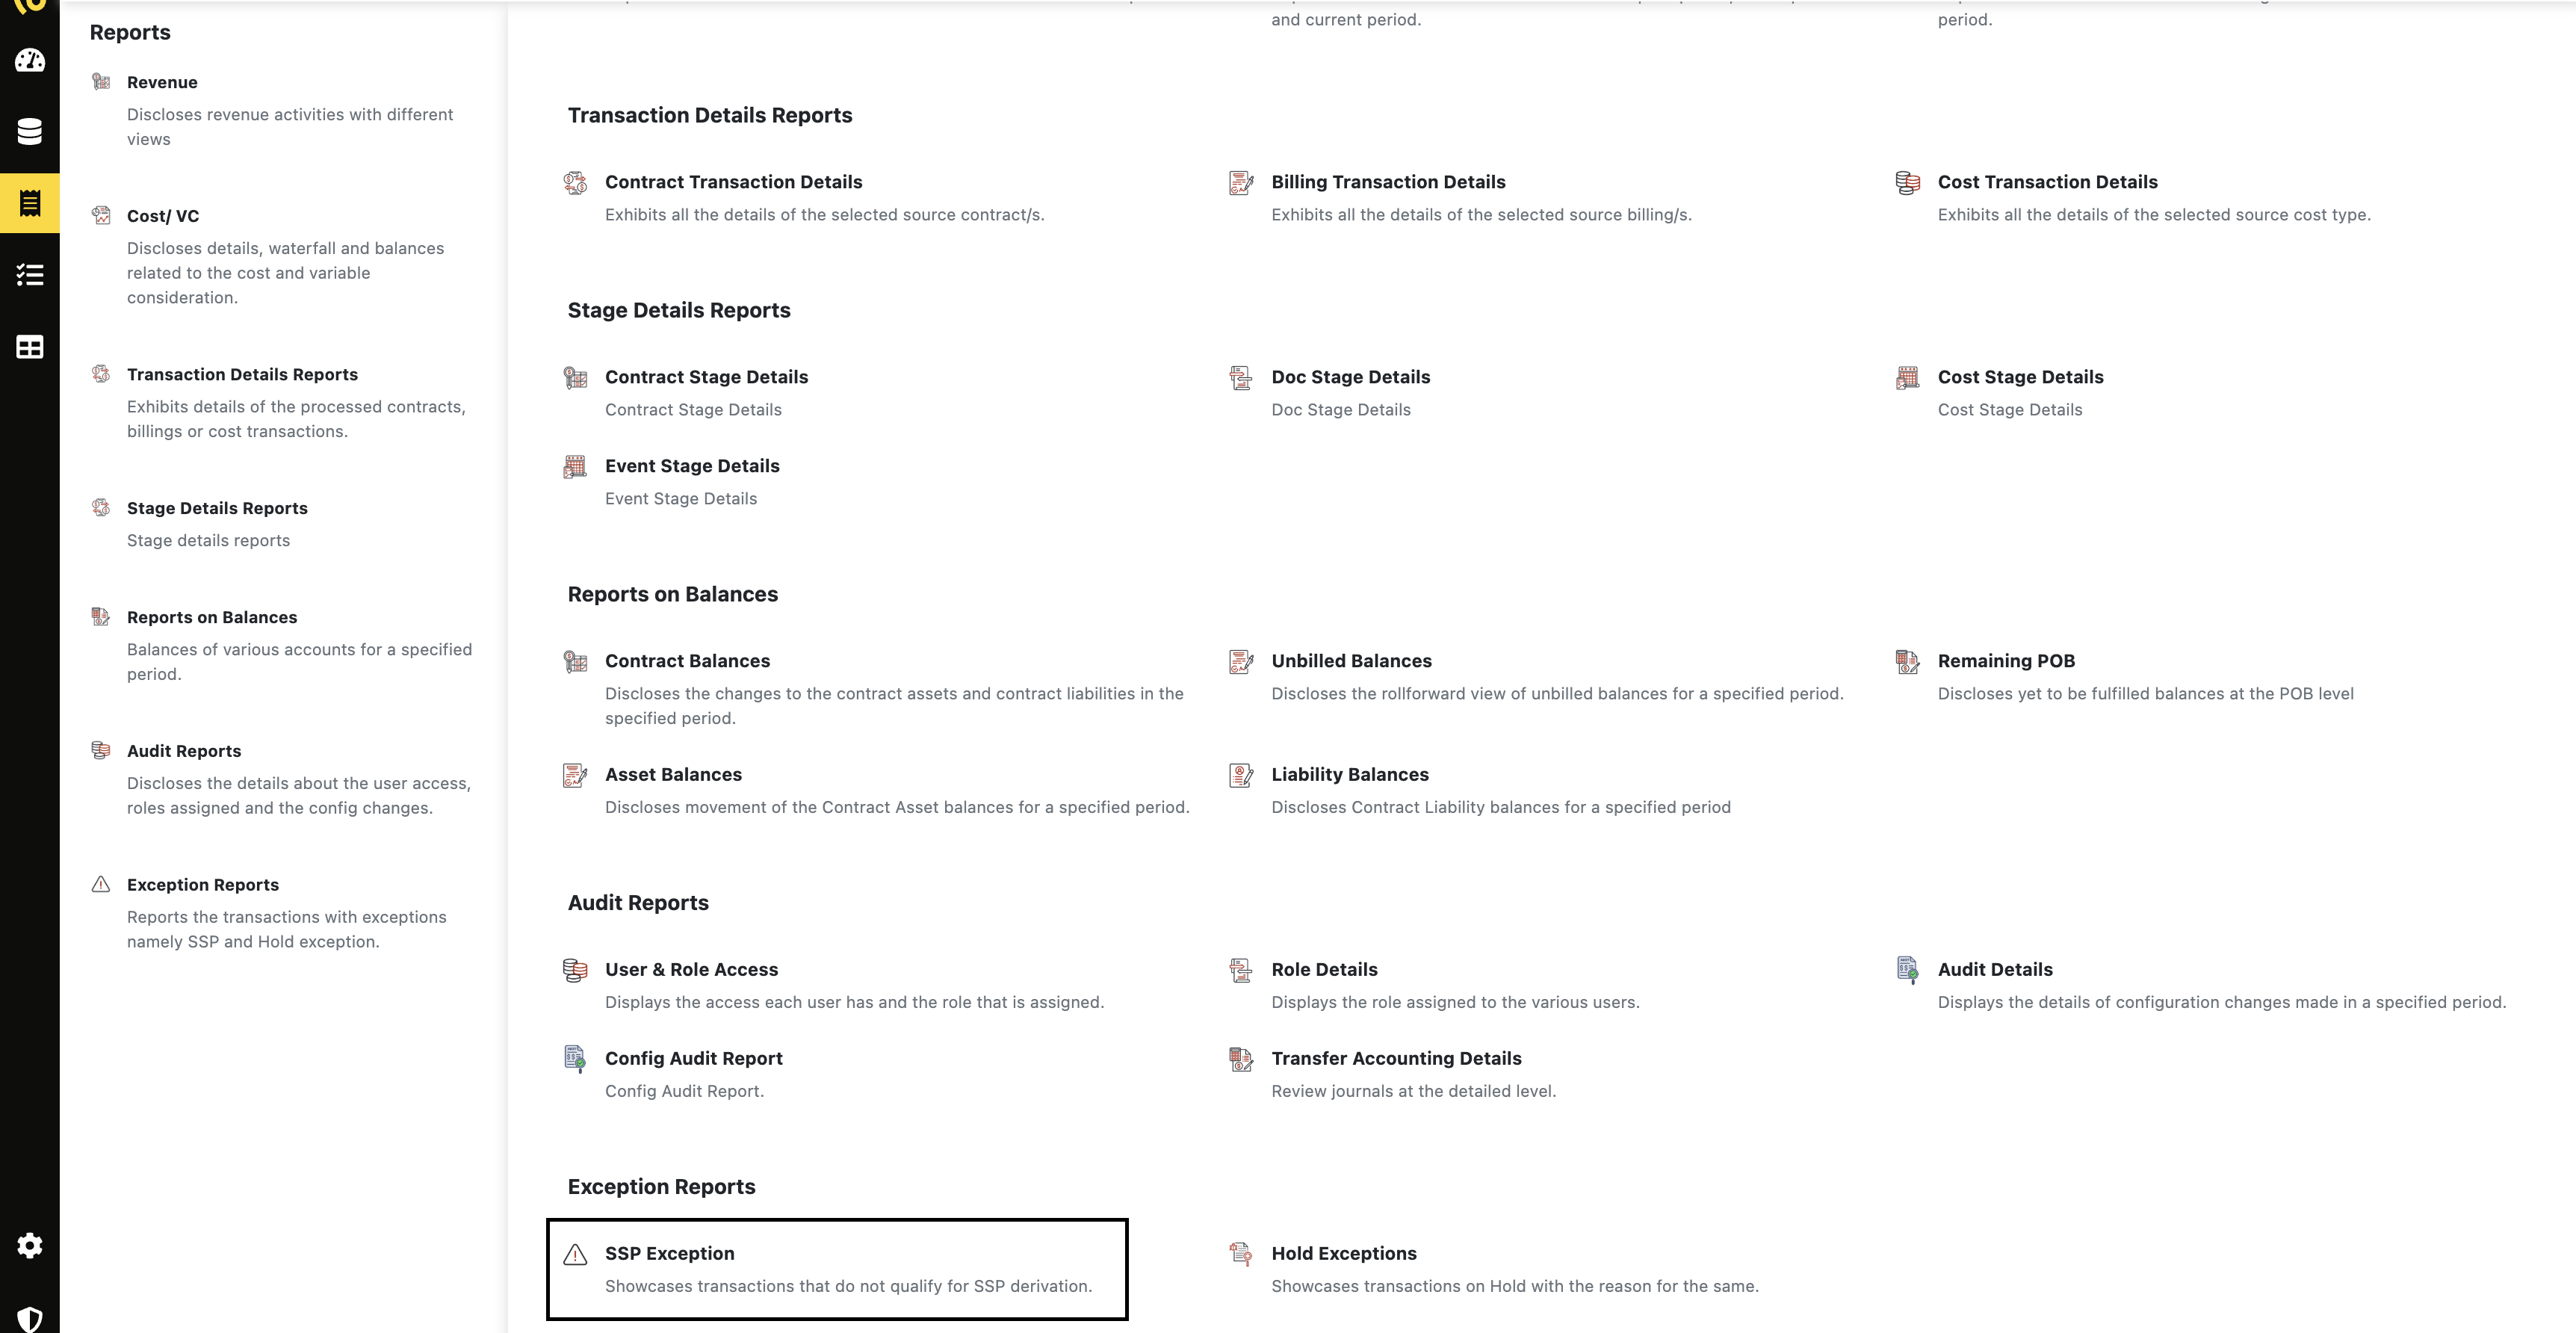
Open the SSP exception report

Go to Reports → Exception Reports and select SSP Exception.

Ensure no contracts that require Standalone Selling Price (SSP) allocation are listed. If a contract needs allocation, create a new SSP with an active date preceding the contract date, then re-run allocation using the Revenue Workbench.

Hold exception report
2

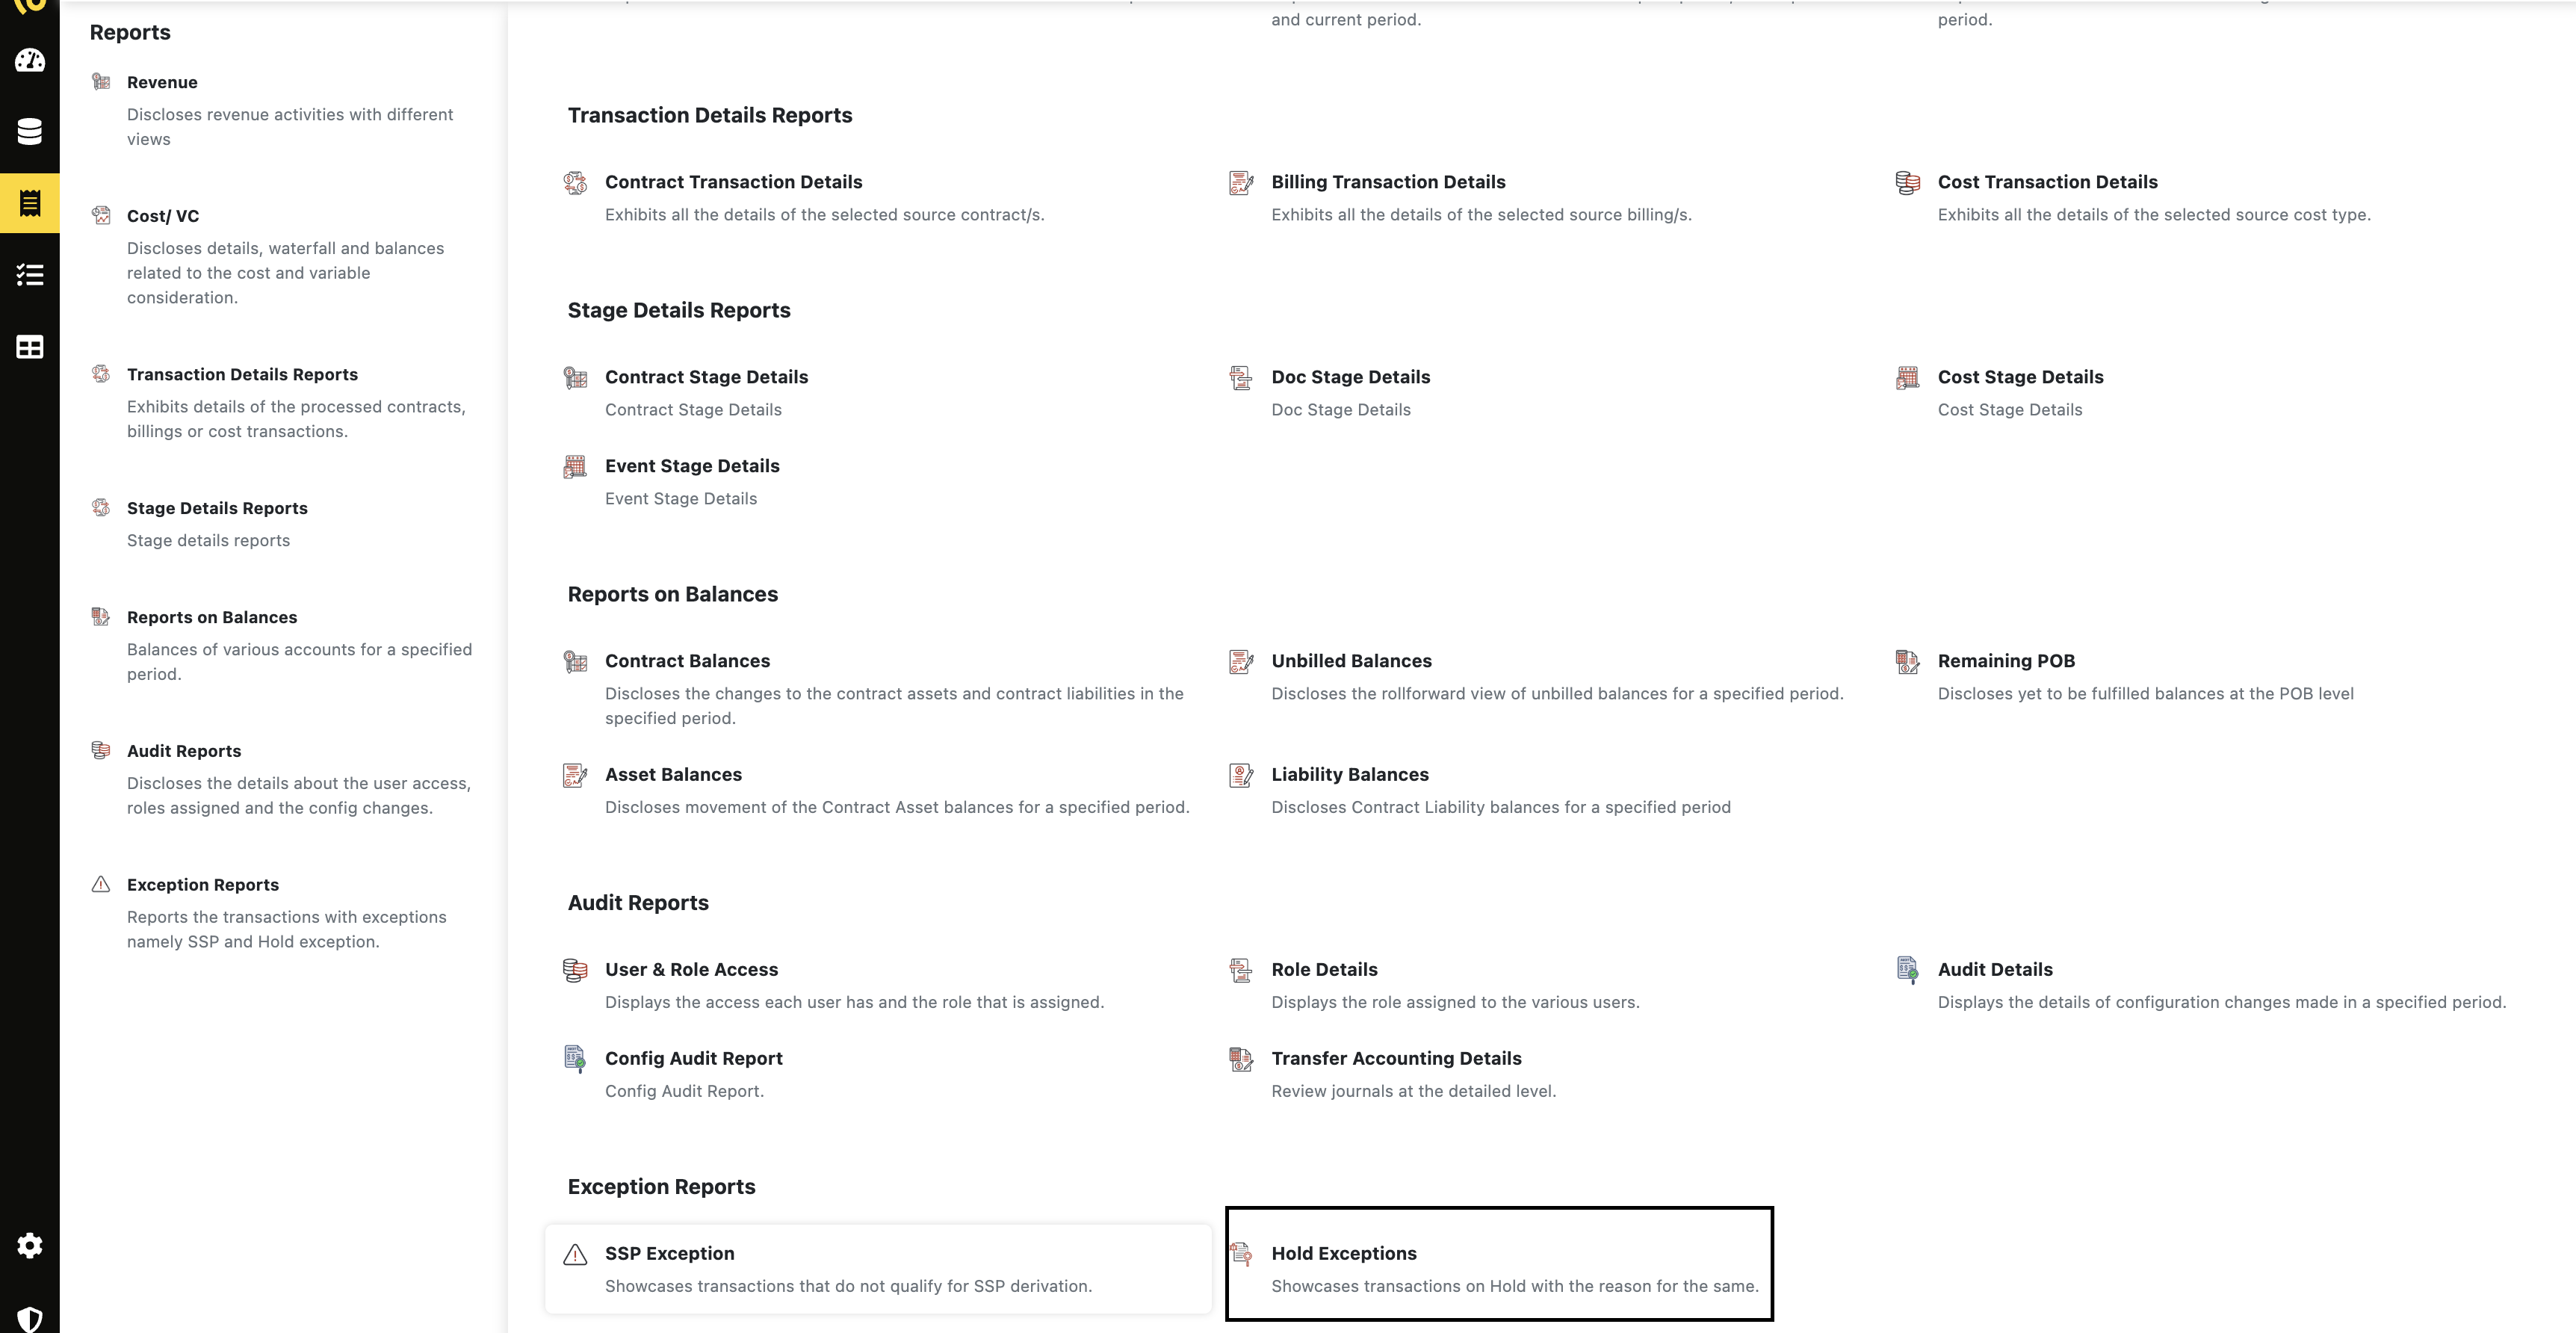
Open the hold exception report

Go to Reports → Exception Reports and select Hold Exception.

Confirm that any items on hold are meant to be on hold. If you need to remove a hold so revenue is recognized, open the contract in the Revenue Workbench and manually release the appropriate amount.

Reconciliation of reports

Now confirm your key reports agree with one another before touching journal entries.
1

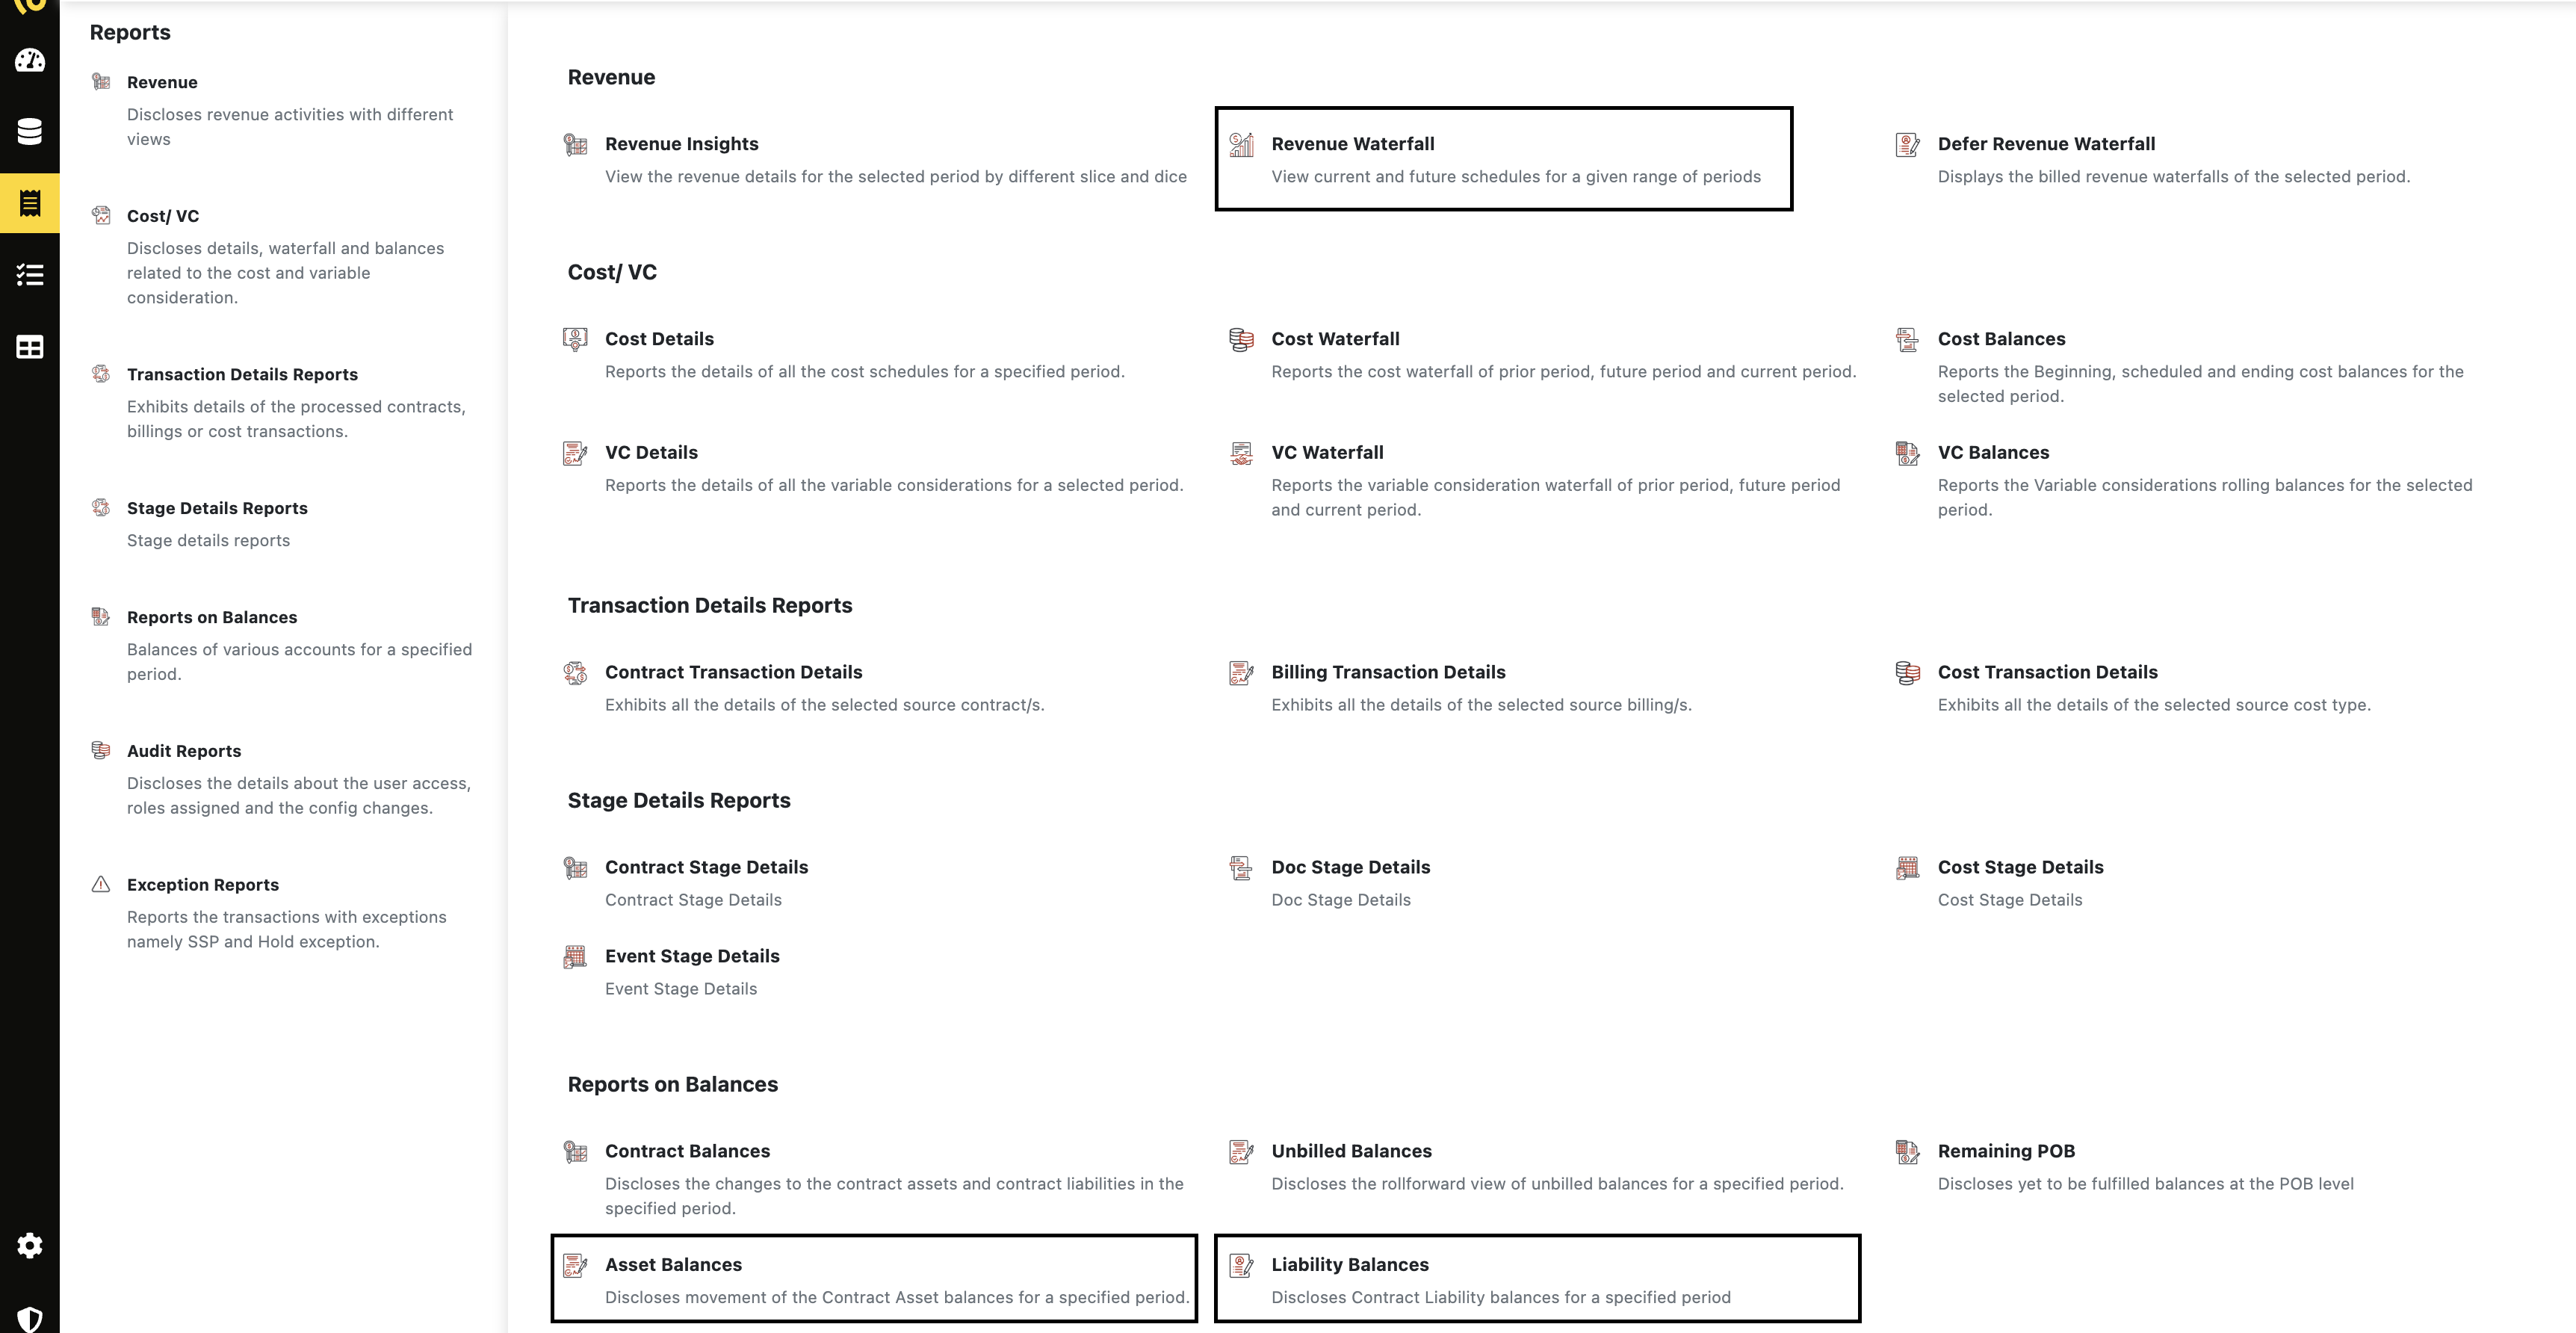
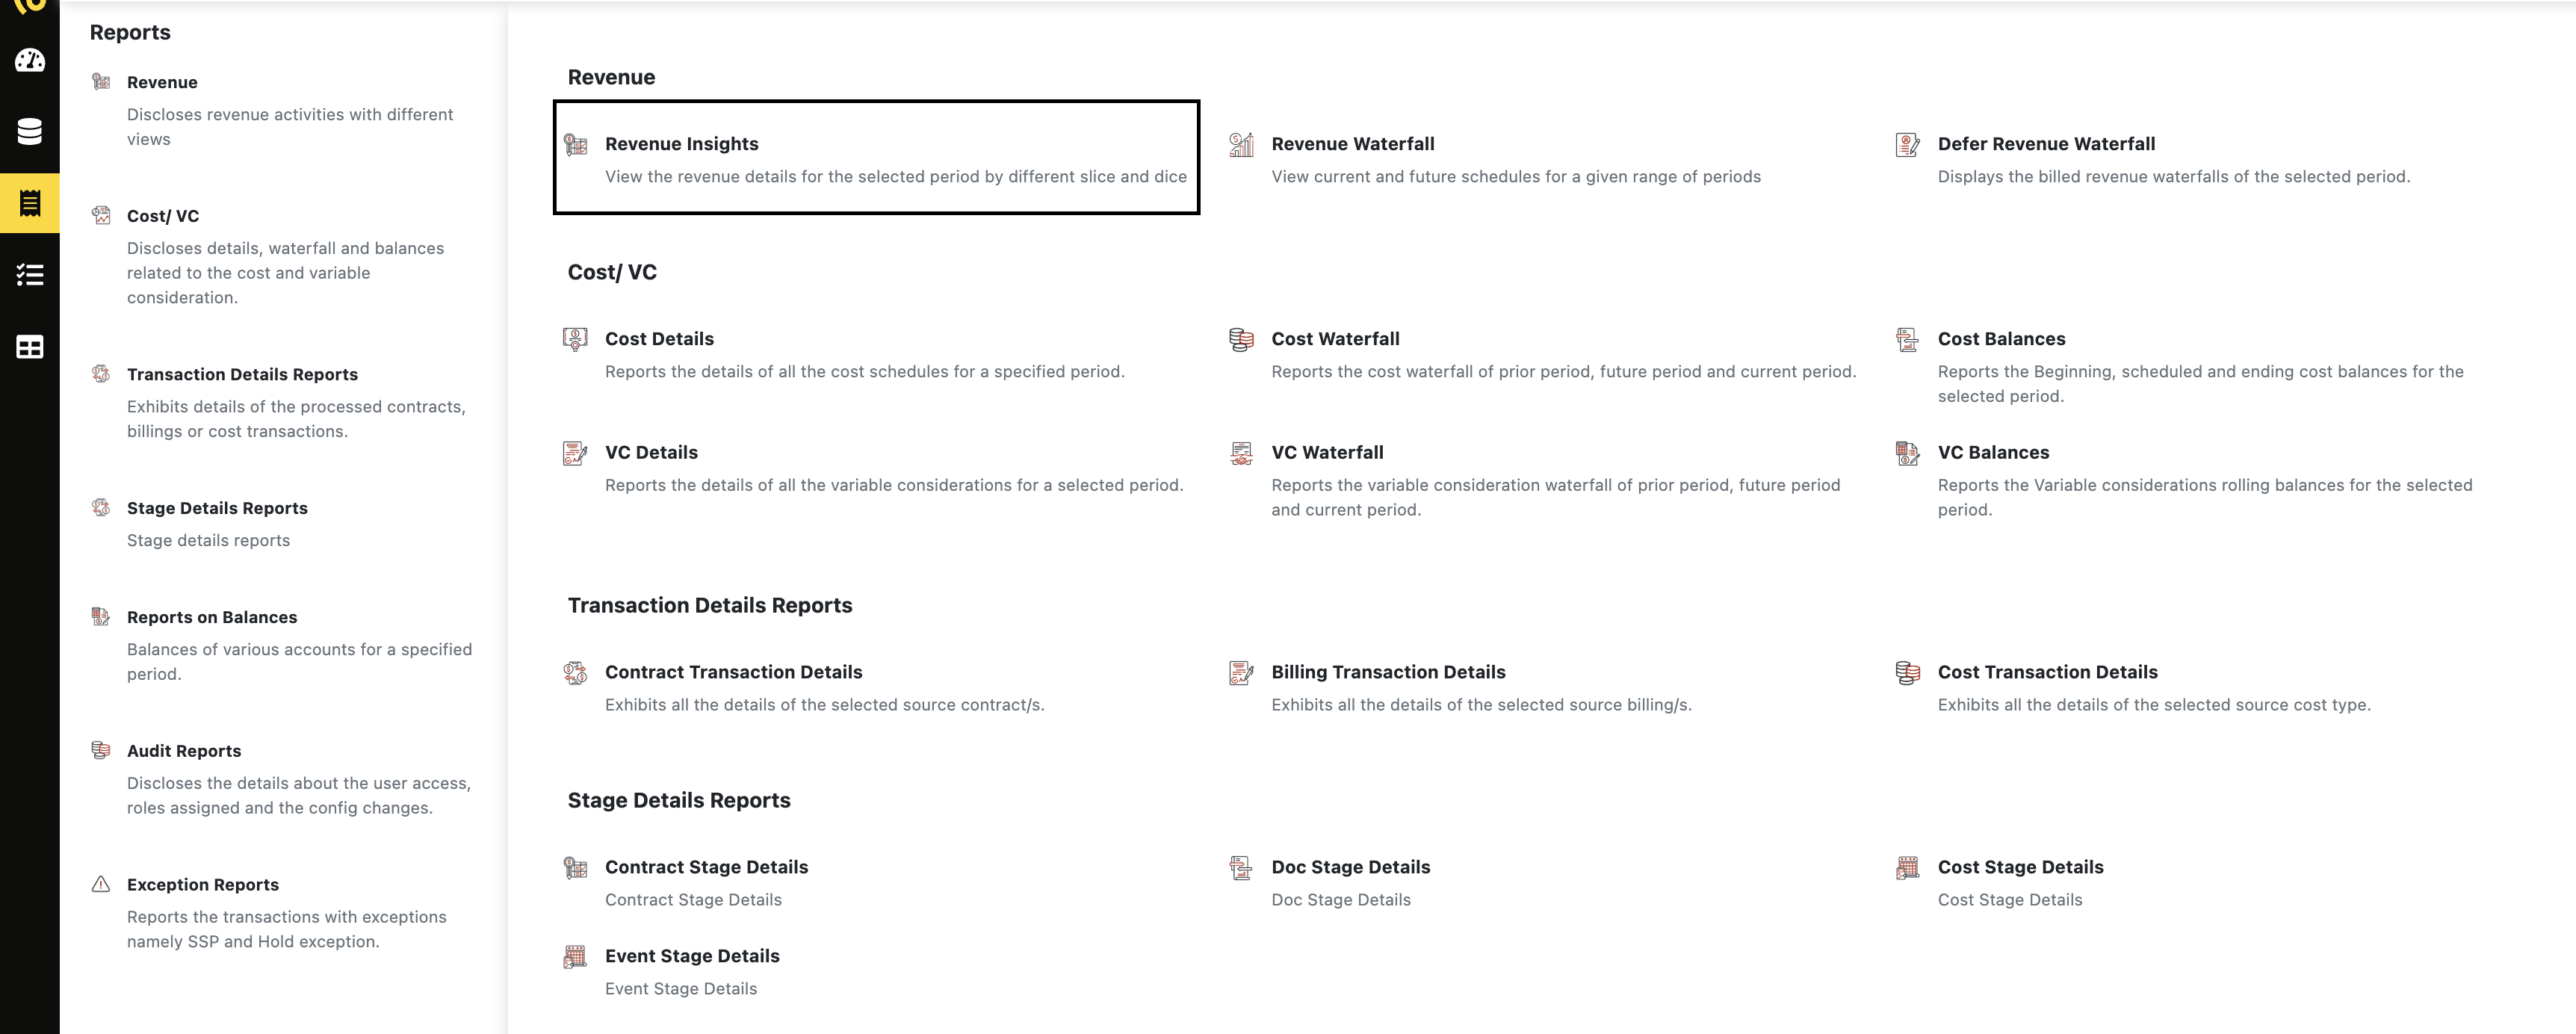
Run the balance and waterfall reports

Run the asset report, liability report, and revenue waterfall report for the period.

The sum of the scheduled columns in the asset and liability reports should match the total in the revenue waterfall for the period.
2

Run the revenue insight report

The scheduled balance in the revenue insight report should also match the revenue waterfall total.

Confirm these reports are aligned before proceeding.

Transferring journal entry

With everything reconciled, approve and transfer your journal entries to the general ledger.
1

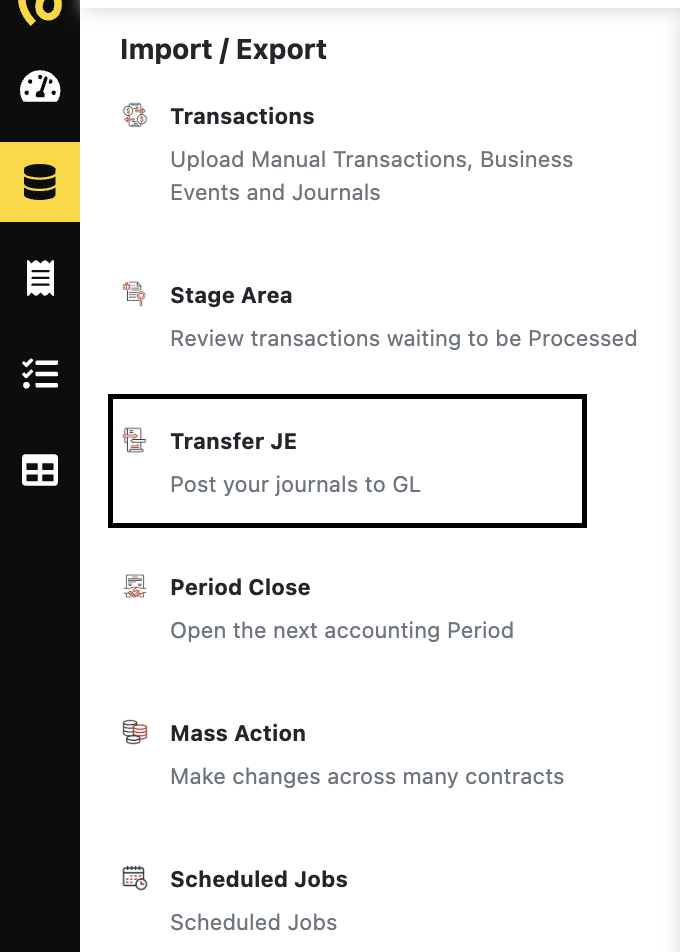
Open Transfer JE

Go to Import/Export → Transfer JE.

2

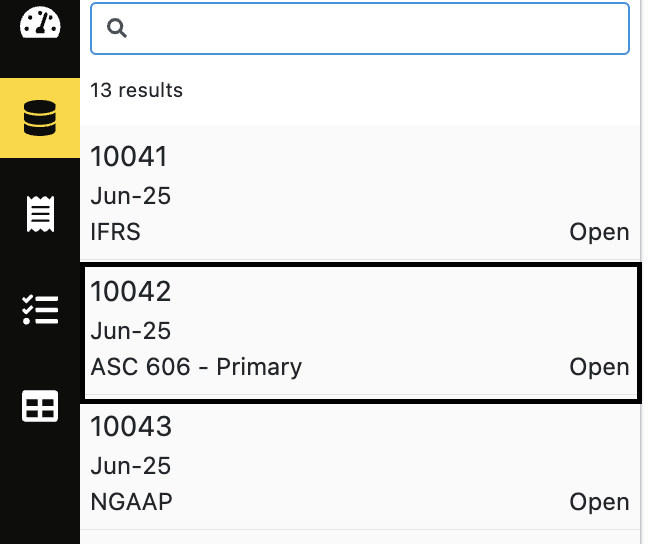
Approve the primary book journal for transfer

Select the journal card for the primary book, review the entries, and select Approve for Transfer. Then mark the journal as transferred.

3

Confirm the entries land in your accounting system

If you're pulling data via API, confirm it populates in your accounting system. If manual, download the journal entry and upload it based on your internal process.

4

Verify unaccounted balances are zero

Wait for the reports to refresh — it may take up to an hour for large datasets — then re-run the asset and liability reports. The Unaccounted columns should be zero before proceeding.

Closing the period

Finally, close the current period and open the next one.
1

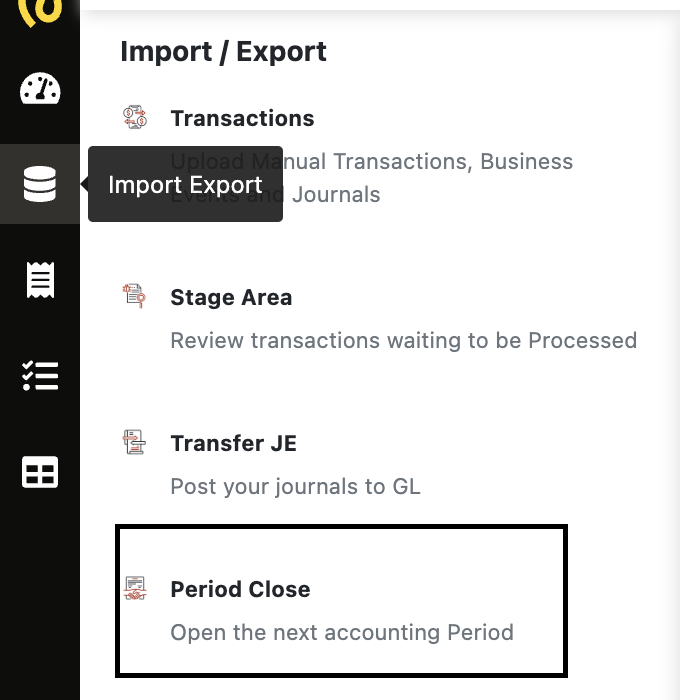
Open period close

Go to Import/Export → Period Close.

2

Open the new period

Select Open New Period (top right) and follow the prompts until the next period is open. Once closed, the system triggers new-period transactions to flow into RevRec.

NoteBefore opening the next period, ensure all unaccounted balances are zero. If you see any remaining items, investigate and resolve them first.


Did this page help you?