Bundles
Recurly Commerce Bundles allow customers to curate their own selection of products from a pre-defined collection.
Overview
Video
Definition
Bundles empower your customers to build their own bundle from a curated selection of your products. By offering a personalized shopping experience and the convenience of all-in-one shipping, you create a high-value offer that increases your Average Order Value (AOV).
Bundle types
Recurly Commerce supports two pricing models for Bundles:
| Fixed Price | Flexible Price | |
|---|---|---|
| Best for | Any "3 items for $50" style promotions. | Upselling premium items within a custom box. |
| Pricing Logic | Price is defined by the Shopify Bundle Product and does not change based on the selected contents. | Price is the sum of the individual products selected by the customer. |
Key benefits
- Pricing Flexibility: Choose between fixed or flexible pricing to best suit your business requirements.
- Custom Constraints: Control the size of the bundle and set limits on specific products to manage fulfillment and inventory.
- Boost Average Order Value (AOV): Encourage customers to add more items to their cart through a curated, guided experience.
- Product Discovery: Introduce customers to unique or slower-moving products by including them in a bundle collection.
Key details
Set up Recurly Commerce Bundles in your Storefront
To use Recurly Commerce Bundles, begin with adding a new template to your Online Store.
Create a New Product Template
- Open the theme editor
- From your Shopify admin dashboard, navigate to Online Store > Themes.
- Locate your current theme and click Edit theme.
- Access the Product templates
- Select Home page at the top of the editor.
- Select Products from the list.
- Create a new template.
- Click + Create template.
- In the Based on dropdown menu, select Default product , then set the name to "commerce-bundles". Select Create template to save your changes.
Configure the Template Layout
- Clear your product page
To ensure a clean setup, start by hiding any existing sections currently on the page. This allows you to build the layout from scratch without visual clutter. - Add the Commerce Bundle App
- Locate the Template area (situated between the Header and Footer).
- Click Add section.
- In the section modal, navigate to the Apps tab.
- Select Commerce Bundle Builder.
- Adjust Theme Settings
To ensure the best user experience, navigate to your Theme settings and disable the Reveal sections on scroll option. This creates a smoother visual transition as customers interact with your product page.
Note: If this is your first time using Recurly Commerce, please remember to also add the Commerce Subscriptions Widget to your layout to ensure all features function correctly.
Adjust Display Settings
Depending on the Shopify theme you are using, you may need to adjust the layout to ensure the Bundle Builder displays correctly.
- Select the Section: In the left-hand sidebar of the theme editor, click on the Commerce Bundle App section you just added.
- Configure Dimensions (Optional): Locate the Size settings in the side panel and apply the following:
- Set Width to Full.
- Set Height to Full screen.
- Save your changes: Click the Save button in the upper right-hand corner of the screen to apply your changes.
Once your storefront is saved, you can create your bundle products and collections within Shopify.
Set up bundle products in Shopify
To power a Bundle in Recurly Commerce, you must first set up a Parent Product (the bundle) and a Collection (the items inside) within Shopify.
Creating the Parent Product
The Parent Product acts as the "container" for your bundle. This is the primary SKU that customers will see in their cart and checkout.
- Create the Bundle Product
Follow the standard Shopify process to add a new product. - Set the Pricing
Your pricing strategy depends on the type of bundle you are offering:- Flexible Price Bundles: Set the price to $0. The final cost will be automatically calculated based on the individual items the customer selects.
- Fixed Price Bundles: Enter the specific total price you wish to charge for the entire bundle.
- Using Variants
You can add variants (e.g., Small, Medium, Large) to the Parent Product for both fixed and flexible bundles.- Configuration: During setup in Recurly Commerce, you can define specific product counts for each variant.
- Constraint: Only one level of variants is supported. Nested variants (multiple options like Color and Size) will not function within Commerce Bundles.
- Inventory Management
If you track inventory on the Parent SKU, the bundle's availability is tied to that stock level:- If inventory is 0 and "Continue selling when out of stock" is disabled, the bundle will automatically be disabled on your Product Detail Page (PDP).
Creating the Bundle Collection
The Bundle Collection serves as the library of items your customers can choose from to populate their bundle.
- Add products to your collection
Create a new collection and add the individual products you want to offer within the bundle- Need help? See the Shopify Collection Guide for step-by-step instructions.
- Choose your collection type
You can use either manual or automated collections, but please keep the following logic in mind:- Manual Collections: Recommended for full control. These work immediately "out of the box."
- Automated (Smart) Collections: These are supported; however, the Commerce logic only recognizes standard product fields (such as Product Type, Tag, or Price).
- Note: Custom metafields cannot be used as conditions for automated bundle collections.
Create a bundle in Recurly Commerce
Once your products and collections are ready in Shopify, follow these steps to build your bundle in Recurly.
- Initiate the Bundle Setup
- Open Recurly Commerce and navigate to the Bundles tab.
- Select + Create Bundle.
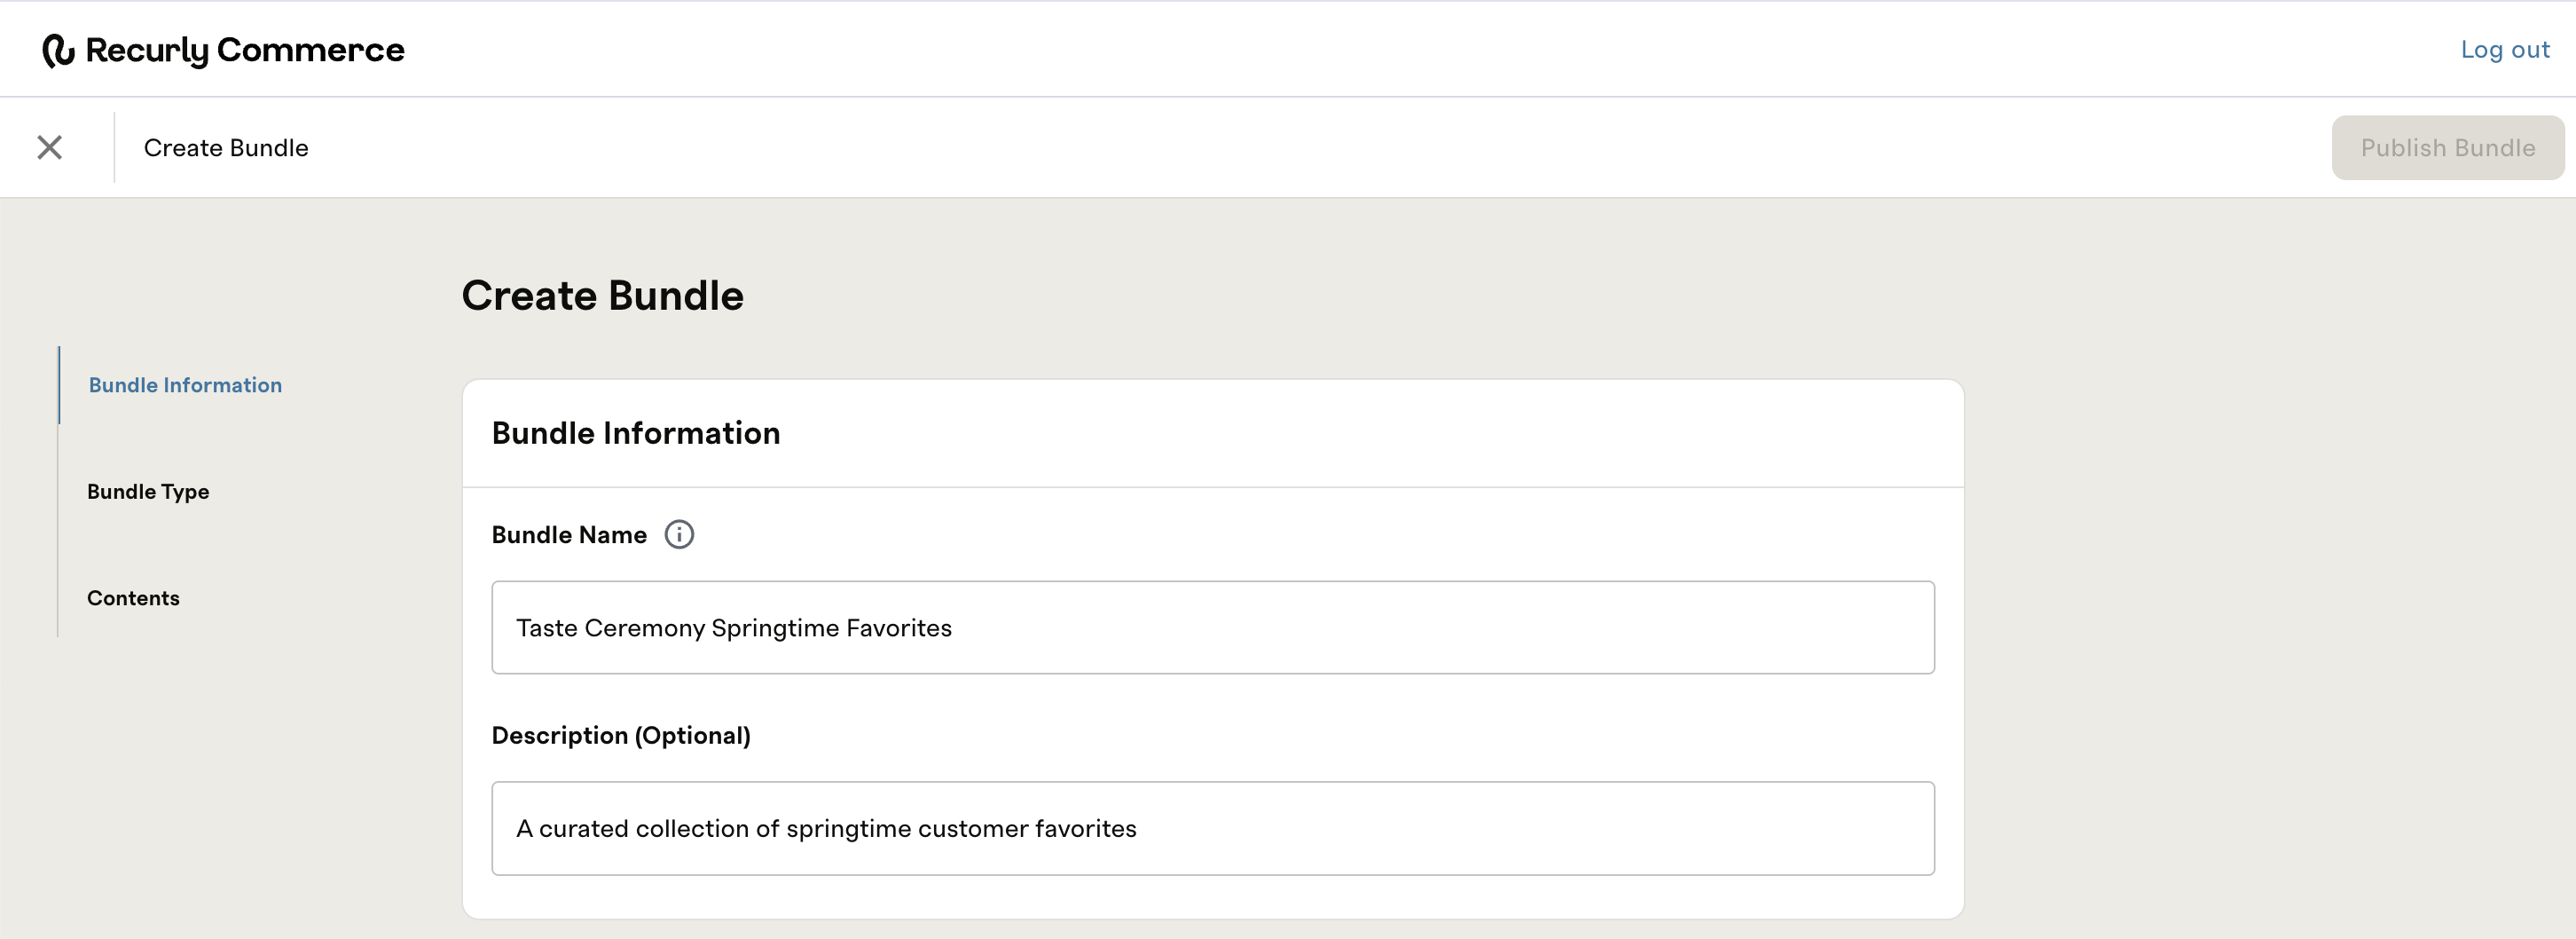
- Internal Details: Enter a Name and Description. These are for your internal organization only and will not be visible to customers.
-
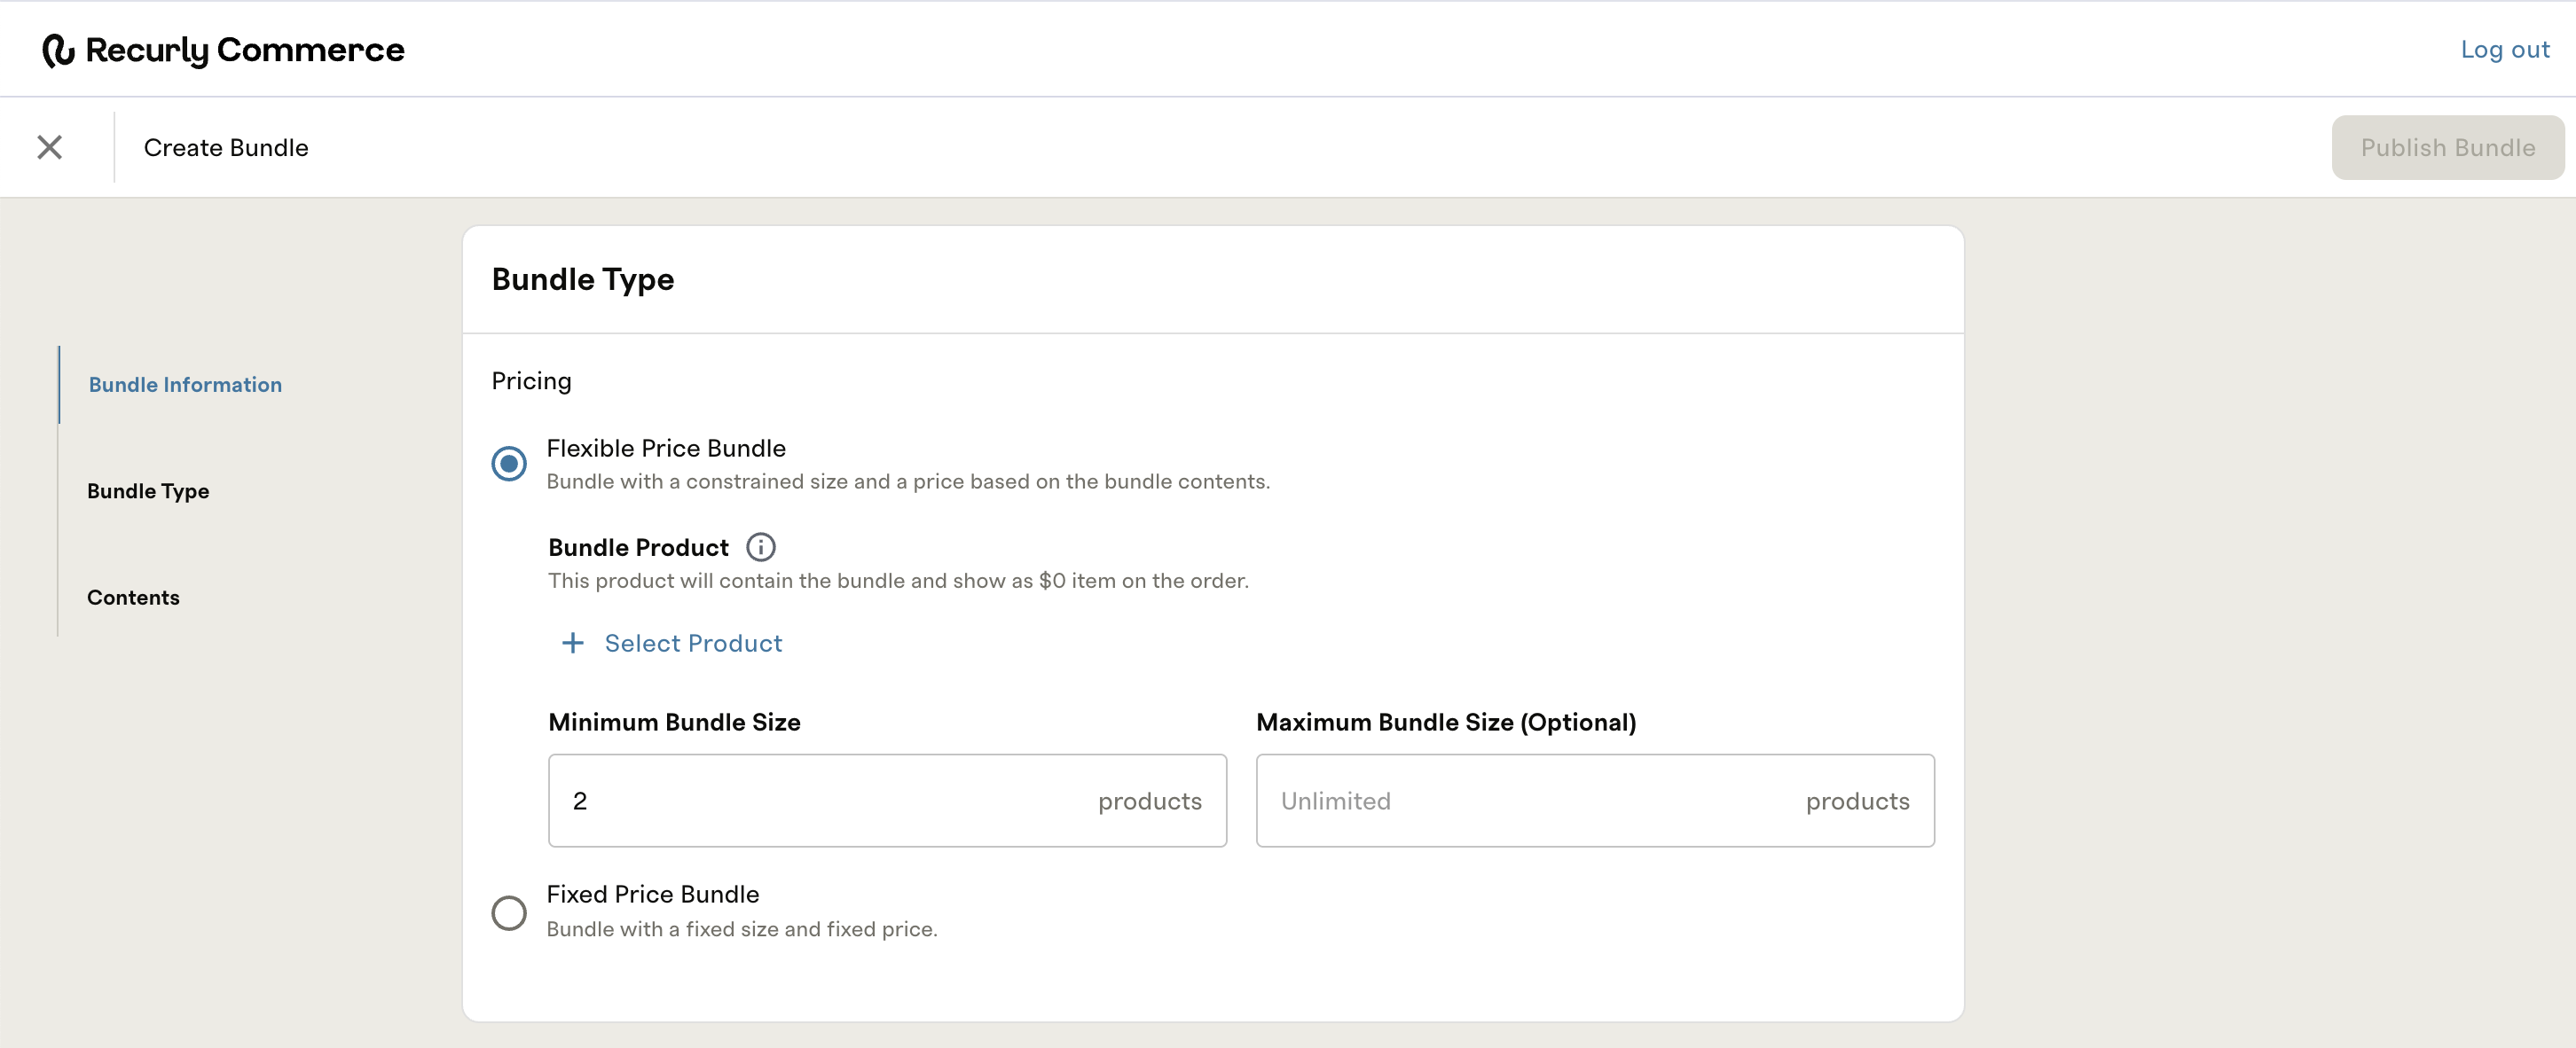
Choose Your Bundle Type
Select the pricing logic that matches your business model:- Flexible Price Bundle: The total price is calculated dynamically based on the specific items the customer adds to their cart.
- Fixed Price Bundle: The total price is pulled directly from the Parent Product price you set in Shopify.
-
Link Your Shopify Product
Click + Select Product and choose the Parent Product you created in Shopify.
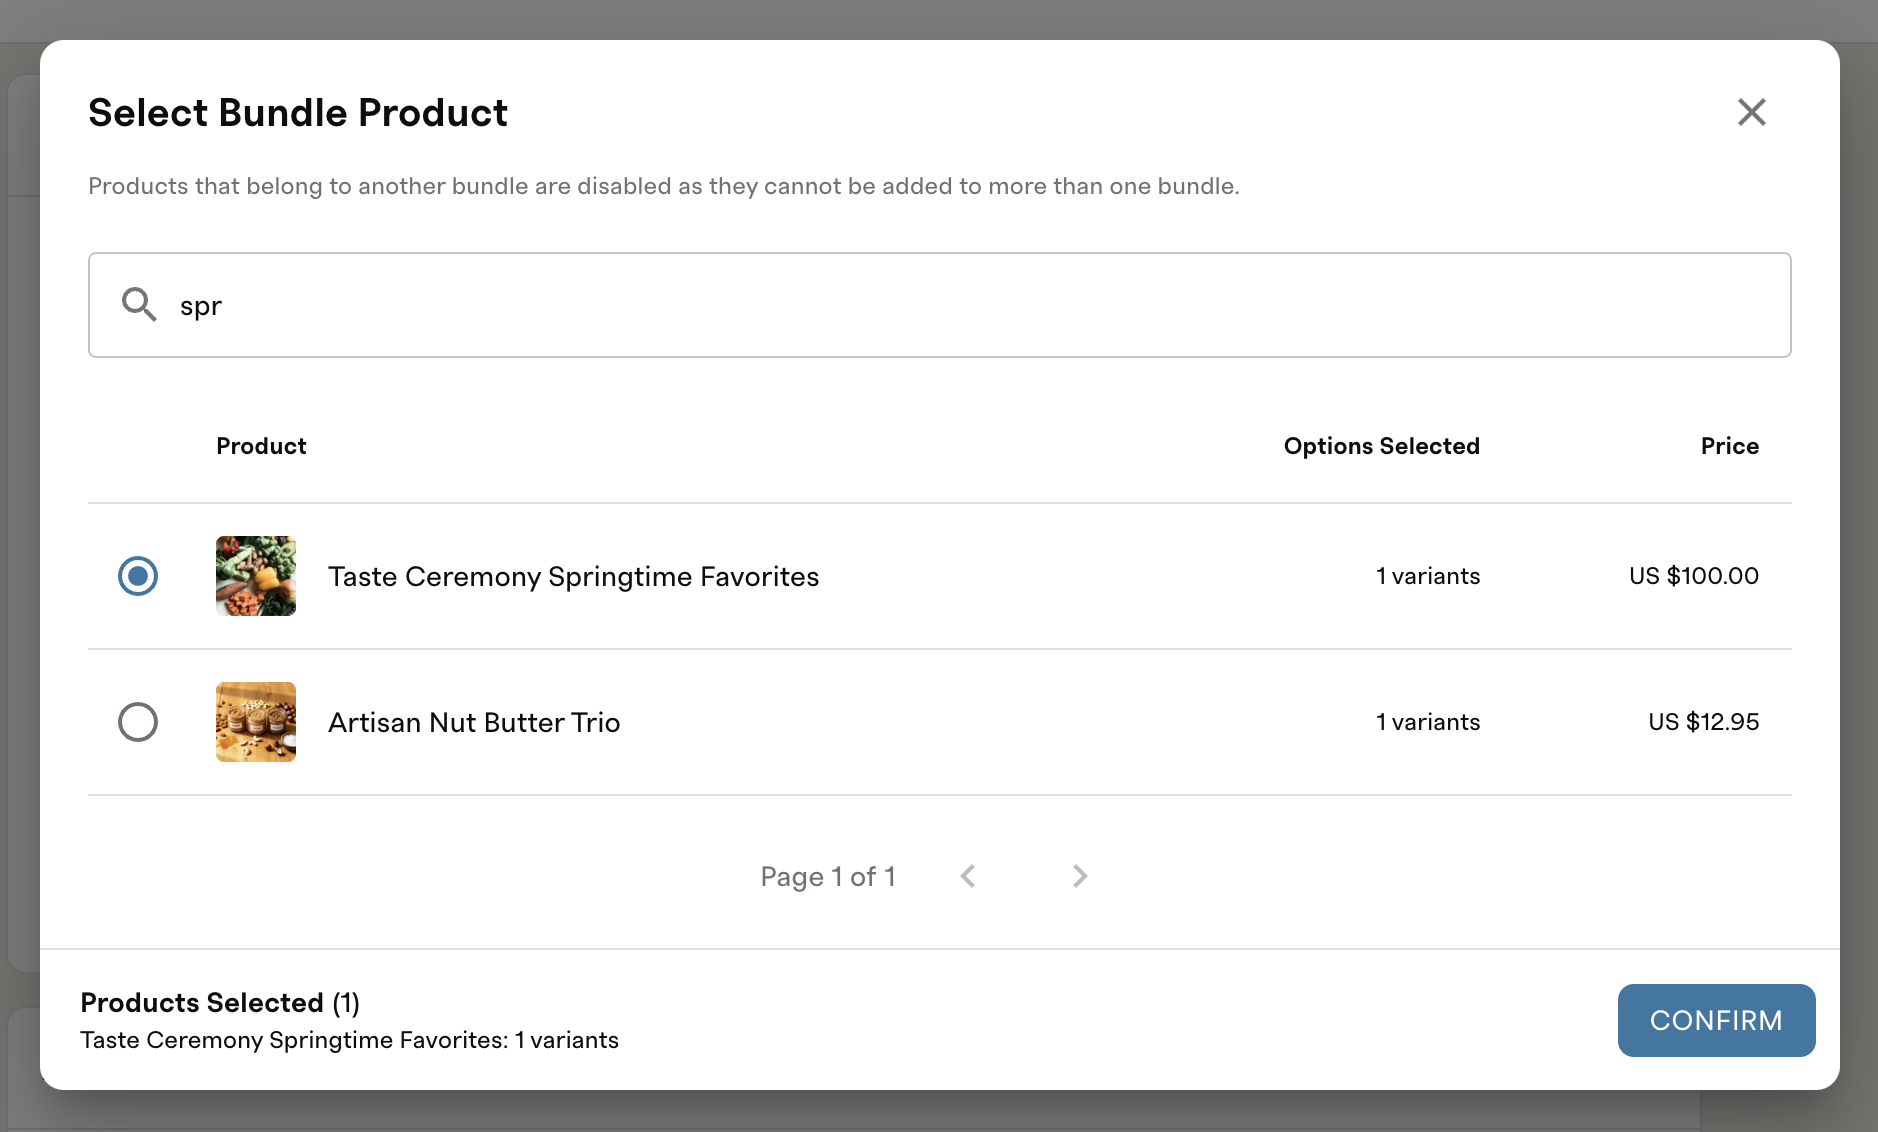
One Product per Bundle: A Shopify product can only be linked to one bundle at a time. If a product is already assigned to another bundle, it will not appear in the selection list.
- Complete the bundle type configuration.
- If offering a flexible bundle, set the minimum and maximum size by entering the number of products allowed. If no maximum is set, it will default to unlimited.
- If offering a fixed bundle, set the bundle size by variant. In the example above, a small could have 2 products, while a large could allow a customer to select 6.
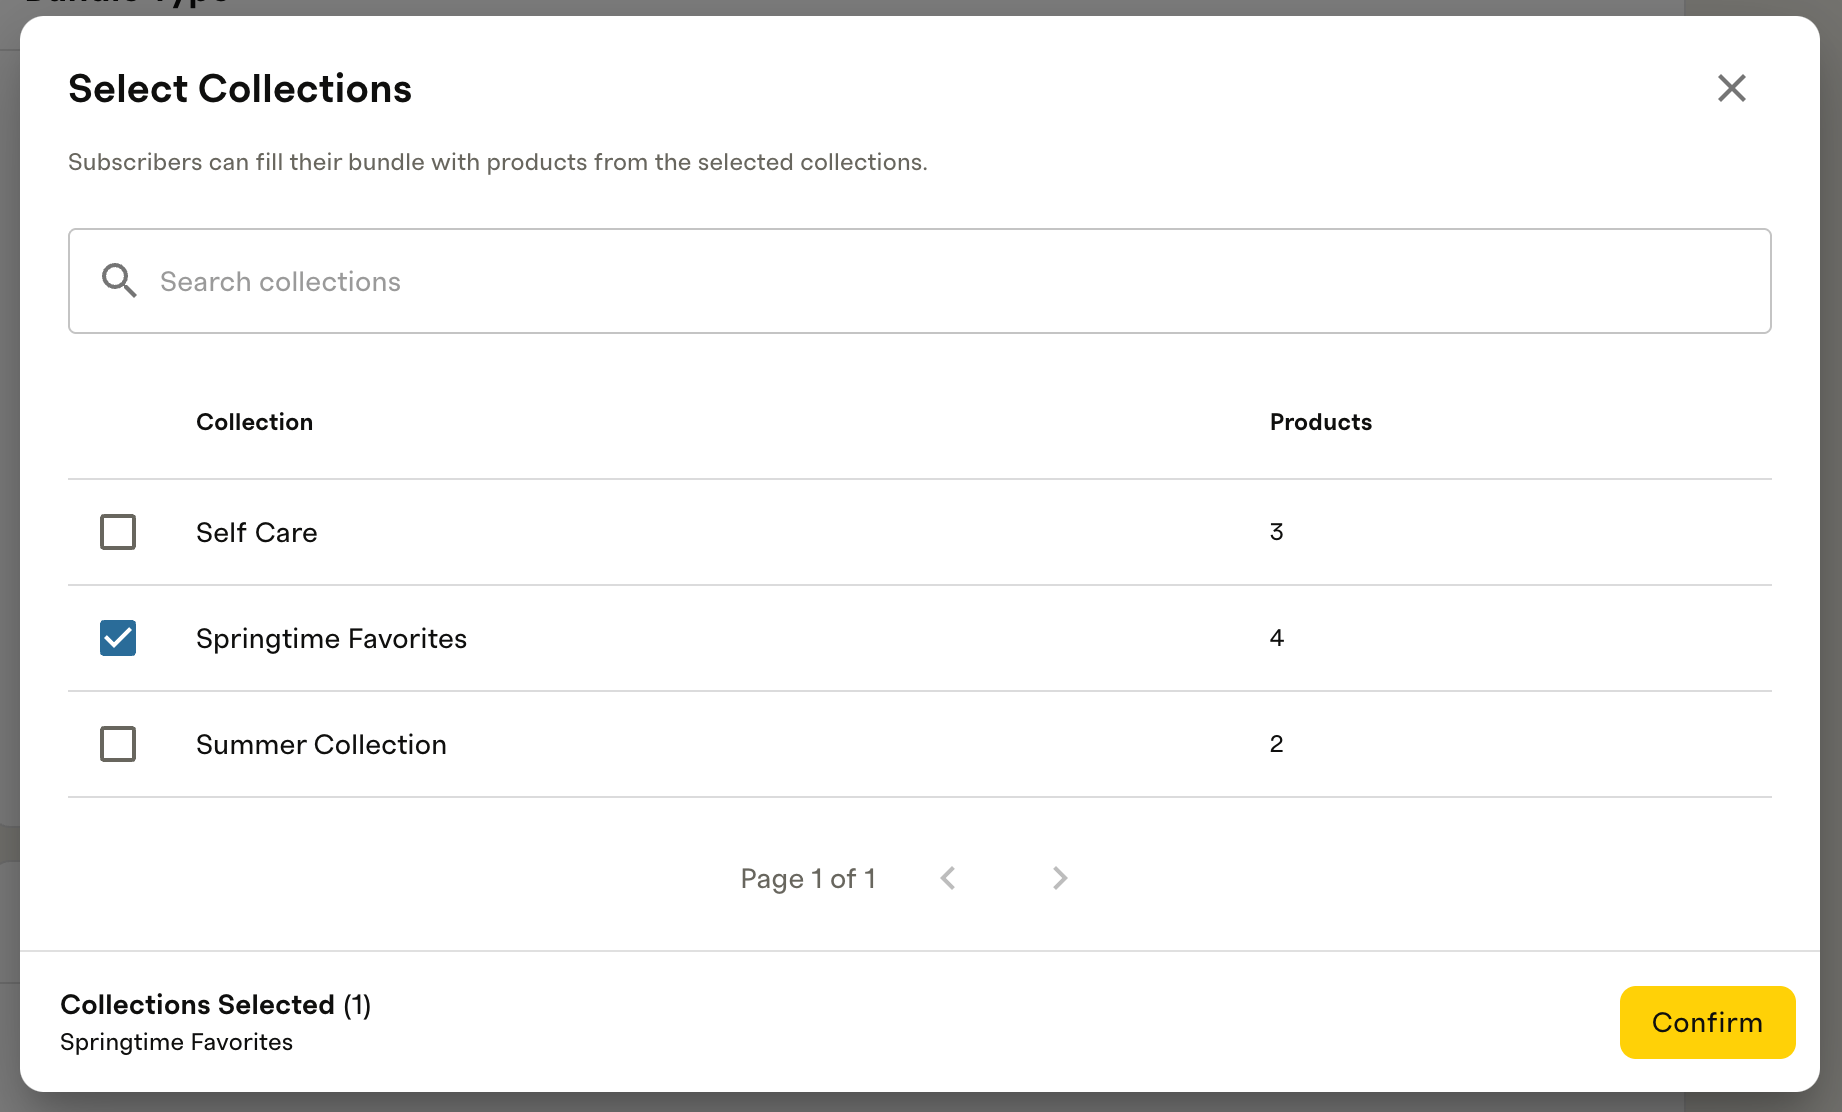
- Define Bundle Contents
Select the Shopify collection you created previously. This populates the bundle with the specific items your customers can choose from.
- Set Single Product Limits (Optional)
You can enforce a Single Product Limit to prevent customers from adding too many of the same item to a single bundle (e.g., "Max 2 of any specific flavor").
Creating a Subscription Plan for your Bundle
Now that your Shopify components and Commerce Bundle are configured, you can wrap them into a subscription offer.
-
Create the Subscription Offer
- Navigate to Subscription Plans in Recurly Commerce.
- Click + Create Offer
- Internal Information: Enter the Subscription Offer Group Name and Description. Like the bundle settings, these are for internal tracking and are not visible to customers.
-
Attach Your Bundle Product
- Click Add Product and select the Parent Bundle Product you created in Shopify.
- Click Confirm.
Note: Bundle products must stand alone on subscription plans. You cannot add additional, non-bundle products to the same subscription plan.
-
Configure Purchase Options
Bundles currently support two purchase models on subscription plans:- One-time purchase: A single, non-recurring sale.
- Subscribe & Save: A recurring subscription with optional discounted pricing.
-
Customize the Subscription Experience
Configuring your plan with the following:- Swaps & Add-ons: Define which products customers can swap in the future.
- Discounts: Apply special pricing based on order frequency or item quantity.
- Shipping: Enable Free Shipping for this specific offer if desired.
- Contract Terms: Set specific contract terms (e.g., a 3-month minimum commitment).
- Cancellation Flow: Define the steps or retention offers a customer sees if they attempt to cancel.
-
Go Live
Once you have reviewed your settings, click Publish Offer in the upper right-hand corner. Your bundle is now live and ready for customers!
Frequently Asked Questions
Gifting & General Features
- Can customers gift a bundle subscription? Yes! Bundles are fully compatible with gifting. To enable and configure gift options, please contact our support team at [email protected] for assistance with the setup.
- Can customers pause a bundle subscription? Yes, if you have enabled the Pause Subscription feature in your Customer Portal settings, customers can pause their bundles. All standard pause logic (duration limits, resume dates, etc.) applies.
Product Swaps & Pricing
- Can customers swap products within their bundle? Yes, customers can swap individual items for any other item within the approved Shopify collection.
- Fixed Price Bundles: The price remains the same regardless of the items chosen. However, if a customer changes their bundle size (e.g., upgrading from a Small to a Large), they will be charged the price associated with that new variant.
- Flexible Price Bundles: The customer will be charged the total price of the new items they have selected.
Can customers include add-ons with their bundle? Yes, customers can add both subscription and one-time add-ons. These are configured during the Subscription Plan setup and will be billed alongside the bundle.
Inventory & Stock Issues
What happens if a product in the collection goes out of stock for new customers? Recurly Commerce syncs with Shopify inventory. If an item reaches zero stock, it is automatically labeled "Out of Stock" in the storefront widget to prevent a customer from selecting that item. It will automatically be available for selection once inventory is replenished in Shopify.
What happens to active subscriptions if a product goes out of stock? If a product becomes unavailable for an existing subscriber, Recurly Commerce can trigger an automated notification. This alert prompts the customer to manage their subscription and select a replacement item before their next renewal.
Still need help?
If you have additional questions or need assistance with your setup, please contact our support team at [email protected].
Updated 3 months ago