Actions
Overview of prompt actions—triggered events tied to user interactions, built-in connectors, and custom integrations in Recurly Engage.
Overview
Required plan
This feature or setting is available to all customers on any Recurly Engage subscription plan.
Prerequisites & limitations
- You must have Company, App Administrator or App member permissions in Recurly Engage.
- For connector actions, you must supply third-party credentials.
- Website actions require custom JavaScript knowledge.
Definition
An action is a task executed when a user interacts with a prompt (Accept, Decline, Secondary Accept, Dismiss, or Timeout), enabling personalized flows and integrations.
Key benefits
- Custom workflows: Chain multiple actions—redirects, emails, API calls—on a single interaction.
- Seamless integrations: Connect to billing, marketing, or support systems with prebuilt connectors.
- Immediate responses: Trigger website JS actions for in-app behavior without page reloads.
Key details
User interactions
Actions can be tied to any of these five prompt events:
- Accept: User clicks the primary button.
- Secondary Accept: User clicks the secondary button (if configured).
- Decline: User clicks a Decline option.
- Dismiss: User closes the prompt via the X icon.
- Timeout: Prompt auto-closes after a timer.
Use the two buttons (Accept/Decline) for complementary actions, such as “Sign me up” on Accept and “Add to watchlist” on Decline.


Configure actions on a prompt
One or more actions can be attached to each interaction. For example, you might apply a discount via API and then send a confirmation email upon Accept.
Built-in actions
Available by default on every prompt:
- Send an email: Dispatch an email to a specified address on Accept.
- Send an SMS: Send an SMS to a specified number on Accept.
- Redirect the user: Navigate the user to a URL when they accept.
Connector actions
Integrate with external systems—billing, CRM, support—using prebuilt connectors. Supply credentials in Settings > Connectors before use.
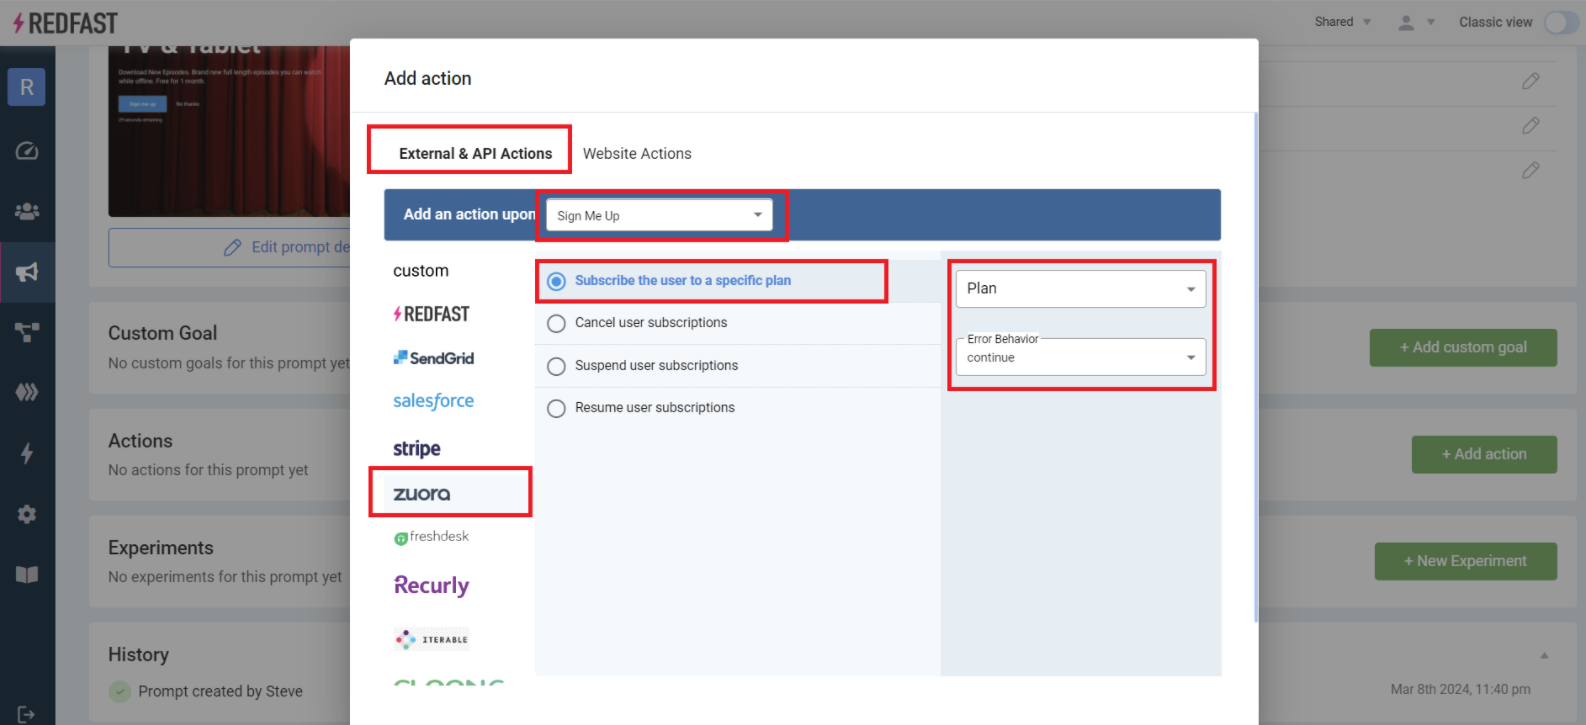
Step-by-step: Adding a connector action
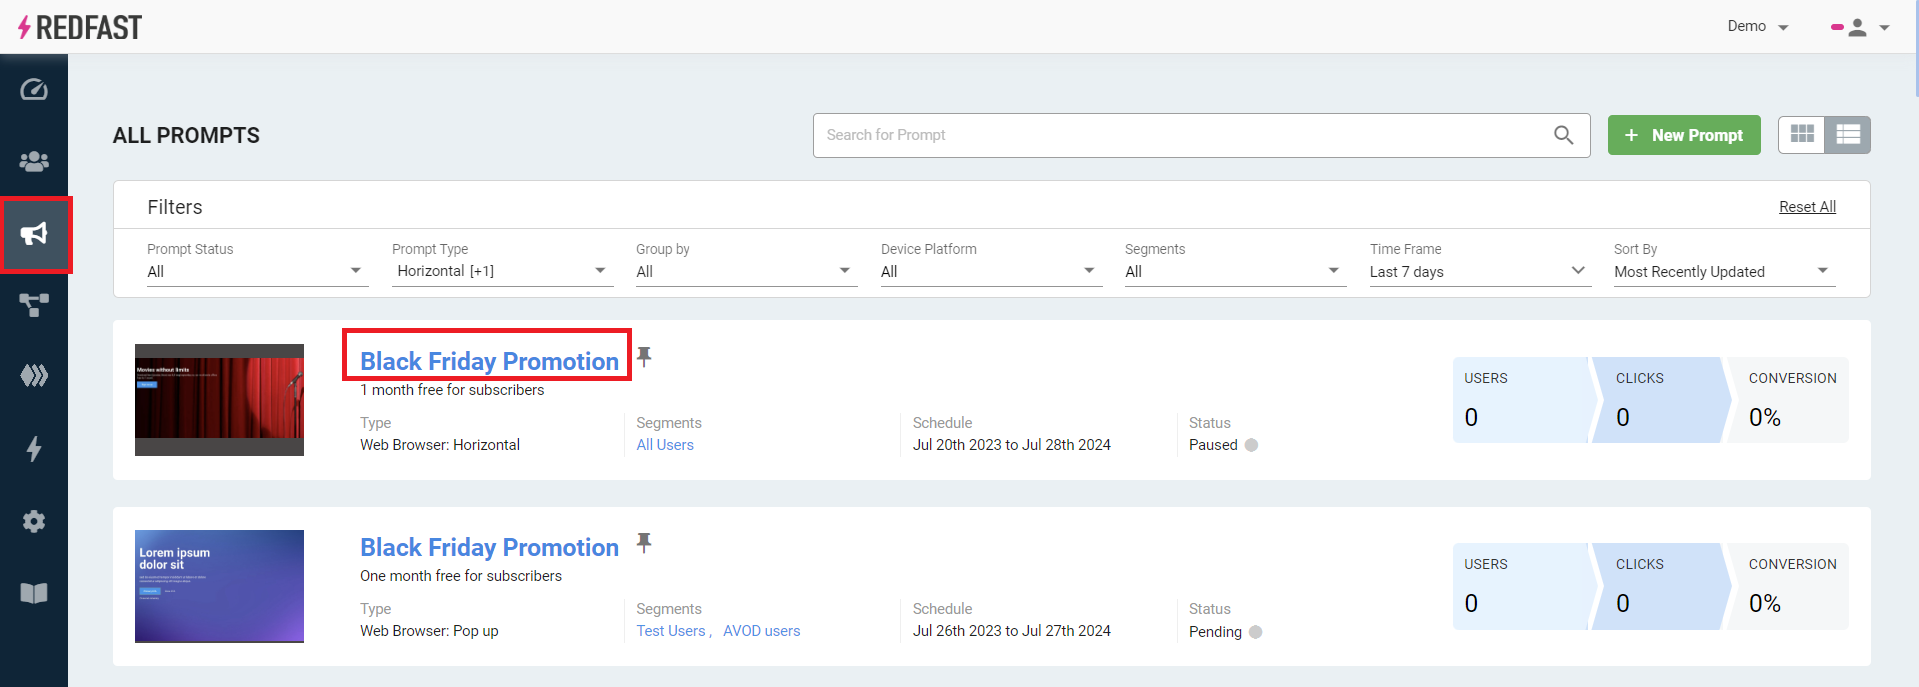
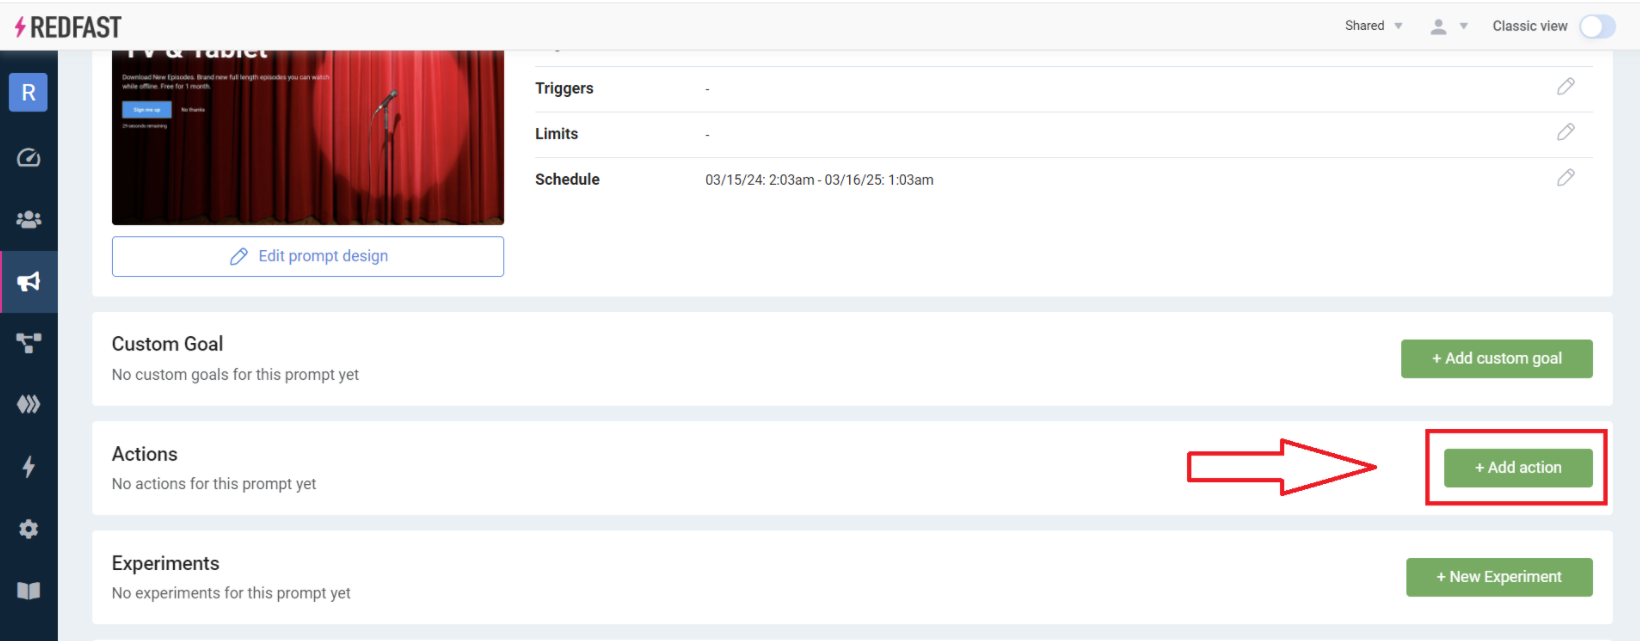
- Open your prompt under Prompts.
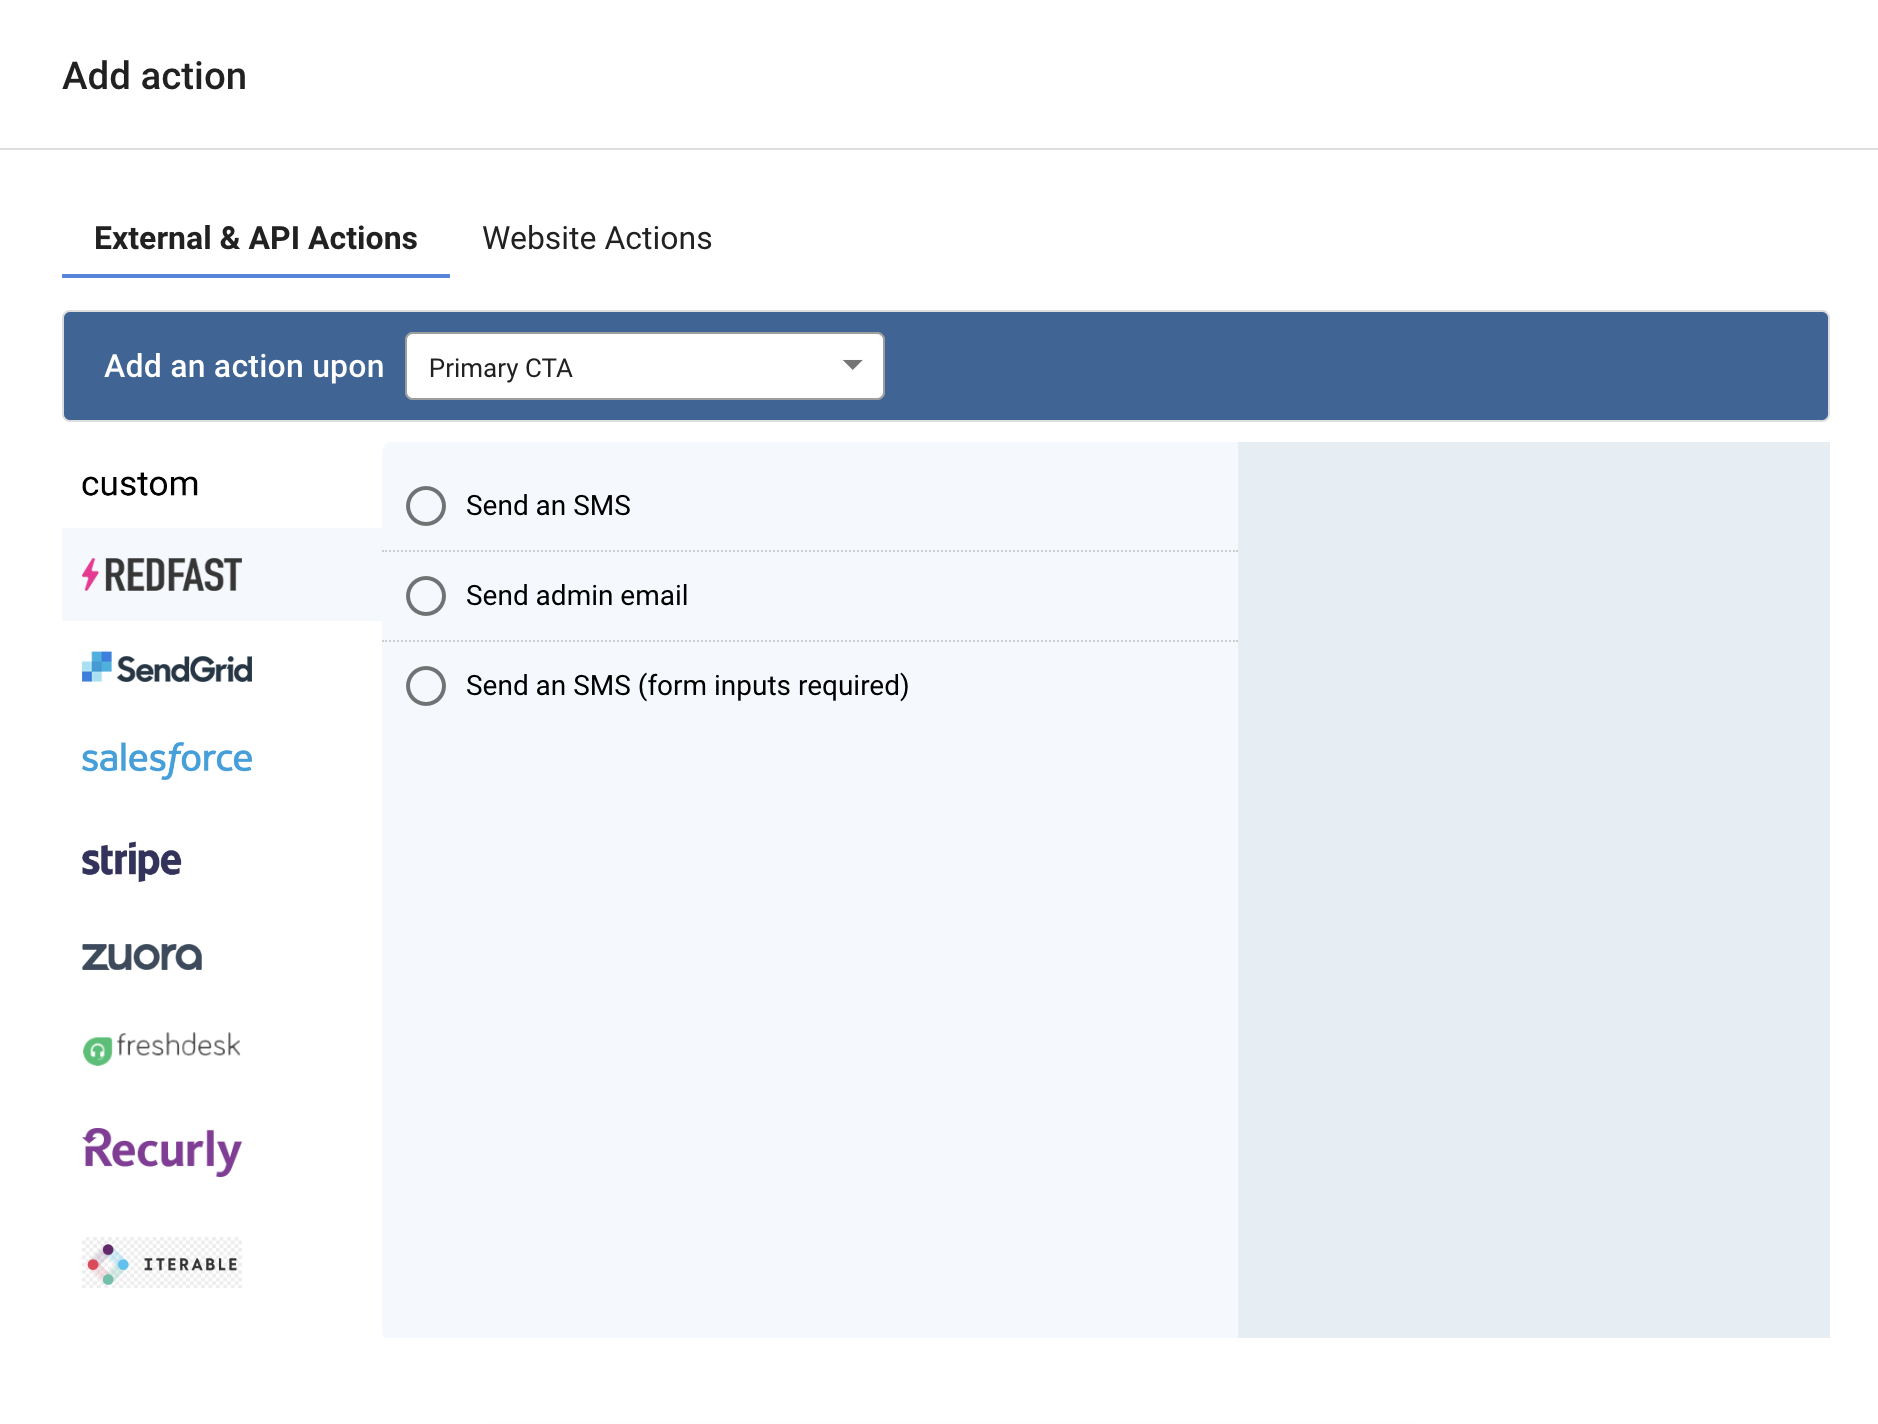
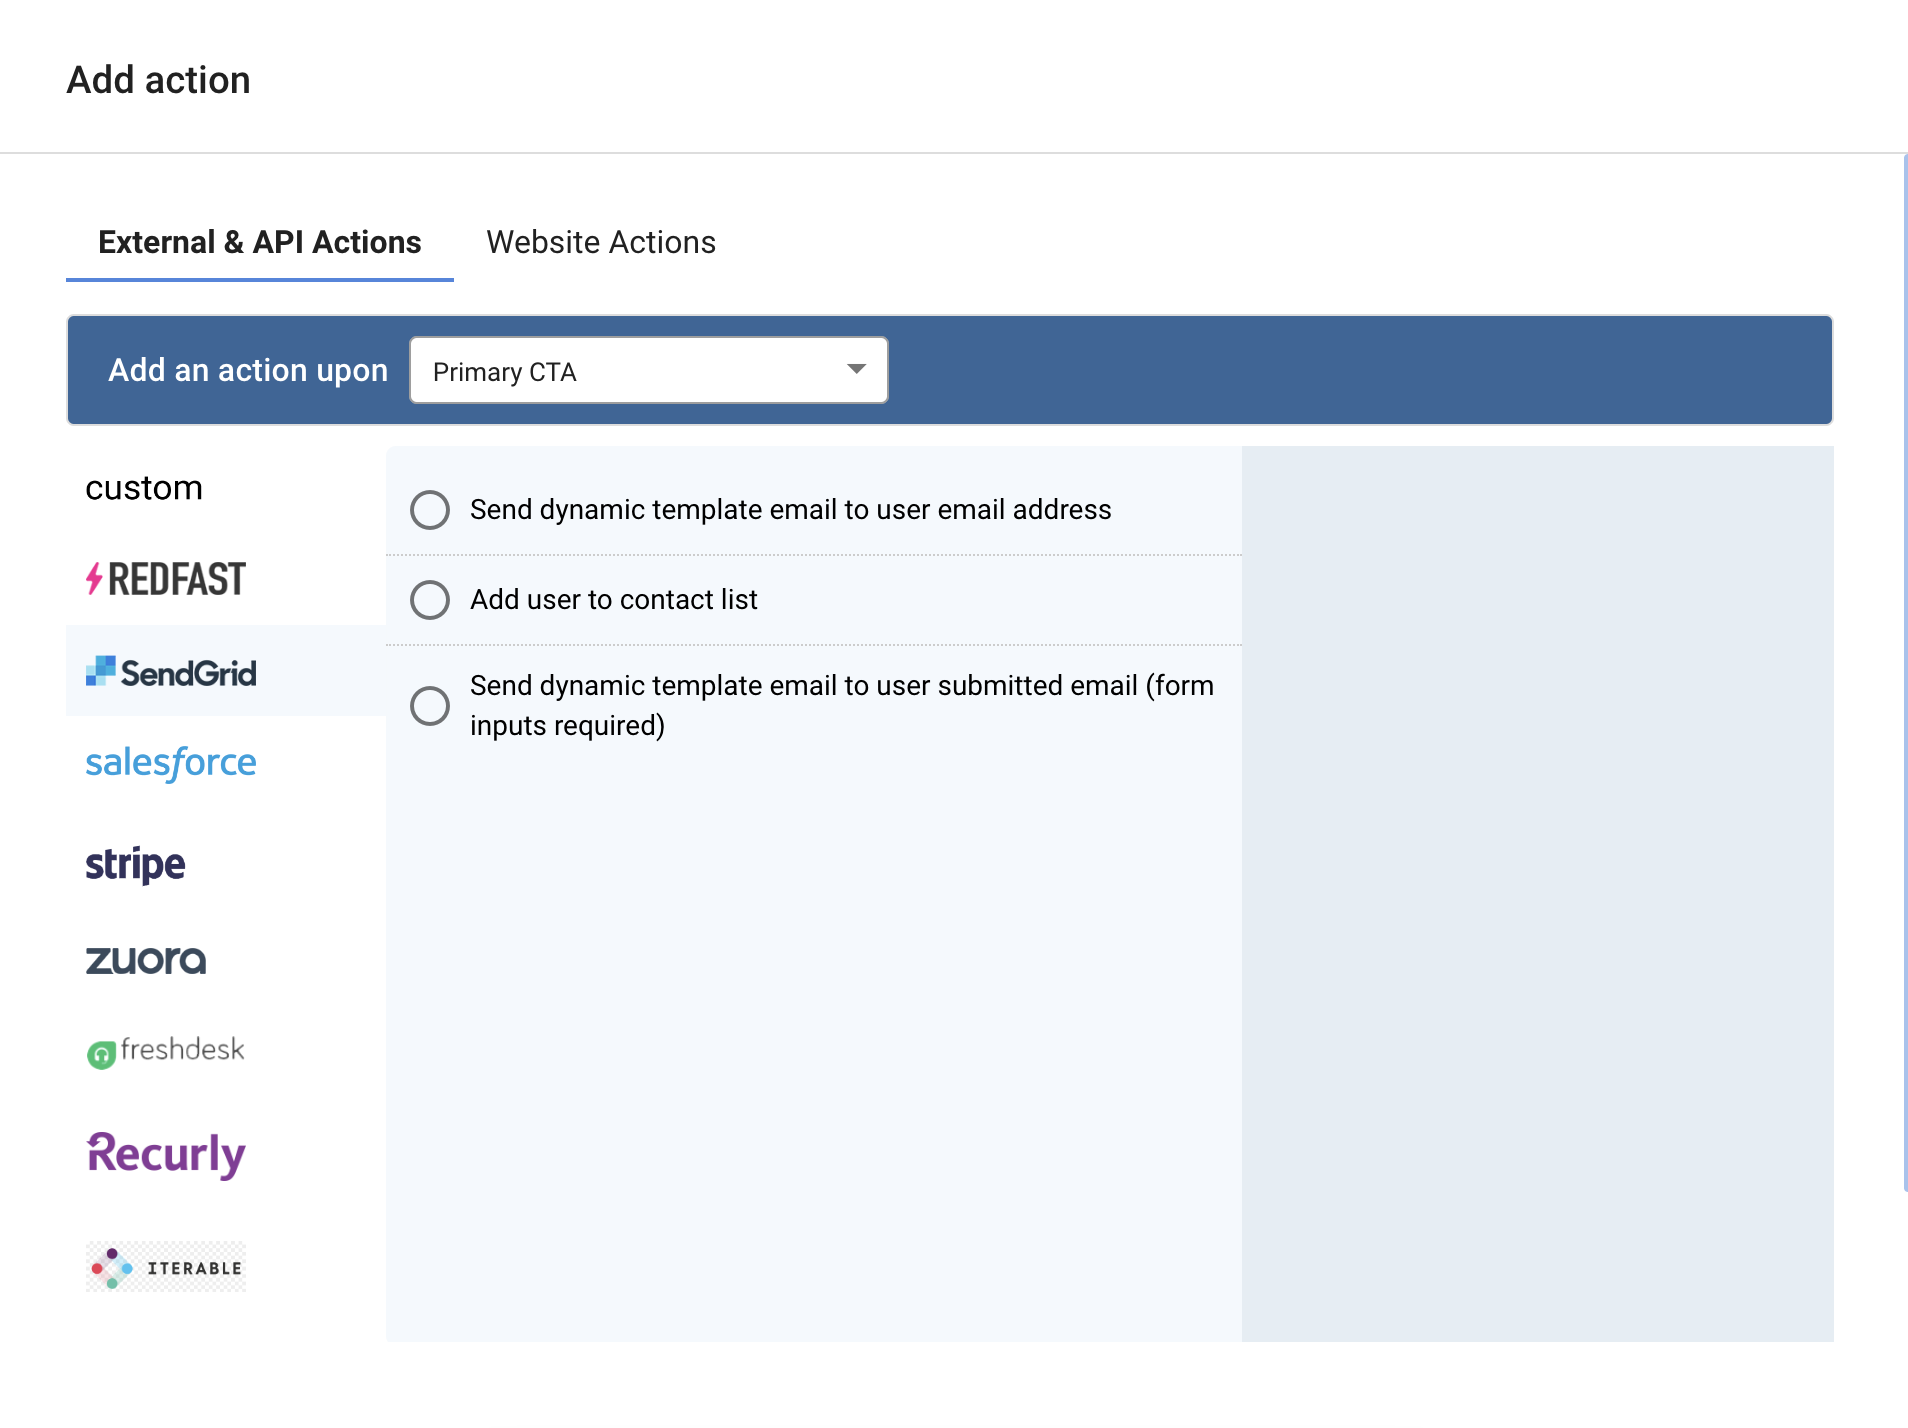
- Click Add action next to the desired interaction (e.g., Accept).
- In the action modal, select Connector Actions, choose a connector (e.g., Zuora) and action (e.g., Subscribe a user to a plan), set Error Behavior (Stop or Continue), then click Add Action.
- Reorder actions by dragging; configure multiple actions per interaction as needed.
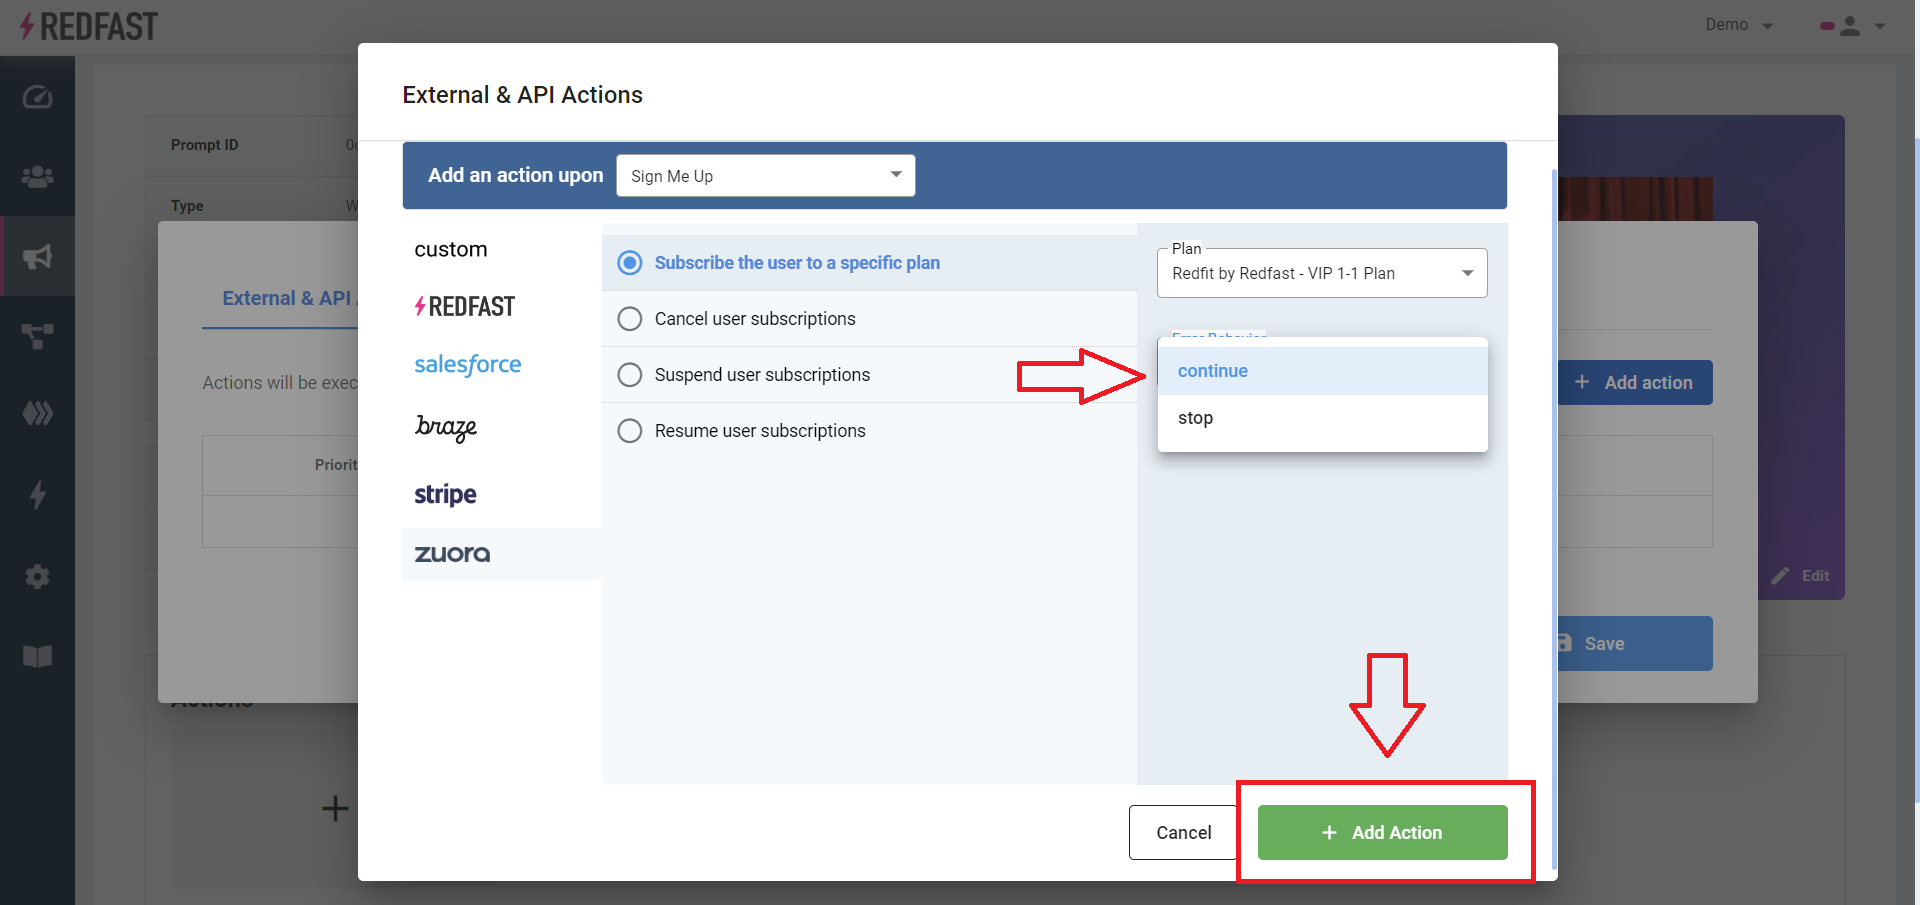
Error behavior:
- Stop: Halt downstream actions if this action fails.
- Continue: Proceed to next actions even if this one errors.
Custom actions
Build your own actions for advanced scenarios:
- Connector Actions: Integrate additional business systems. More info
- API Actions: Call your custom endpoints. More info
- Website Actions: Run custom JavaScript in the user’s browser. More info
For complex setups—like “1-click save offers”—our technical team can assist. Reach out on Slack for hands-on support.
Updated 10 days ago