Authorize.net
Connect Authorize.net to Recurly to process credit card transactions — configure your API credentials, AVS, CVV, and card type settings in a few steps.
Limitations
- Limited decline detail — Authorize.net's API responses are generic on declines. Recurly uses decline reasons, merchant-advice-code logic, and processor/issuer/network responses to inform retry decisions. Following Auth.net best practices, Recurly does not retry renewal declines where Auth.net recommends treating the decline as "hard" — this includes expired cards and lost or stolen cards. See Auth.net's gateway response knowledgebase article for details.
- Fraud review flow not supported — If you're using Authorize.net's fraud monitoring, be aware the gateway can void or invalidate transactions that were initially approved. Monitor those external systems independently, as any cancellations made outside Recurly won't be visible within the platform.
- Gateway Specific NTIDs on File — Authorize.net does not return raw NTIDs, but instead, their own value that we store. If you need to migrate away from Authorize.net to another platform, even within Recurly, contact Recurly Tech Support to initiate an NTID migration conversation with our team and Auth.net directly.
Definition
Key details
| Feature | Details |
| Services that work with Recurly | Recurring subscriptions, payments (eCommerce and MOTO) |
| Supported operations | Anti-Fraud, Authorize and Capture, Purchase, Refund, Verify, Void |
| Supported payment types | Credit card |
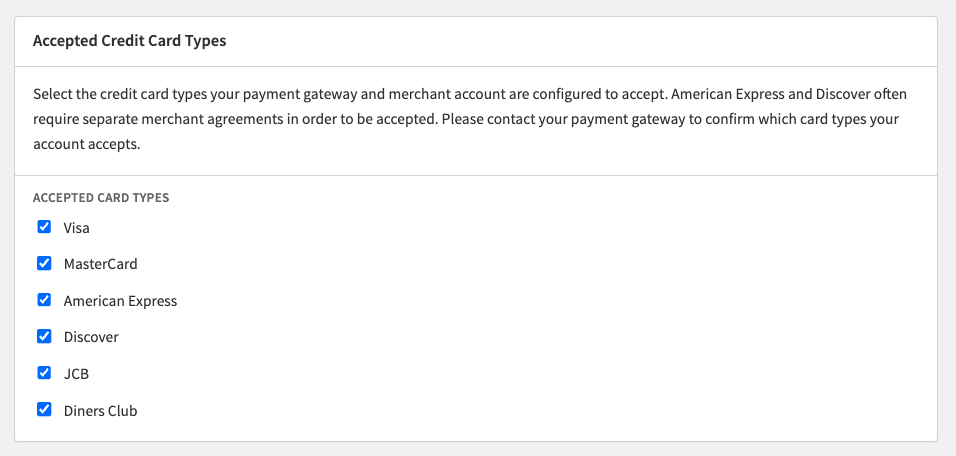
| Supported card brands | Visa, Mastercard, Amex, Discover, JCB, Diners Club, Union Pay |
| Gateway-specific 3DS2 supported | No — Authorize.net does not support 3DS |
| Card on file supported | Yes |
| Regions | Worldwide |
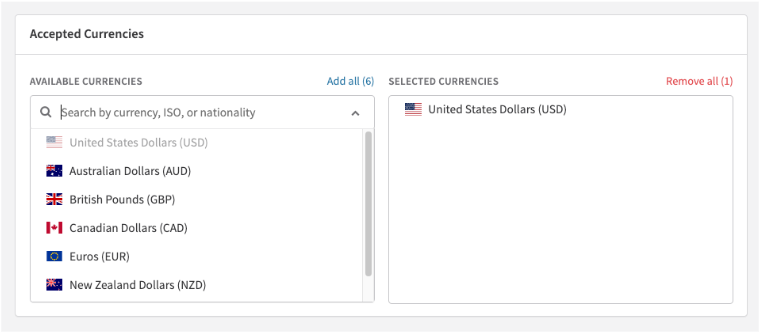
| Currencies | AUD, CAD, EUR, GBP, NZD, PLN, and USD |
Gateway setup guide
Step 1: Sign up for an Authorize.net account
Create your account
Go to the Authorize.net signup page and complete the application form with your business details.
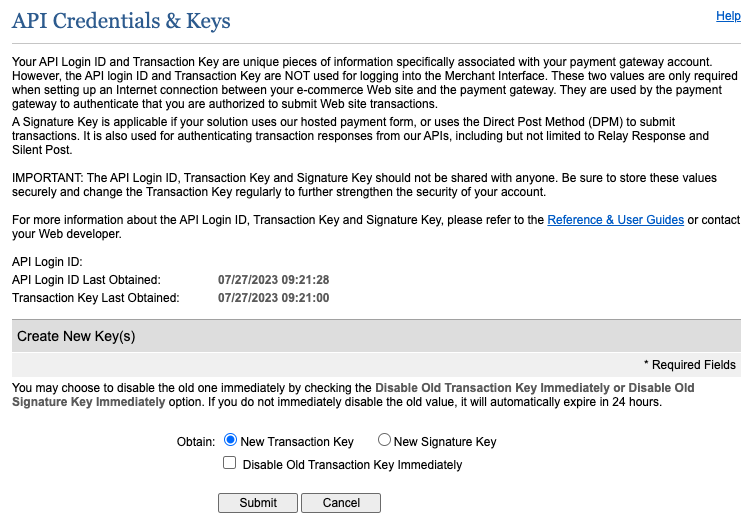
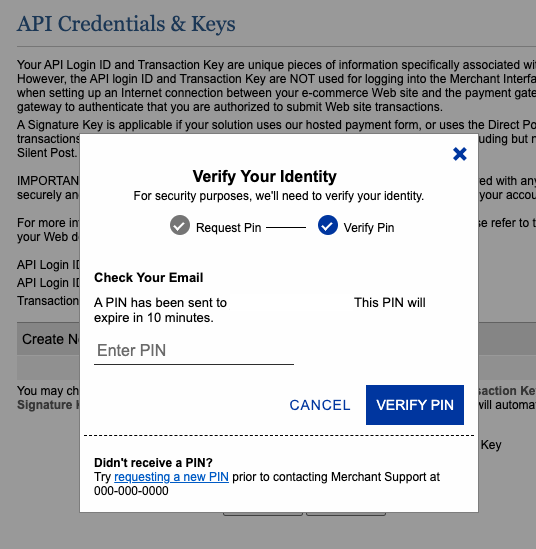
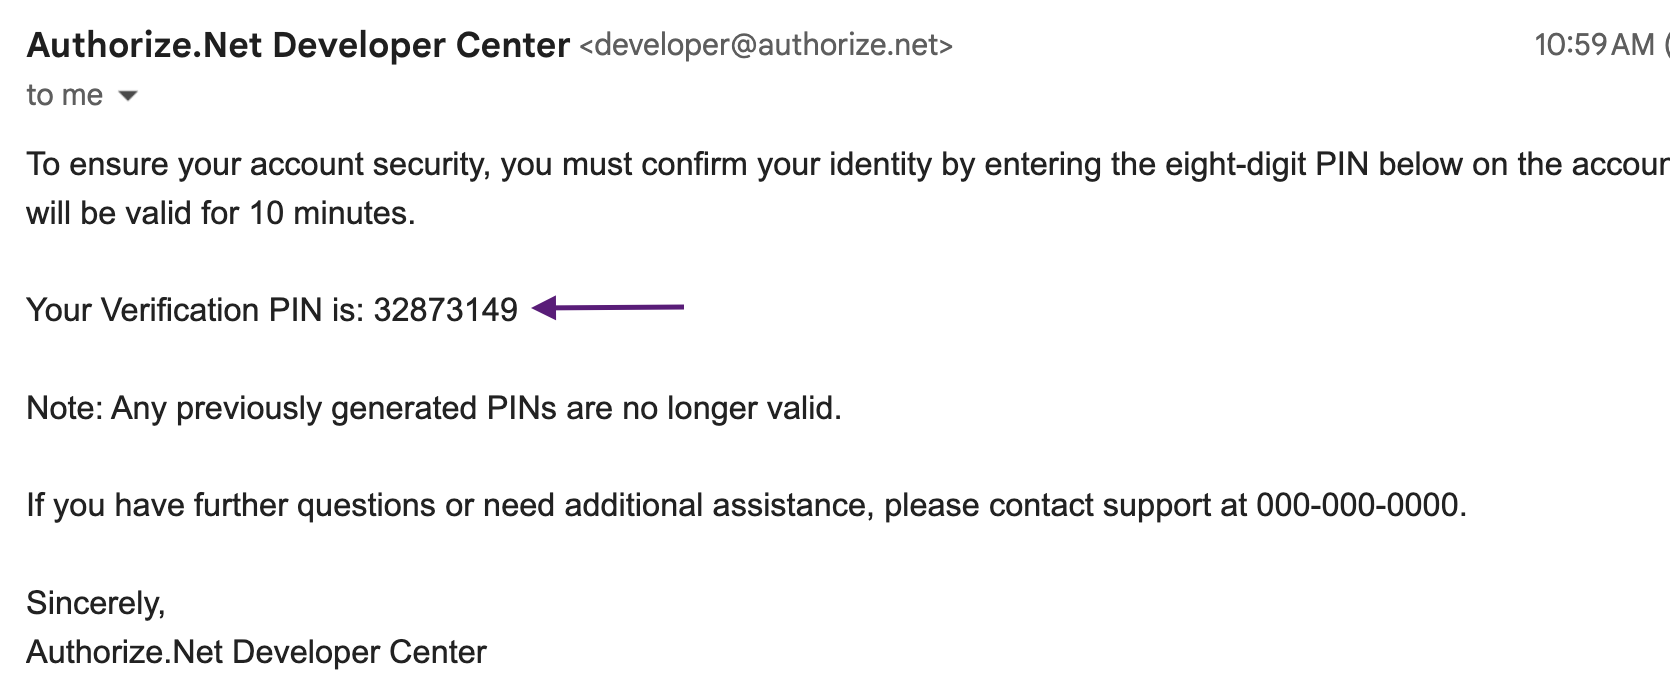
Step 2: Get your API Login ID and Transaction Key
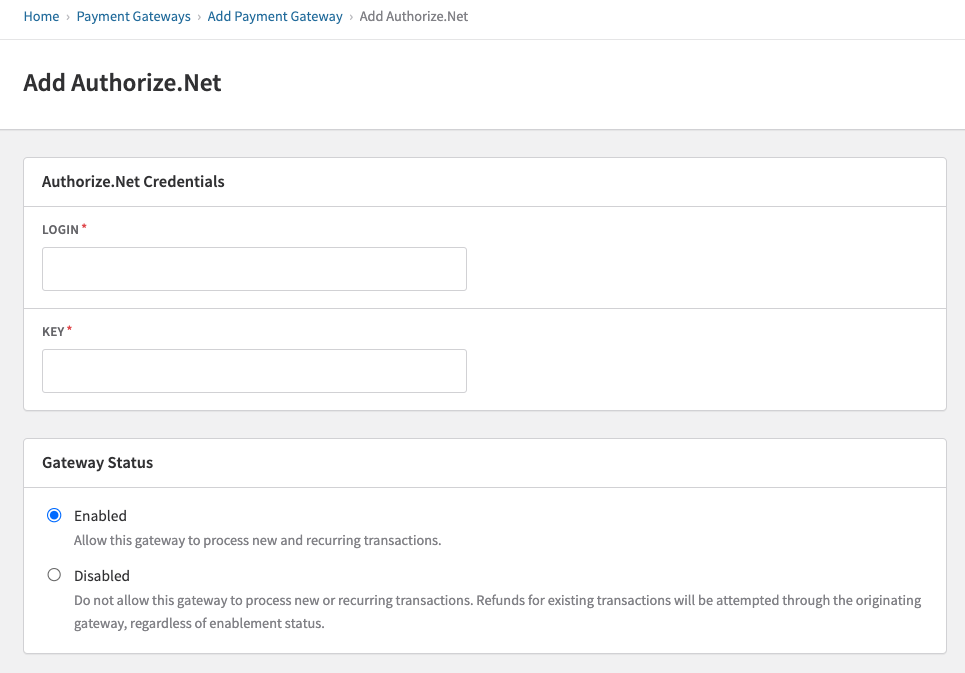
Step 3: Configure Authorize.net in Recurly
Step 4: Set up Address Verification Service (AVS)
Step 5: Enable Card Code Verification (CVV)
Step 6: Test your integration
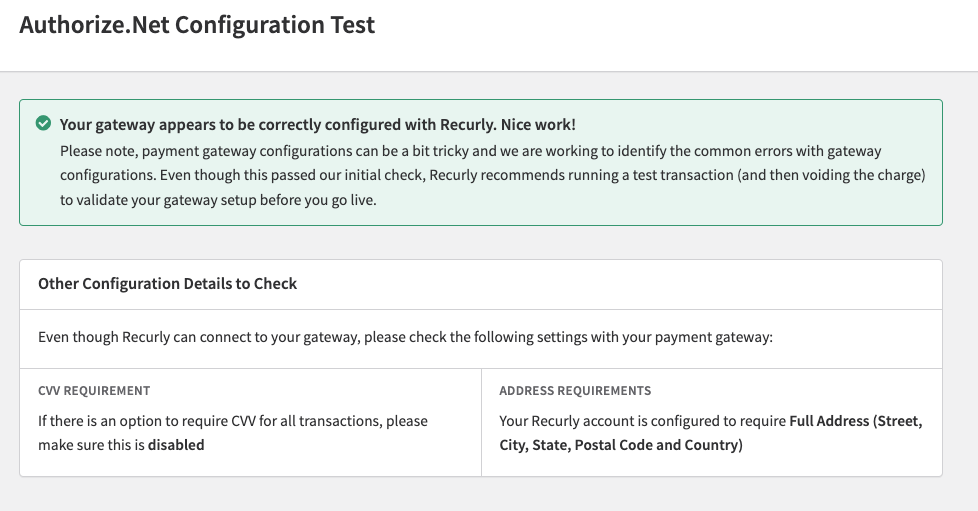
If your API Login ID and Transaction Key are correct, you'll see a confirmation message.
Step 7: Go live
Once the configuration test passes, you're ready to accept real transactions. Monitor your transactions in both Recurly and Authorize.net to confirm everything is running as expected.
Fraud settings
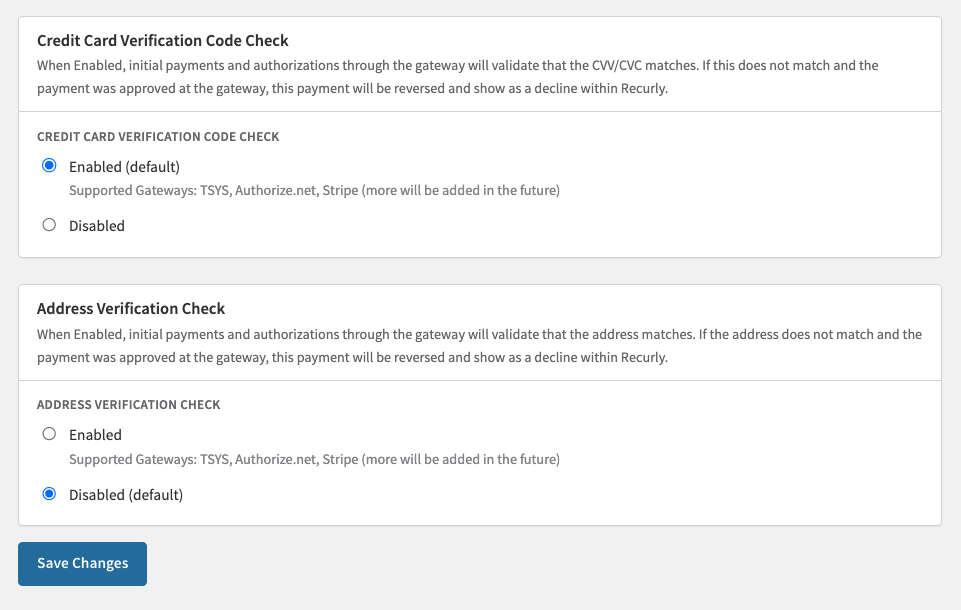
Address Verification Service (AVS)
AVS works well for US-based customers — US zip codes are numeric and match cleanly. However, many international postal codes contain letters, which causes AVS zip code matching to fail. If you accept payments from international customers, Recurly recommends configuring AVS to allow transactions where either the street address or zip code matches, rather than requiring both.
Card Code Verification (CVV)
When a new subscription is created or a credit card number is updated, Recurly submits the card number and CVV to Authorize.net together. Per PCI regulations, CVV values can't be stored — so the CVV is used only on that initial request. Submitting the CVV upfront improves approval rates and deters fraud. Banks generally continue to approve subsequent transactions from the same merchant once a clean history has been established.